
![]() Recently, for workflow reasons, I needed to do the final audio mix of some clips before I even imported them into the library.
Recently, for workflow reasons, I needed to do the final audio mix of some clips before I even imported them into the library.
So, I opened the source clip in Adobe Audition, did a quick sweetening, then exported the finished audio as a stand-alone WAV file.
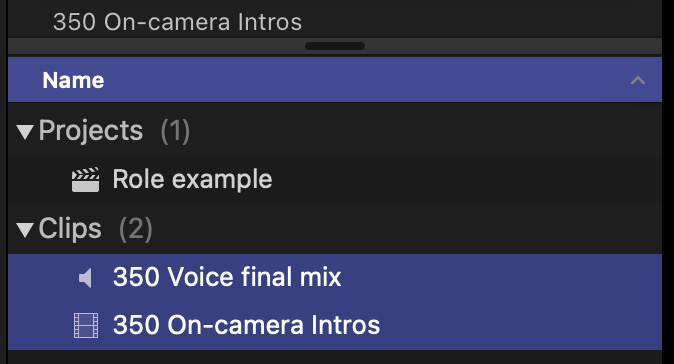
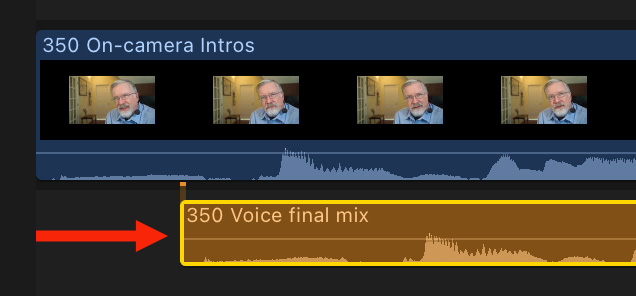
I then imported both the on-camera video and the final audio mix into Final Cut.
Because this was essentially the same as shooting double-system sound, where I use the video from the video clip with the audio from a separate audio clip, I synced the two clips.
NOTE: Here’s a video tutorial on how to process double-system sound in Final Cut.
The cool part, I thought, was that I could use roles to easily turn off the camera audio and enable the sweetened audio in the timeline.
What I discovered, though, is that once the clip was edited into the timeline, nothing I did could apply a role to one channel of a multichannel audio clip.
Because I was under deadline, I found a work-around that was so abysmally ugly I won’t mention it here.
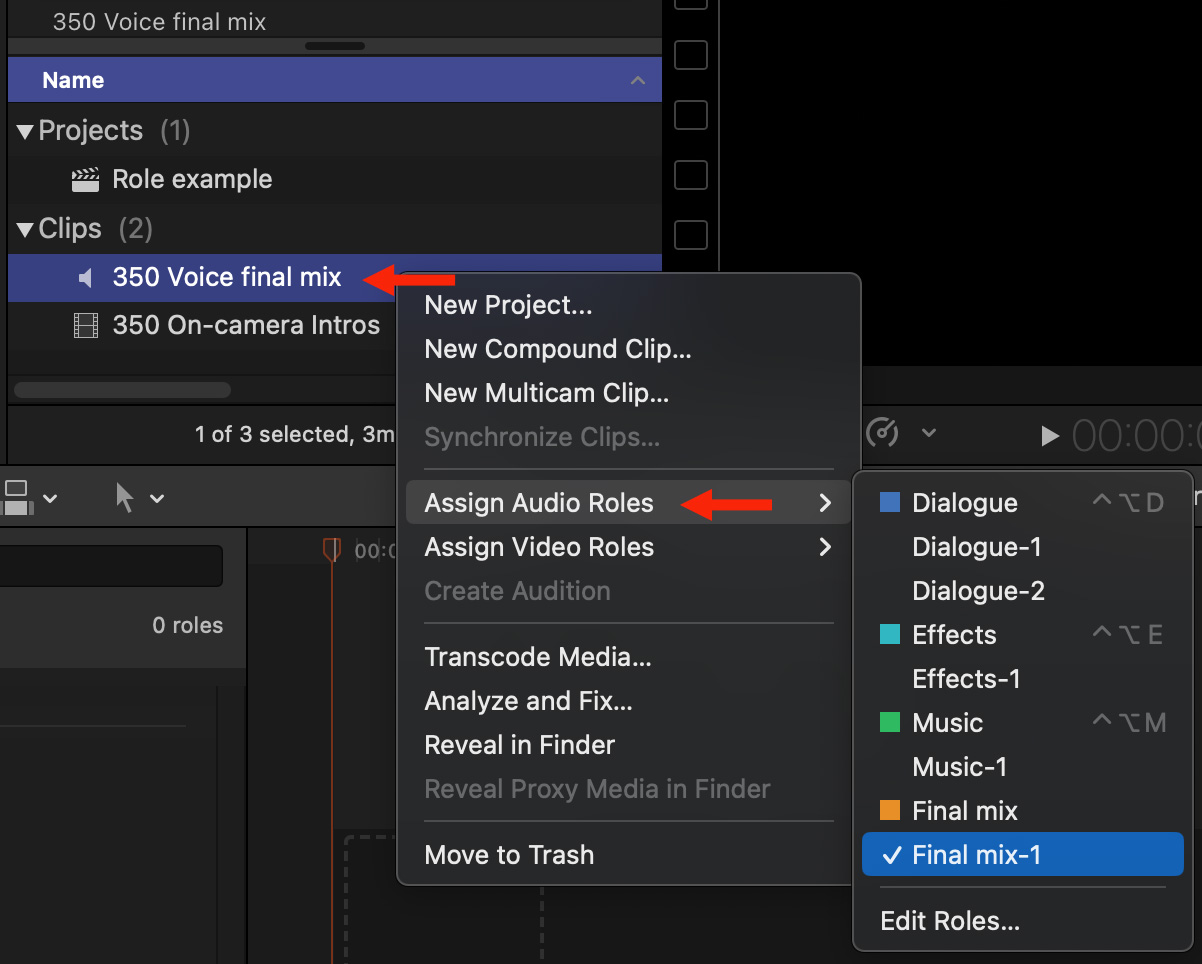
So, after the project was complete, I went back and figured it out. Here’s the trick:
NOTE: In this example, I created the “Final Mix” role before I started the project.
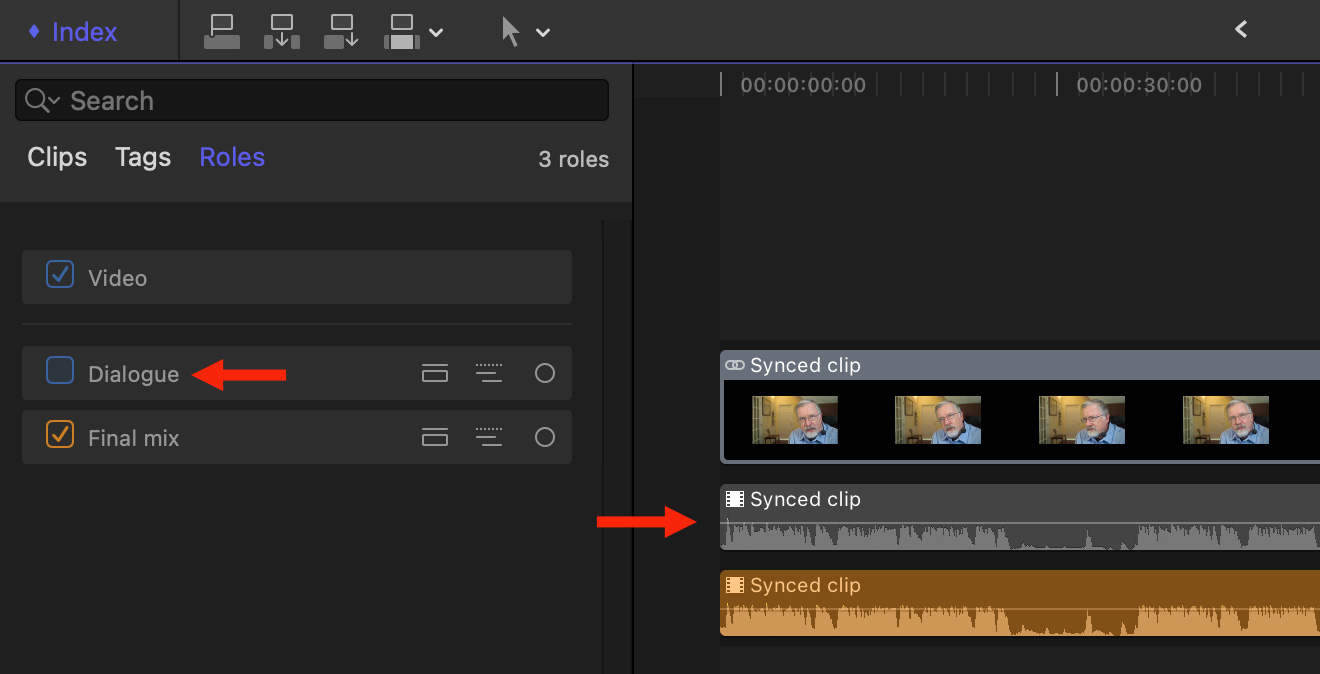
When you edit these clips into the timeline, the roles travel with each channel, allowing you to enable or disable any individual channel in the synced clip.
For example in the screen shot above, I disabled the Dialogue role in the Timeline Index, which then muted all audio assigned to that role in the timeline. The orange channel is given the Final Mix role, which means I hear it and nothing else.
Quick, simple and done.
EXTRA CREDIT
I also discovered that when I record video using Telestream Screenflow on my computer, the audio and video are out of sync by three frames.
To adjust the sync of the newly-added audio channel:
Now that I’ve figured this out, I plan to use it every week.

4 Responses to Quick Tip: Use Roles with Double-System Clips in Apple Final Cut Pro
Thanks for the tip, Larry.
The *real* secret technique is to not use synchronized clips. Once edited into a timeline/Project, you can’t go back and change synch or roles, as needed (unless you do the potential laborious, and error-prone, “reveal in Browser” and “replace” operation on each instance of a clip in the timeline/Project).
That is to say, don’t use synchronized clips in FCP. Use multicam clips to synchronize audio. Changes made to the source MC clip will then propagate to timeline/Projects using the clip.
Cheers.
Dave:
Hm… I don’t necessarily agree. To adjust a sync’d clip, select it, then choose Clip > Open. This opens the component parts of a sync’d clip in the timeline. You can slip any element EXCEPT any audio attached to the video clip. I find double-system clips as easy to adjust as multicam clips.
Larry
I guess I wasn’t clear enough.
An example:
If you create a “long” synchronized clip, then edit many portions of it into a timeline/Project, but then want to change the synch later, or maybe change the roles of individual audio components, you’d have to do so with each clip (since every clip/range from the original Browser clip is now an independent clip in the timeline/Project). Very tedious and, worse, error-prone.
With MC clips, you’d just need to modify the original MC clip in the Browser, and the clip ranges used in the Project/timeline will update automatically.
Dave:
Ah… that makes it clearer. Thanks.
Larry