
![]() New with the 10.5.3 update to Apple Final Cut Pro is the ability to create custom “column sets” in the Browser, save them, then switch between them as needed. You can even share them with other editors.
New with the 10.5.3 update to Apple Final Cut Pro is the ability to create custom “column sets” in the Browser, save them, then switch between them as needed. You can even share them with other editors.
As clips proliferate, we need more ways to find the clips we need, or quickly see important specs like frame size, frame rate or codec for the clips already in a library.
NOTE: As before, to sort any column, simply double-click a Browser column header.
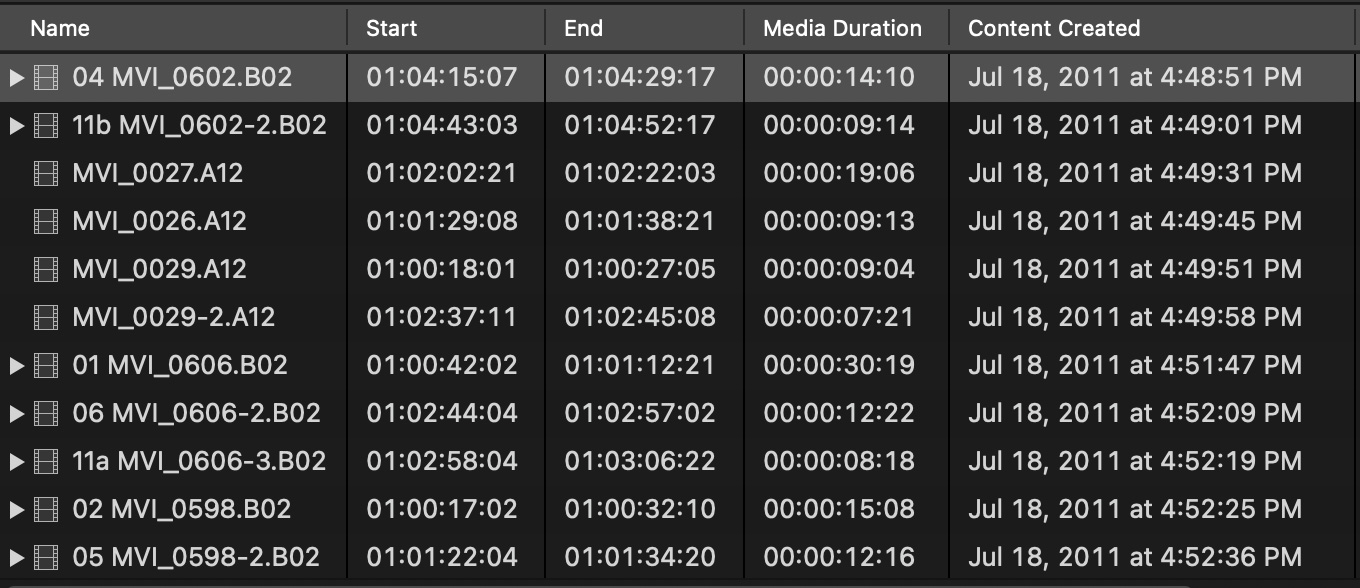
We’ve always had the ability to move columns around, or reveal different metadata in the Browser. What we haven’t been able to do is add other fields, save multiple layouts (called “Column Sets”) or share sets.
Let me show you how these new features work.
CREATE A NEW COLUMN SET
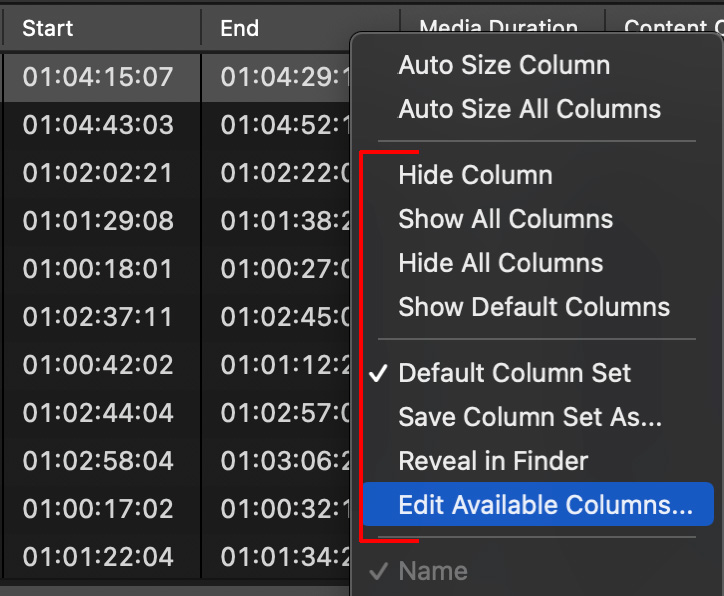
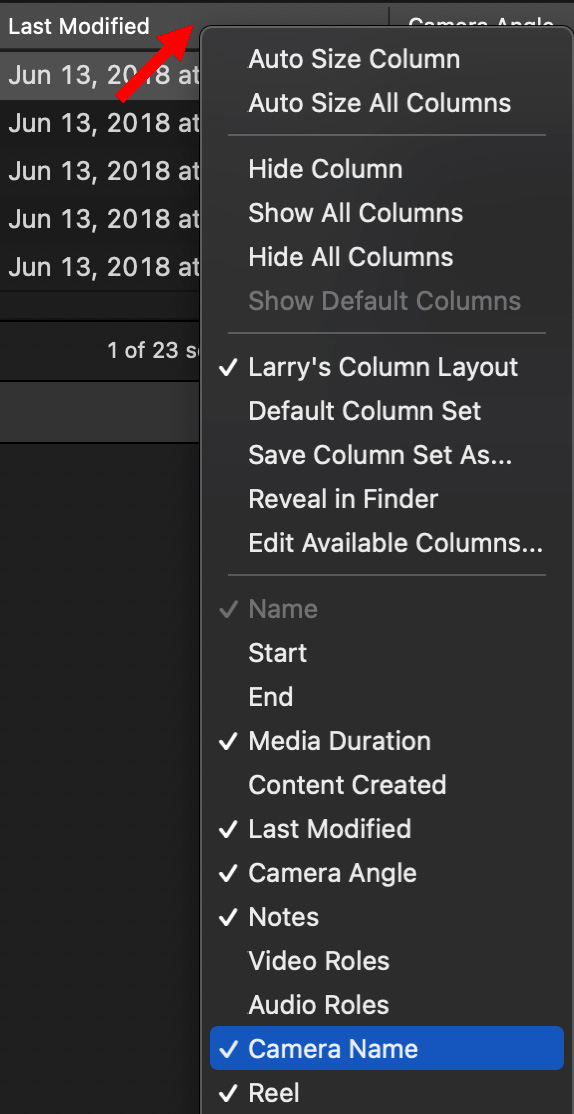
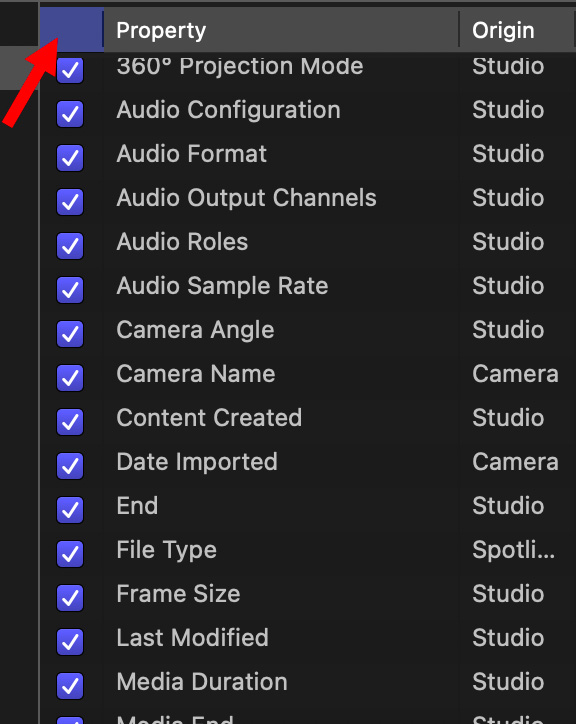
To get started, control-click any Browser column header. The new column options are indicted by the red bracket in the screen shot above.
Select Edit Available Columns.
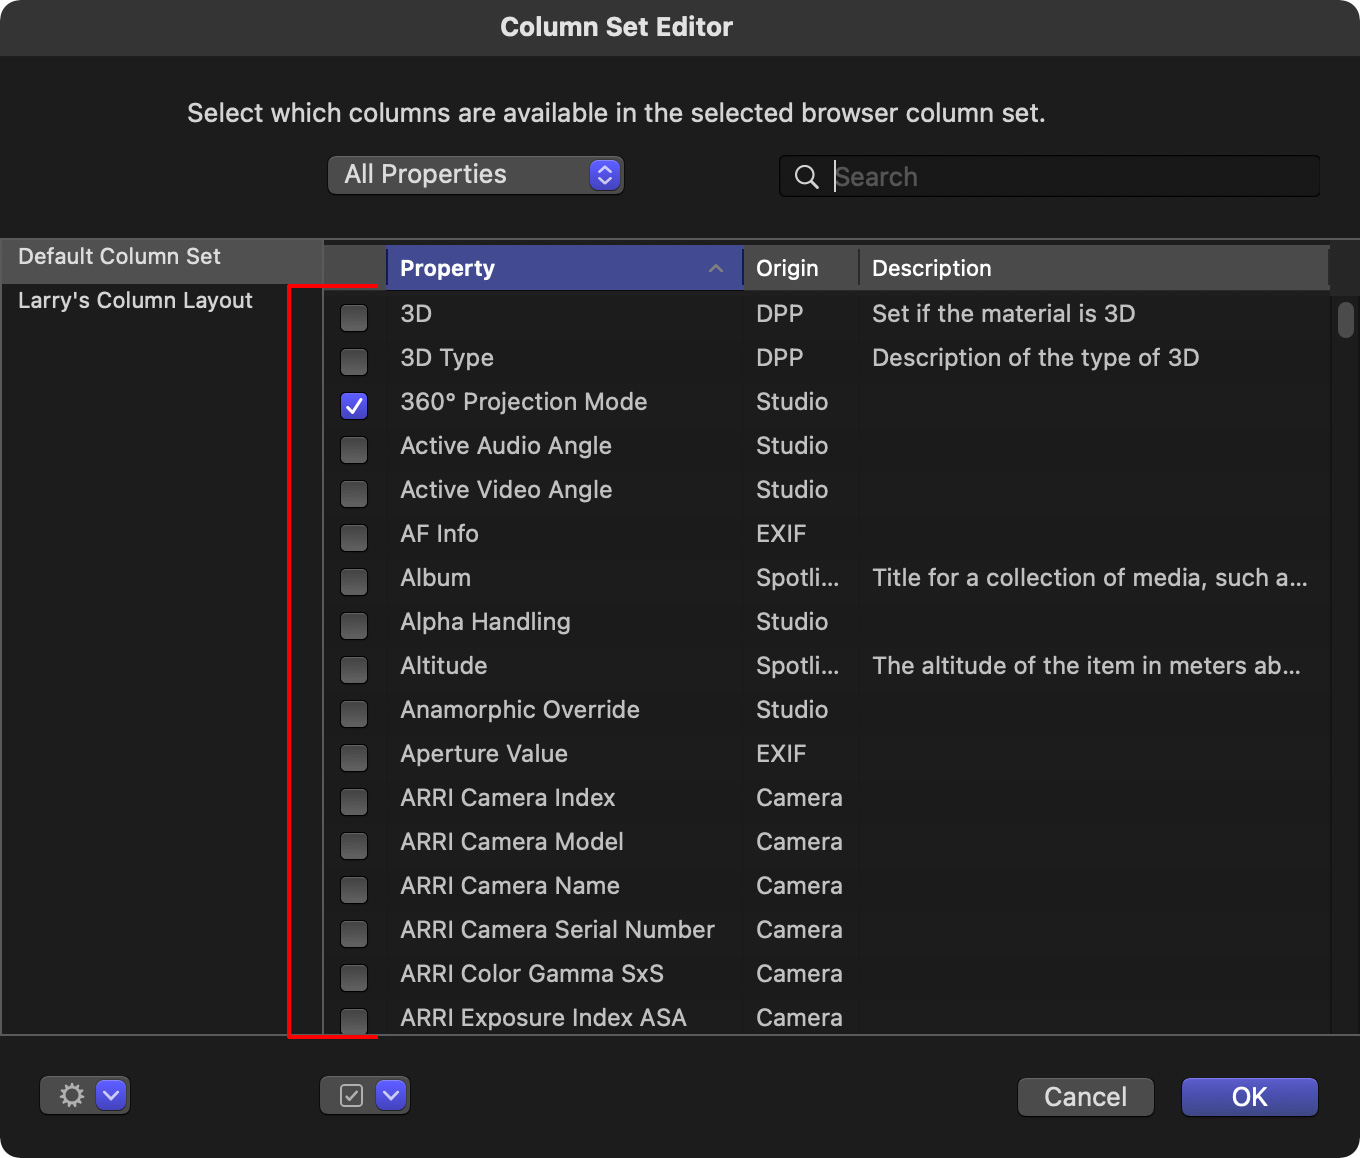
This opens the Column Set Editor window. Here, you COULD scroll down this list (red bracket), but it contains HUNDREDS – maybe even THOUSANDS – of metadata fields. Sheesh, talk about excessive… Let’s break these options down into something more manageable.
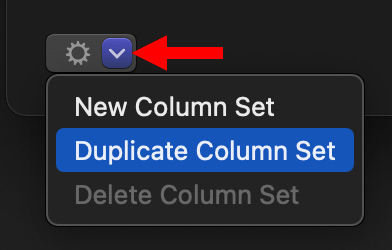
Before you do anything else, click the Gear icon (red arrow) and duplicate the Default Column Set. While you could create a new set, it is much easier to start with something already constructed.
NOTE: The reason we created a duplicate is that we can’t modify Apple’s default column set.
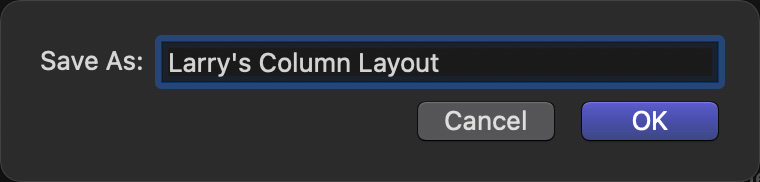
Give this new column set a name and click OK.
The main screen reappears. Click OK, again, in the lower right to save changes and close this window.
At this point, control-click a column header in the Browser and uncheck those fields that you don’t need to display in the Browser. The good news is that this works. The bad news is that you need to do each field separately. I’ll show you two faster ways shortly.
Finally, in the Browser, drag column headers left or right to create the column order you want.
All changes in the Browser are saved automatically.
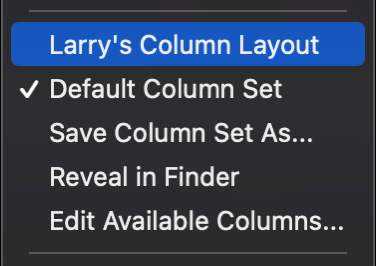
To switch between sets, control-click any column header and select the set you want.
SHARE A COLUMN SET
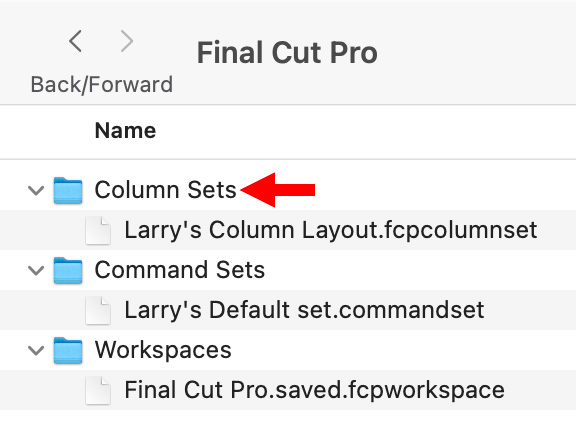
Column sets are stored in: [ Home Directory ] > Library > Application Support > Final Cut Pro > Column Sets.
NOTE: To reveal the Library folder, which is hidden by default, go to the Finder. Press Option while clicking the Go menu and select Library from that menu.
Each of these custom sets can be sent to another editor – or another editing system. As long as they are stored in a similar location, they will appear automatically in Final Cut the next time it starts.
NOTE: If you are emailing a Column Set file, it is best to zip it first. Control-click on the file name and choose “Compress [file name]”. Double-click a compressed file to unzip it.
CREATE A CUSTOMIZED FIELD LIST

When you control-click a column header, you see a list of all the potential fields that you can choose to display in the Browser.
But, what if there are fields you want to see that aren’t on this list? Or, even more important, unchecking each of those fields is a pain because the menu keeps disappearing.
Is there a faster way? Yup. In fact, there are two options for speed.
Rather than waste time checking or unchecking individual fields, go back to the Edit Available Columns and click the empty box to the left of Property (red arrow, above).
This sorts all fields by whether they are checked or not. Now, you can quickly check or uncheck the fields you want to display.
What’s different about checking in the Edit Available Columns menu, as opposed to the Browser popup menu, is that those field options no longer appear in the Browser pop-up menu displayed when you control-click a column header.
MUCH faster!
ALTERNATE OPTION
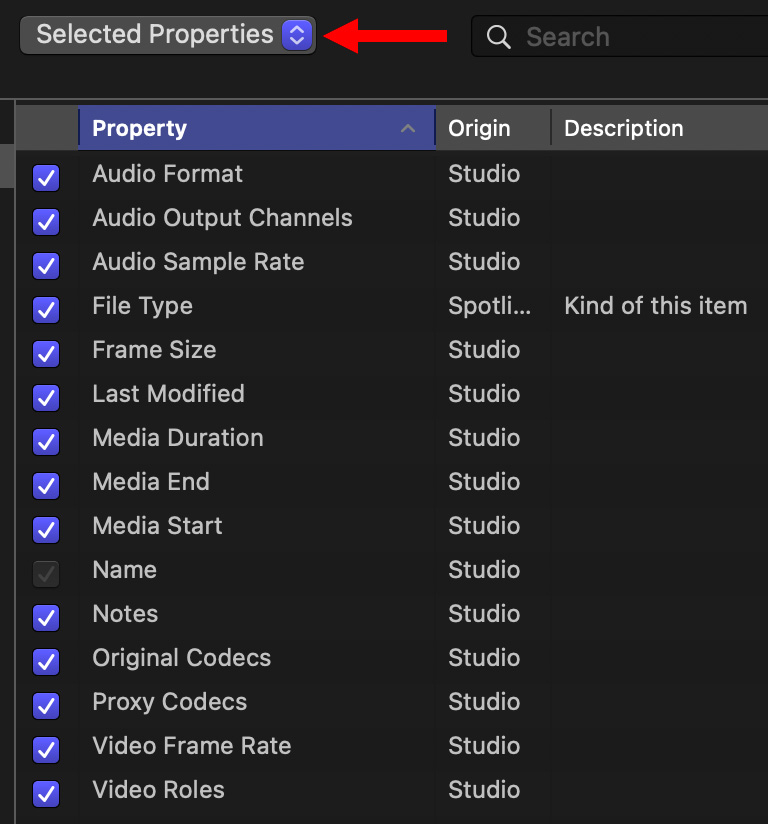
An alternative to sorting by checkbox is to choose the Selected Properties menu (red arrow) in the Edit Available Columns window. This displays all fields currently enabled, allowing you to uncheck those you don’t want.
NOTE: The menu at the top allows selecting between different groups of metadata fields. Feel free to explore this on your own – however there are a LOT to wade through.
ADD FIELDS TO THE LIST
But the Edit Available Columns windows does much more. For example, let’s say you are working with HDR media and need to track the MaxCLL and MaxFALL settings.
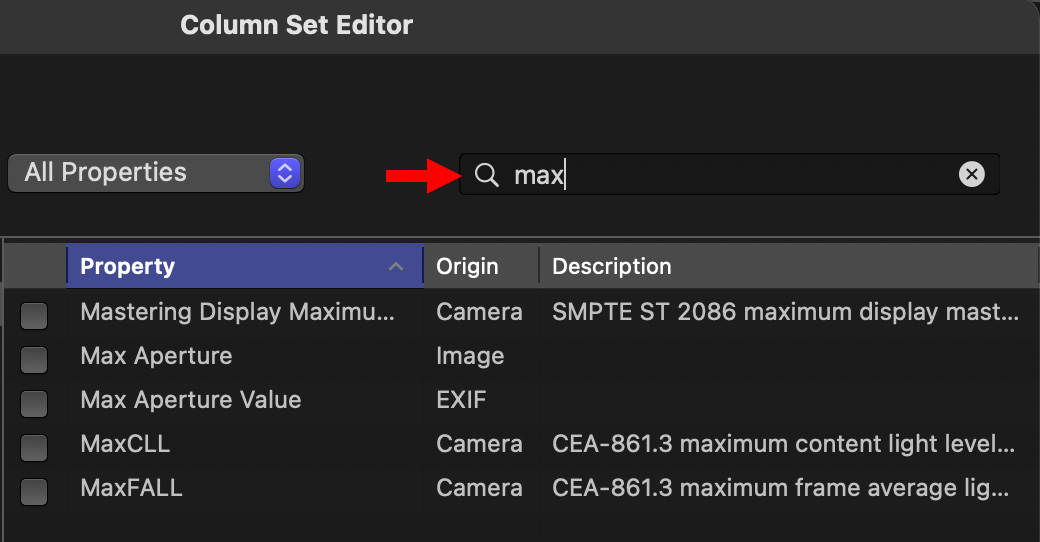
In the search box, enter “max” and, among the six settings displayed are MaxCLL and MaxFALL. Check these to add them to your menu list.
SECRET TIP

Final Cut allows adding FAR more metadata to the Browser than we can display in a small window.
If you need to see more columns than can fit in the Browser window, and you have two monitors, click this arrow icon (right red arrow) to select the Browser, then click the 2 Monitors icon (left red arrow) to display the Browser on a second monitor.

(Click image to see larger view. Image courtesy of John Putch “Route 30, Too!” (www.route30trilogy.com))
Switch the Browser to List view and you an entire monitor dedicated to displaying columns and metadata.
SUMMARY
I’ve always known that Final Cut tracked an enormous amount of metadata for each clip and project. But it wasn’t until I saw this list that I realized just how deep the metadata support is in Final Cut.
We can now create separate Browser column displays to use during the varying stages of our edit. There’s no limit to the number of Column Sets you can create – and you can instantly switch between Column Sets as needed.
6 Responses to New! Custom Browser Column Sets in Final Cut Pro
Thanks, Larry. Is there a way to see the gamma metadata? I’m trying to figure out which log a clip was shot in (clog2, clog3?).
Steve:
Not in the Browser, but using the Info Inspector you should be able to see it.
Then, again, you may be able to add it using a custom column set. I haven’t tried this personally, as I’m not shooting HDR at the moment.
larry
I’ve never found a way to show it in the inspector (or anywhere else). Been bugging me for years now. I’ve checked all the boxes in the metadata options that have to do with gamma, but none of them are showing what log the clip was shot in. These are for clips I’ve shot in either Clog2 or Clog 3 on the Canon C300 Mark iii.
I can add custom field and manually enter, but I figure I must be missing something here that seems pretty basic. I’ve used Canon XF Utility to look up the gamma log info for a camera clip, but that app doesn’t work on footage once I’ve ingested it into our server. There must be a way for FCPX to show it…? (hoping).
Thanks for all your amazing help over the years.
Steve:
I don’t have an answer for you, this is a format I’ve never shot. Hopefully someone at Canon, or a reader, can provide a suggestion.
I’m sorry I can’t help you further.
Larry
Thanks Larry for this excellent explanation. Do you happen to know if it is in any way possible to format columns? E.g. the column for Content Created is taking up a lot of space and changing the date format to e.g. dd-mm-yyyy hh:mm:ss could help here.
Hans:
Sadly there’s no way that I know of to format these dates.
Larry