
![]() People don’t create drop shadows. People create cast shadows. But cast shadows are not easy to create, especially if we don’t record them in the first place.
People don’t create drop shadows. People create cast shadows. But cast shadows are not easy to create, especially if we don’t record them in the first place.
But, if you are working with green screen footage, Final Cut has a very nice solution. Plus, this exercise gives me the chance to showcase some other effects you may not have played with yet.
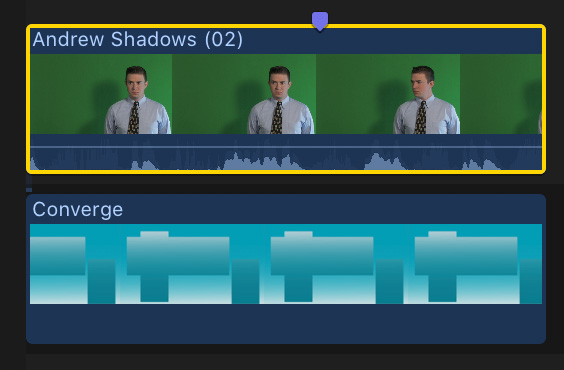
To create any green-screen effect, stack the green-screen foreground on top of the background in the timeline.

Here’s where we are going. Let’s see how to get there.
NOTE: I’m using the Converge background generator, which you will find in Final Cut> Generators.
CREATE THE KEY
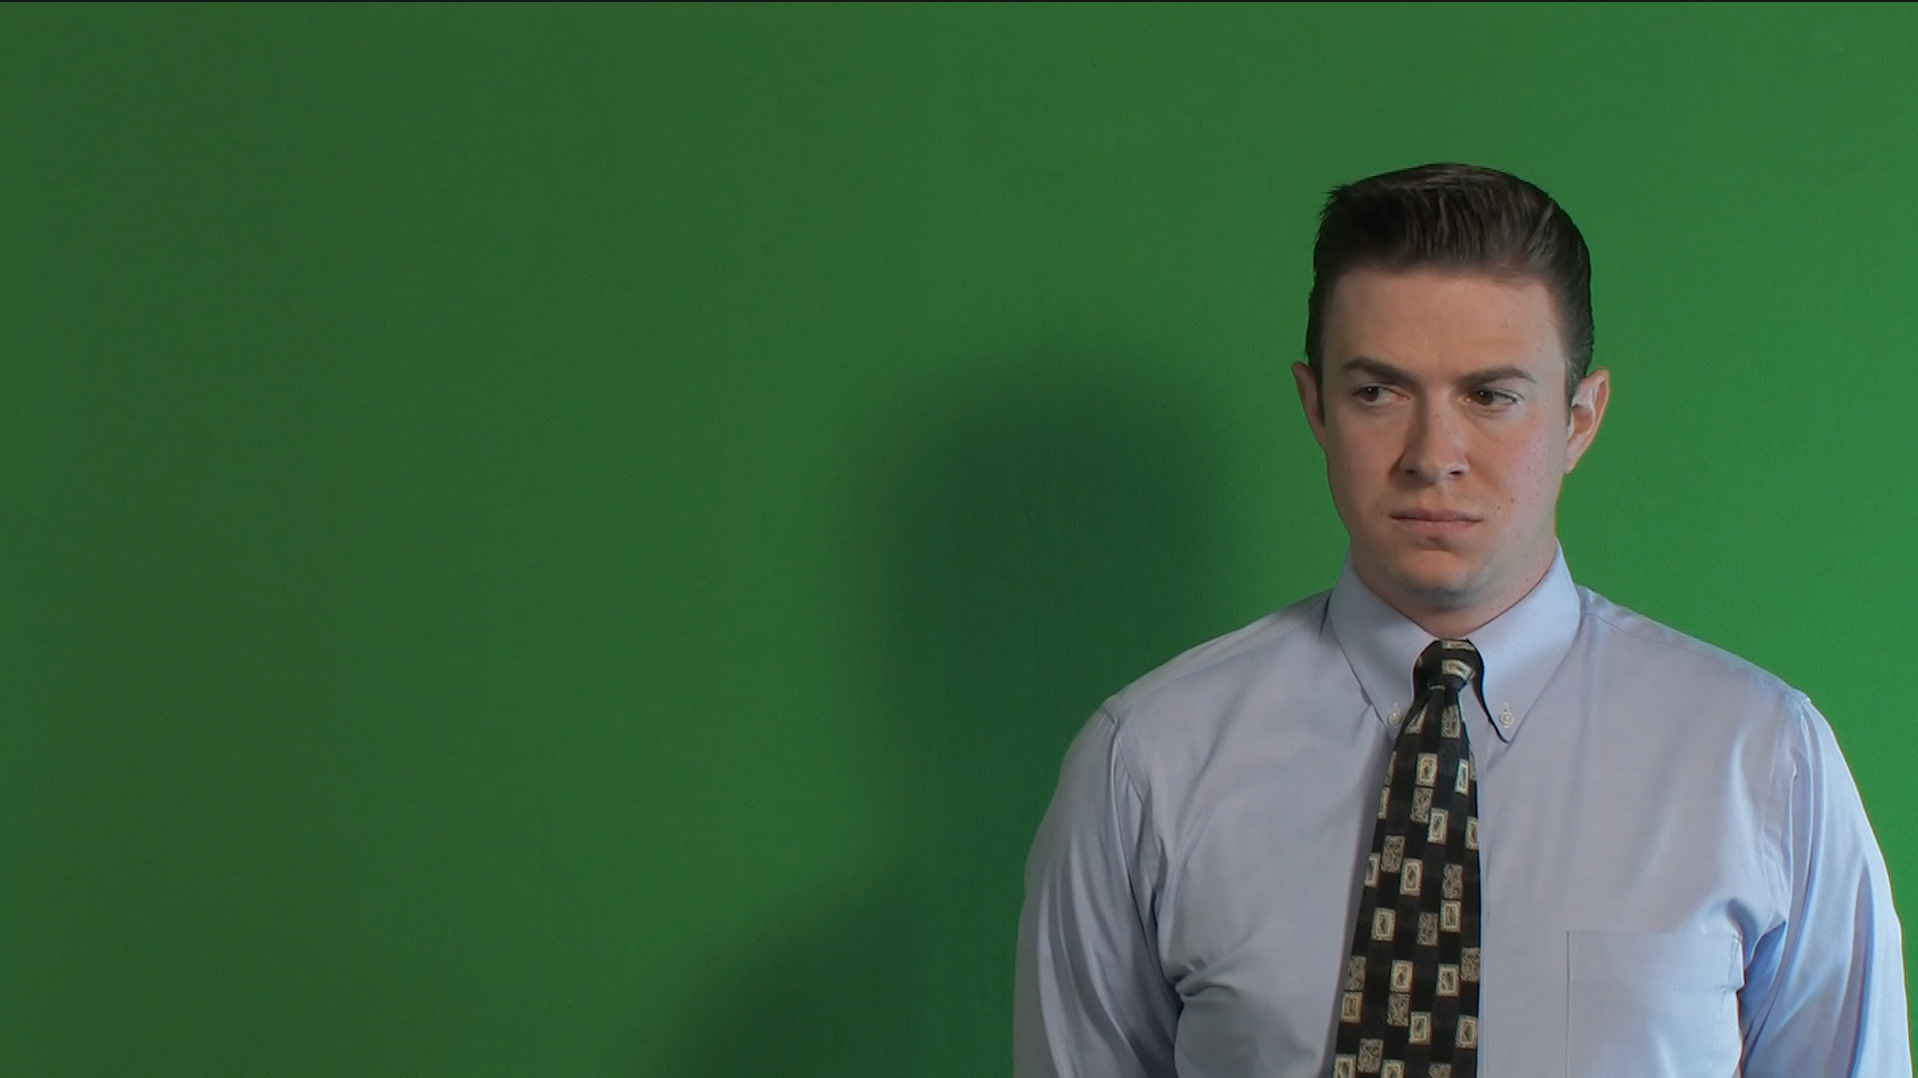
This is Andrew. What I should have done is move him away from the green background to avoid him casting a shadow, because I want to control where that shadow falls and what it looks like in editing, not on the set.
The first step is to apply Effects browser > Keying > Keyer. That solved the problem of the errant wall shadow. But, the key isn’t perfect.
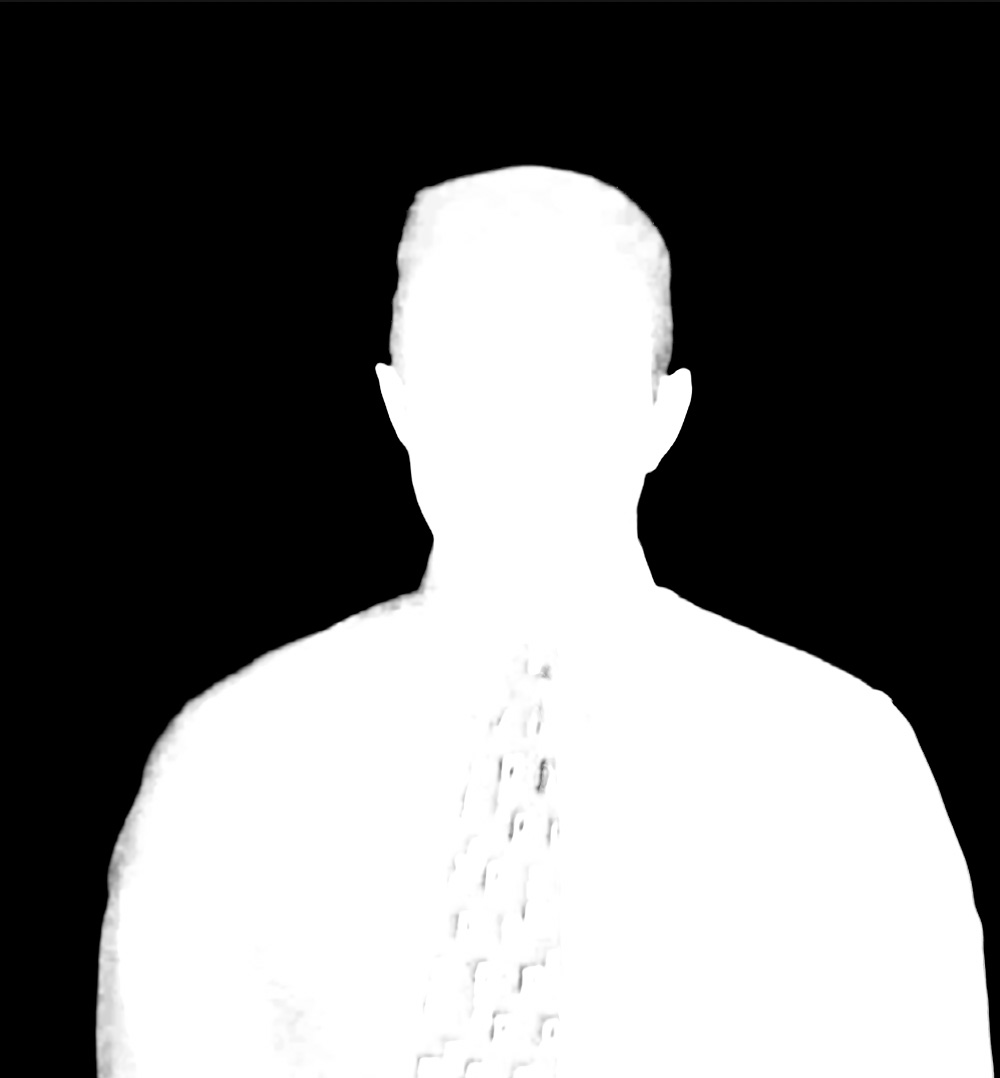
When I switch to alpha mode, we can see tearing around the edges of his shirt, his head and holes in his tie.
(Click to see larger image.)
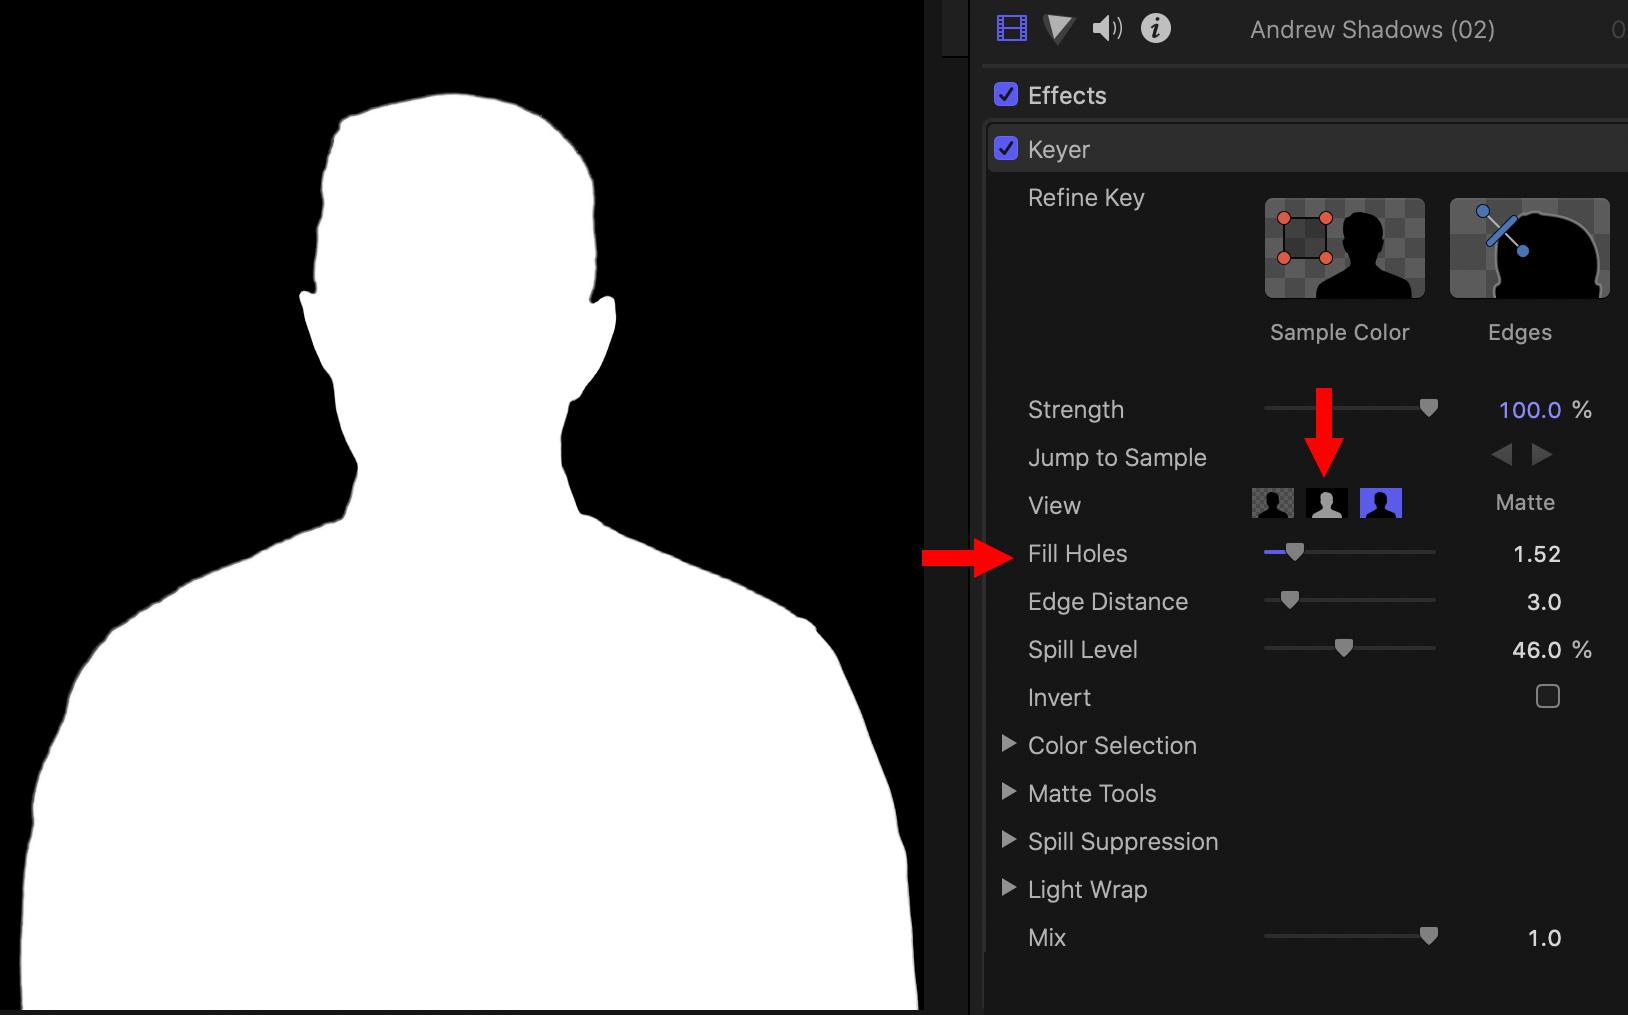
The top red arrow indicates which button to click to get into alpha mode. Our goal is to make the foreground solid white and the background solid black.
To fix this, drag the Fill Holes slider until all the gray patchy areas are gone.
Click the left View icon (to the left of the top arrow) to show the composite image.
TWEAK THE BACKGROUND
NOTE: You don’t need to tweak the background to create a drop shadow, but, as long as we are here, let me show you a couple of effects that can improve the look of any background.
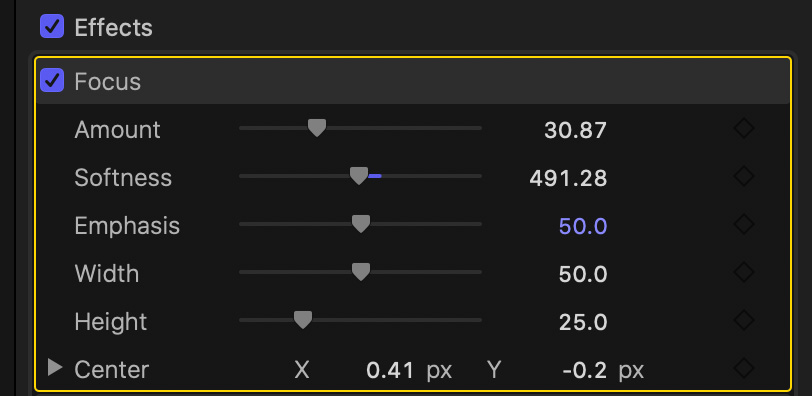
Select the background image and create some depth of field by applying Blur > Focus. Put the white dot in the middle of his tie.

Here’s what it looks like now. Hmm… I’m seeing beveling at the edges which makes the image look 3D and rounded. To fix this, go to Transform > Scale and increase the size of the background to 105%.
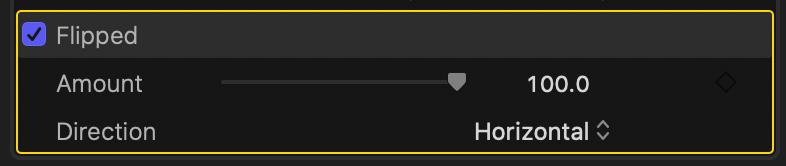
Much better. Next, create room for his shadow. Apply Distort > Flipped.

Here’s the finished background.
ADD AND MODIFY THE CAST SHADOW
Select the green-screen clip and apply Stylize > Drop Shadow.
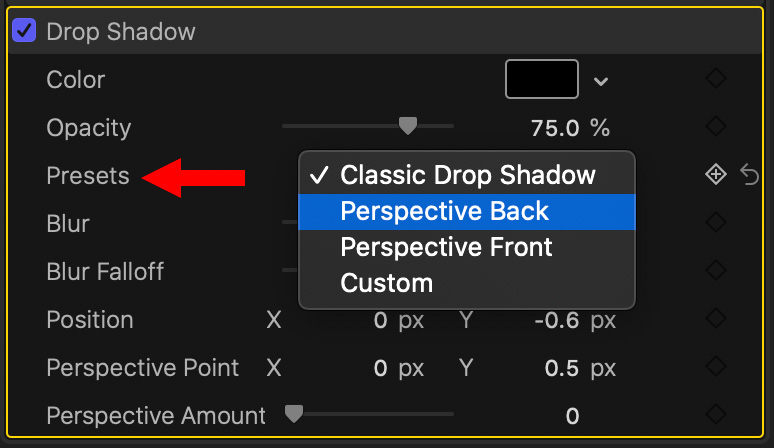
Change the Preset to Perspective Back.
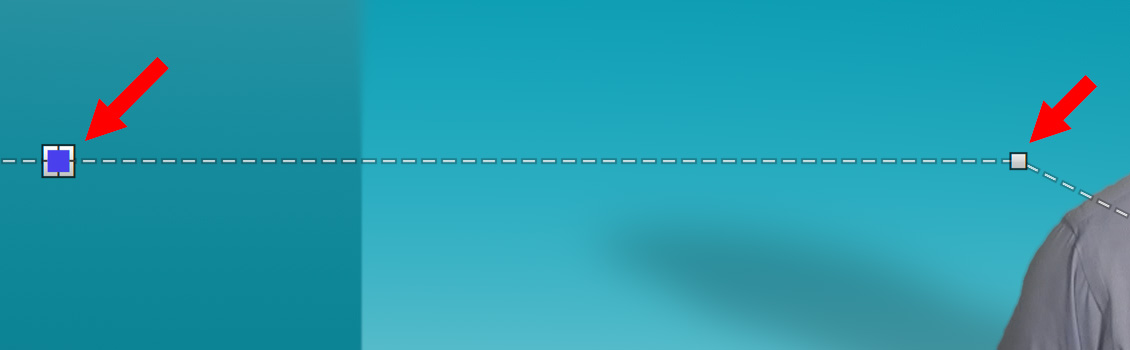
To reposition the shadow, drag the blue control square. To widen the shadow, drag one of the white corner control dots. Adjust the size and position till it looks good to your eye and matches the direction of the lighting.
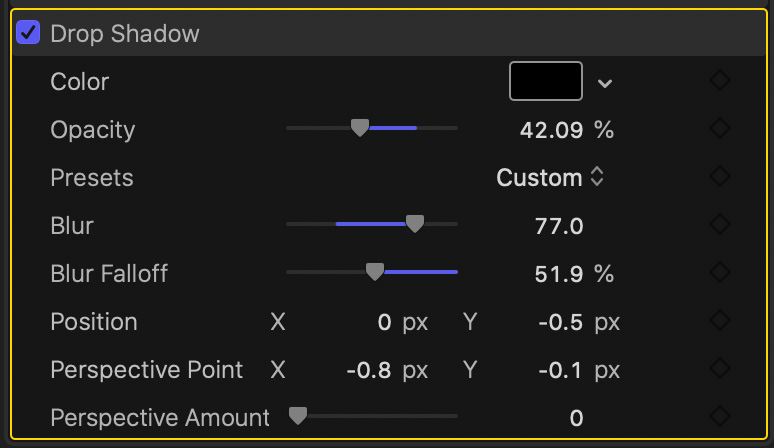
Here are the other drop shadow settings I used, I adjusted almost all of them.
Here’s the finished effect. The really nice thing about this effect is that the shadow will move as Andrew moves. Very, very nice!

4 Responses to Final Cut Pro X: Create a Cast Shadow
Amazing! Thank you Larry
Thanks Larry. Another great tip!
Thanks Larry. Another wonderful and educational tip!
Thanks for this tutorial. I didn’t even know this could be done!