
![]() [ UPDATE Aug. 11, 2023. When I first wrote this tutorial I explained how to display the correct color space on a monitor. Except… I was wrong. I removed that section and replaced it with a link to an article that provides correct instructions.]
[ UPDATE Aug. 11, 2023. When I first wrote this tutorial I explained how to display the correct color space on a monitor. Except… I was wrong. I removed that section and replaced it with a link to an article that provides correct instructions.]
The easiest way to display any panel full-screen in Adobe Premiere is to select the panel you want to enlarge. This displays a blue box around the panel.
Then press the grave accent key (`). On US keyboards this is just below the ESC key. This enlarges the selected panel full screen.
I use this constantly to see a larger version of the timeline, Project panel or Program monitor. This works regardless of whether you have one or more monitors attached to your computer and regardless of the resolution or color accuracy of the monitor.
Press ESC or the grave key (`) to return to normal size.
UPDATE: HOW TO SET COLOR SPACE
However, if you need to trust the colors the monitor is showing, you need to set its color space and resolution
Here’s how to accurately set the color space of a computer monitor.
HOW TO CHANGE MONITOR RESOLUTION
To use a monitor as a “Retina Display,” you need to set the monitor resolution to 1/2 its total resolution. For example, set a 4K (3840 x 2160) monitor to 1920 x 1080.
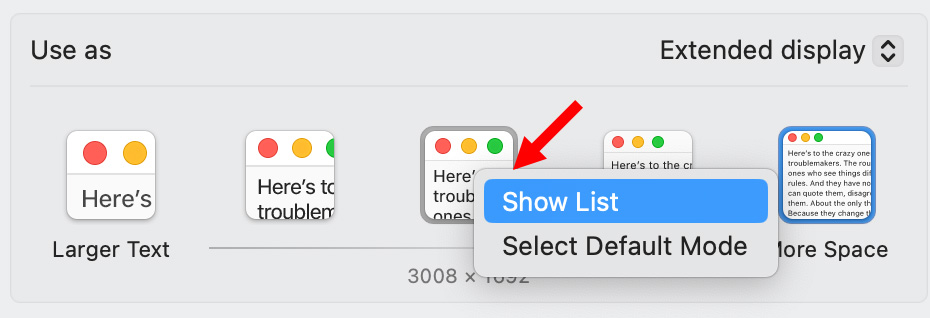

NOTE: 5K monitors would also support 4K (4096 x 2160) and 5K (5120 x 2700) resolutions.
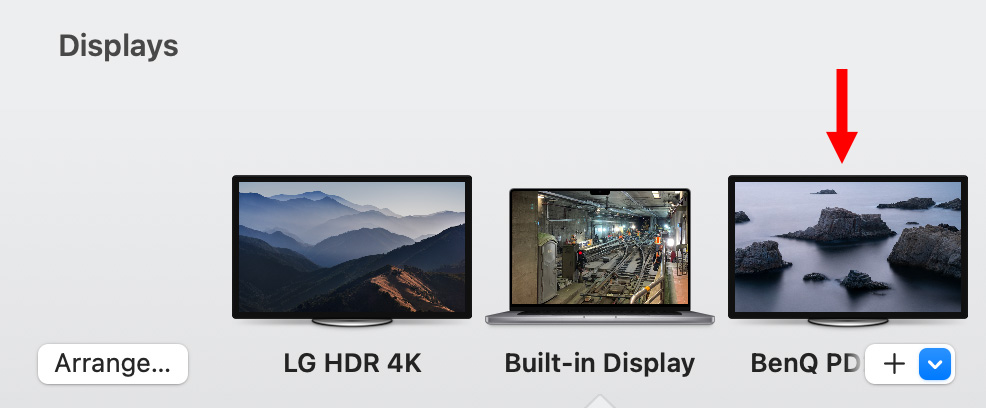
DUAL MONITOR DISPLAY
My system currently has three monitors attached. (This technique works the same if you only have two monitors.)
In my case, I want to put Premiere on LG monitor #1, display full-screen color-accurate video on LG monitor #2 and leave my laptop monitor free for other applications – like email, web browser or taking notes.
The benefit to this setup is that, provided my second monitor accurately displays Rec. 709 color space, I can use that second monitor for color grading and know that the colors I’m seeing on it are what the viewer will see.
Here’s how.
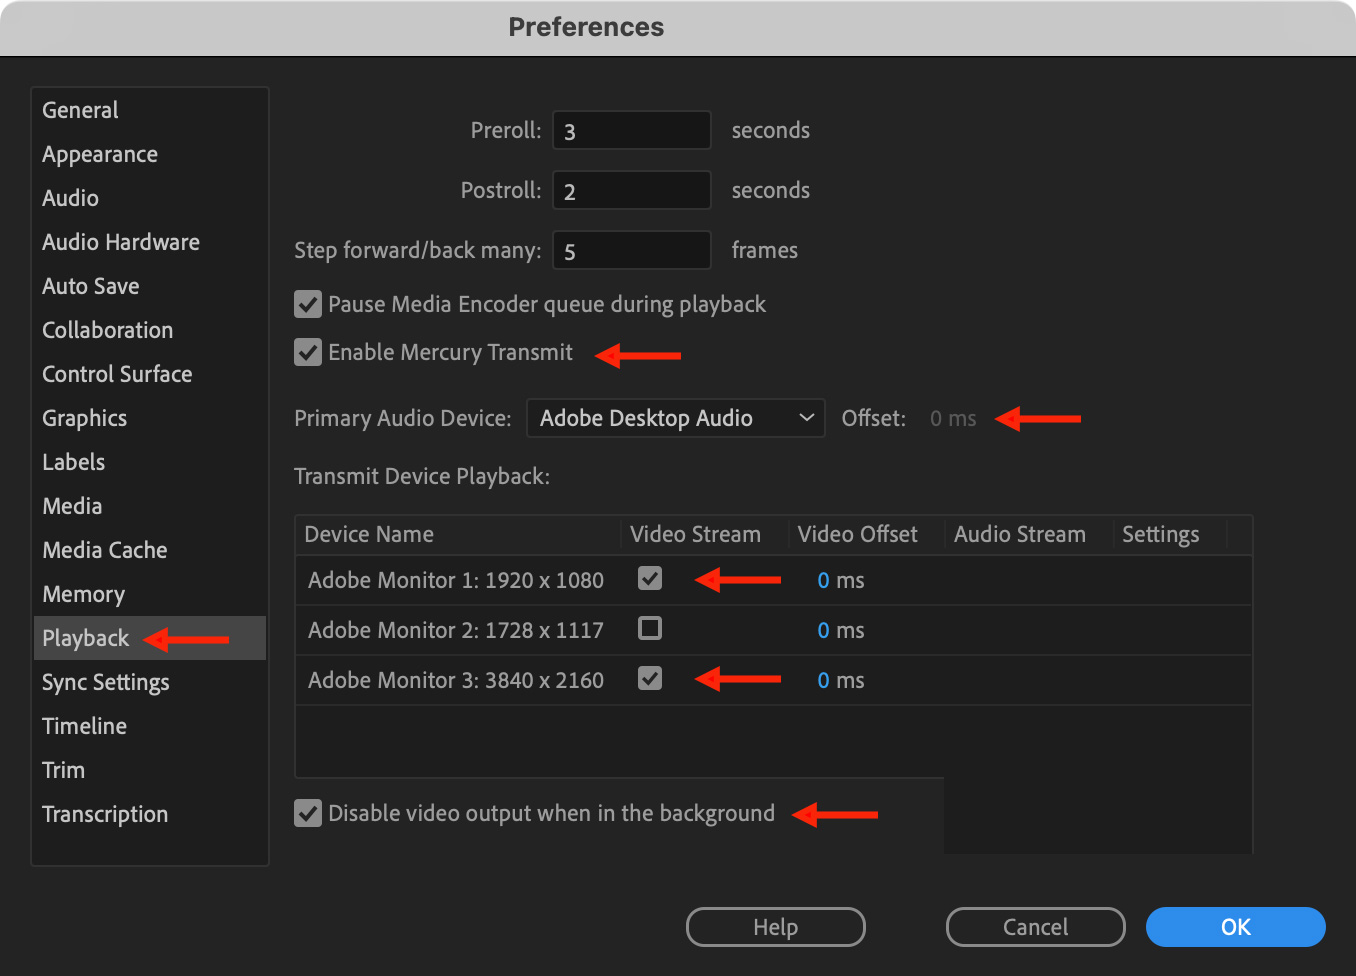
I make sure the Premiere interface is displayed on the 1080 monitor. Then, the instant I click a clip in the Timeline or display it in the Source monitor, it will appear full-screen in the second monitor.
Use all the standard keyboard shortcuts to play your sequence, then watch it full-screen on the second monitor.
2 Responses to How to Display High-Quality Full-Screen Video in Adobe Premiere Pro [u]
My PC doesn’t have an “Apple Menu” !
=:-0
…any suggestions for non fruit-based computing?
…It’s more a “Ventana” issue 😉
Gregg:
Works the same way. Same preferences. The only thing I don’t know is how to set display preferences in the Windows control panel.
Larry