
![]() Animated GIFs are short (1-10 second) animations that are posted to a web site and viewed in a web browser. These could include anything from text to graphics to video. While there are a number of stand-alone GIF creation programs, you can create them directly in Apple Motion. Here’s how.
Animated GIFs are short (1-10 second) animations that are posted to a web site and viewed in a web browser. These could include anything from text to graphics to video. While there are a number of stand-alone GIF creation programs, you can create them directly in Apple Motion. Here’s how.
NOTE: This process requires Apple Compressor for GIF compression. These screen shots are from Motion 5.6.3 and Compressor 4.6.3.
GET STARTED
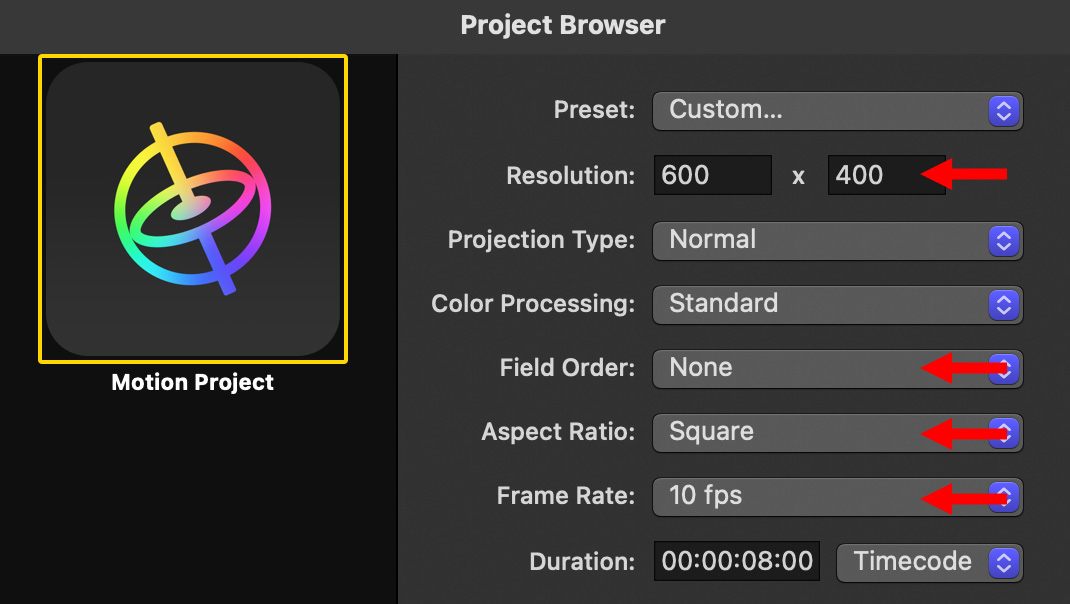
Open Motion, then, in the Project Browser, change the Preset to Custom. GIFs are not video, they are animations. Which means that the normal settings for video don’t apply. Here are the settings you need to change.
CREATE AN ANIMATION
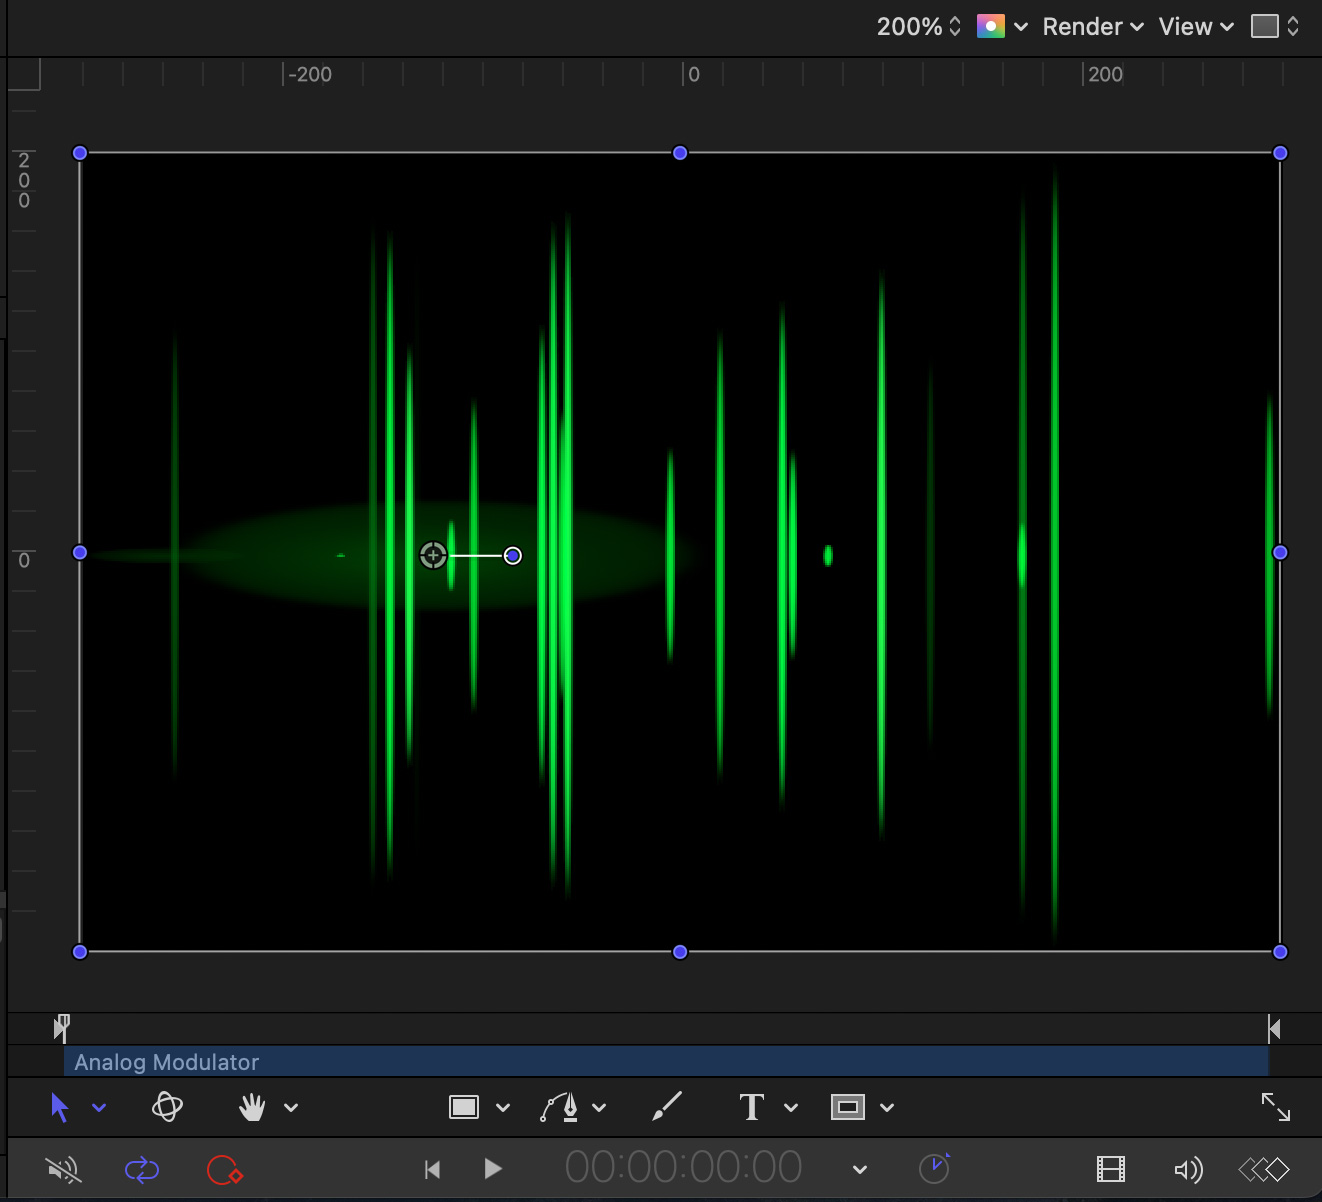
Because the purpose of this tutorial is not to explain how to create animation in Motion, I’ll just use this particle emitter “Analog Modulator”.
To this, you could add a video clip, text… anything, in fact, to make your GIF eye-catching and memorable.
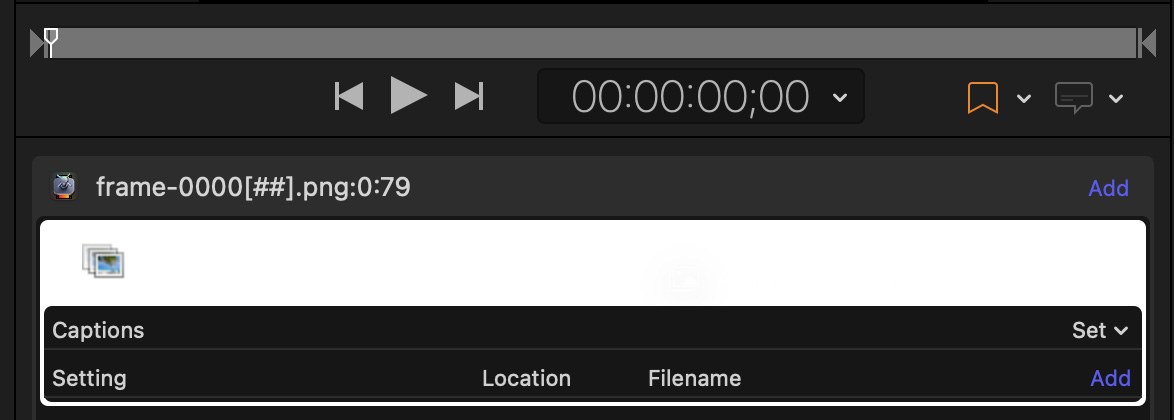
OUTPUT AN IMAGE SEQUENCE
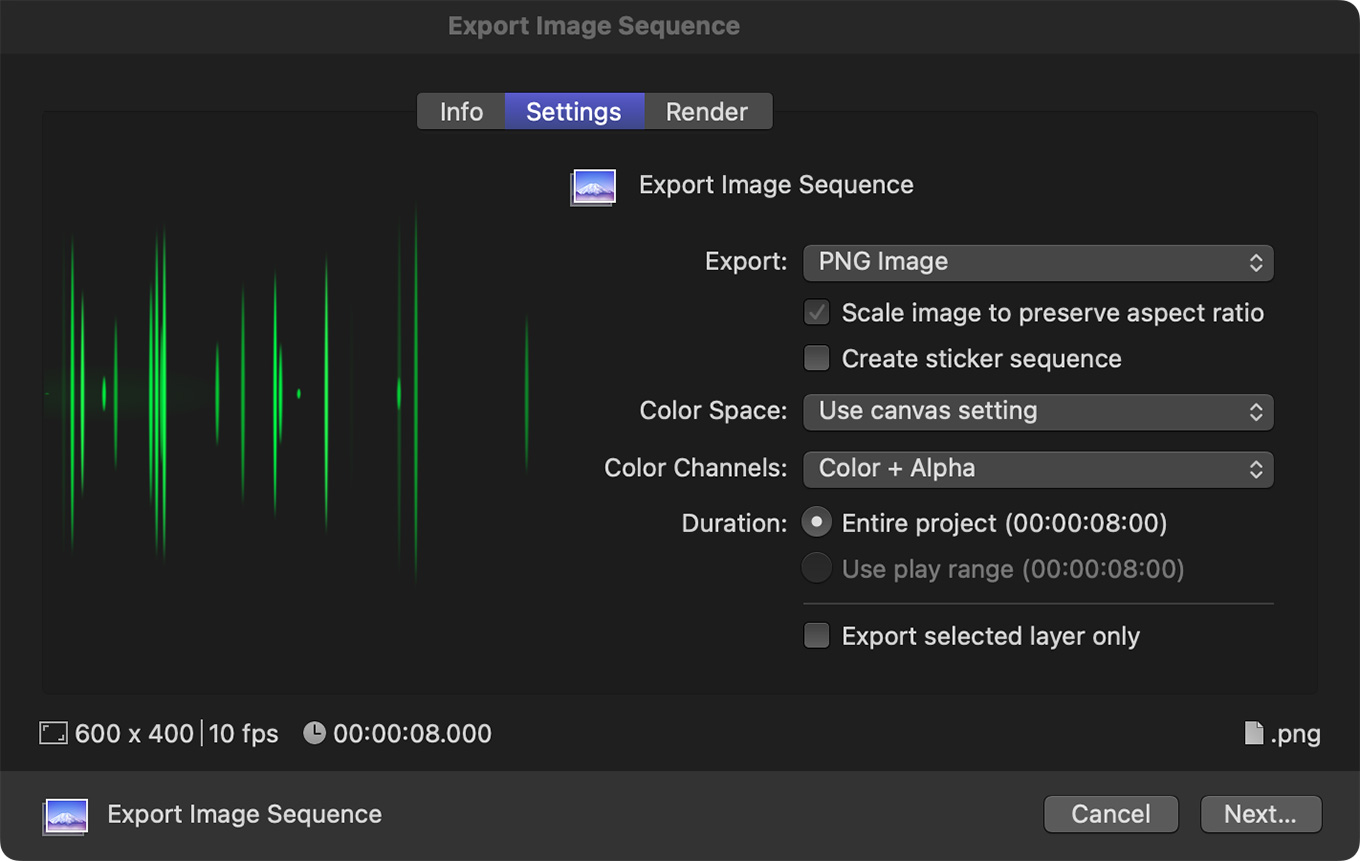
This is the first part of a two-step process:
You are now done with Motion. There’s a faster – and automated – way to compress these, but I first need to show you how to compress this folder using Compressor.
A QUICK SIDEBAR ON OTHER GIF SOFTWARE
Once the image sequence folder is exported, you can use any 3rd-party GIF compression software to turn it into a GIF. So, Compressor isn’t required, simply that its integration with Motion allows the compression process to be automated.
COMPRESS USING COMPRESSOR
The second step is to compress these individual images into a single GIF using Compressor.
Open Compressor and choose File > Add Image Sequence. (Shortcut: Option + Cmd + I). Navigate to the image folder you exported from Motion. (Modulator, in my example.)
NOTE: All you need is to select the folder, not the clips in it.
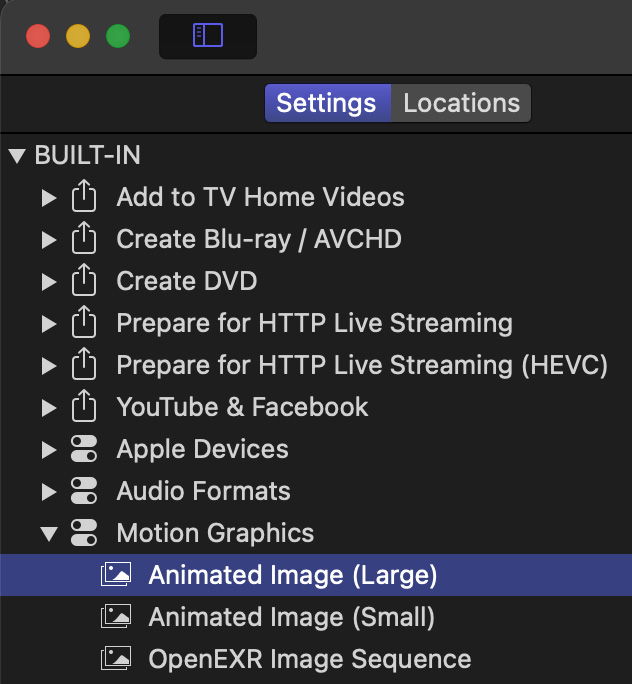
Go to Settings > Motion Graphics and drag Animated Image (large) on top of the name of the job.
The image sequence folder name turns white when the setting is dragged onto the right place.
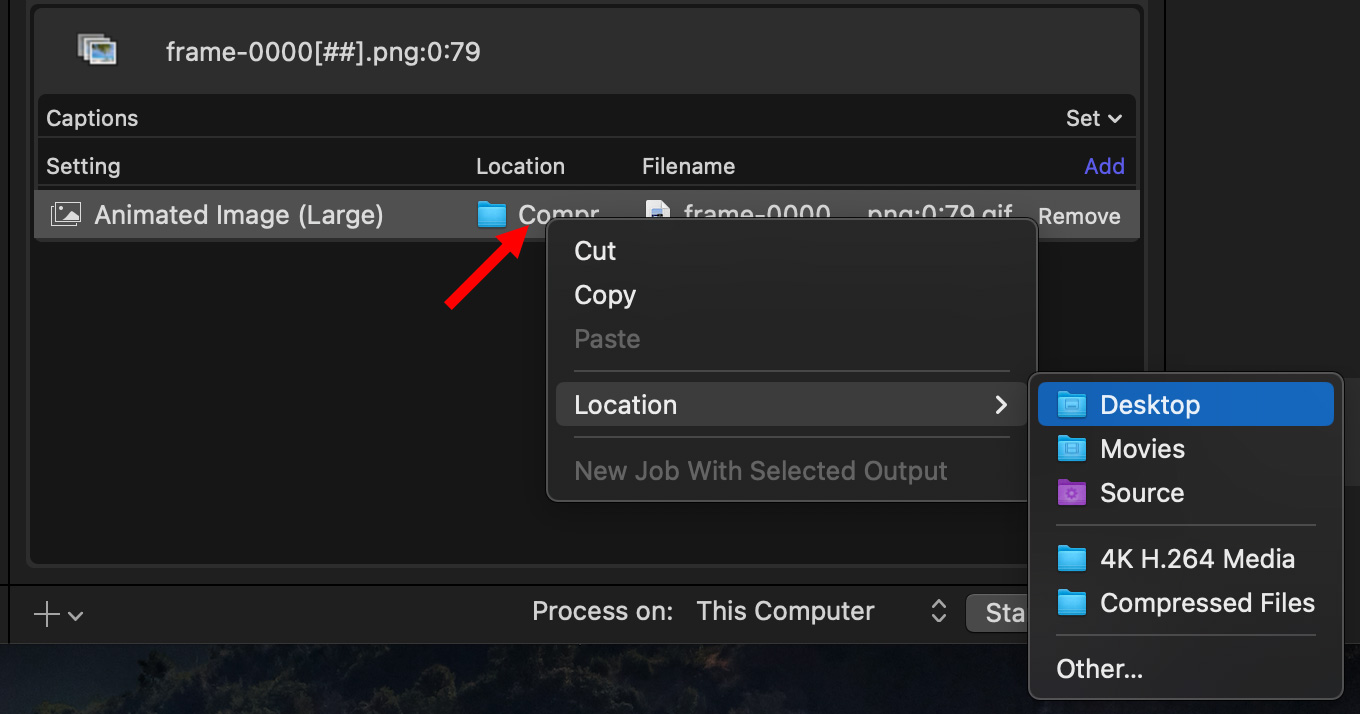
Right-click Location to be sure you are storing the file in the correct place, then click Start Batch at the bottom right.
In less than a minute, the finished GIF appears where you stored it. If, like me, you forgot to change the file name in Compressor, it is easy to change in the Finder.
To preview the GIF, open it in the web browser of your choice.
A SECRET FASTER WAY
If you create a lot of GIFs you can make this process even faster and bypass Compressor altogether.

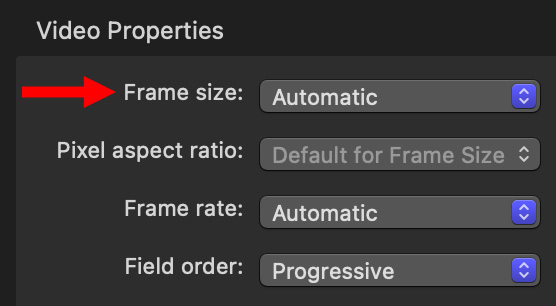
NOTE: The rest of the settings are fine. Be sure field order is set to Progressive.
RETURN TO MOTION
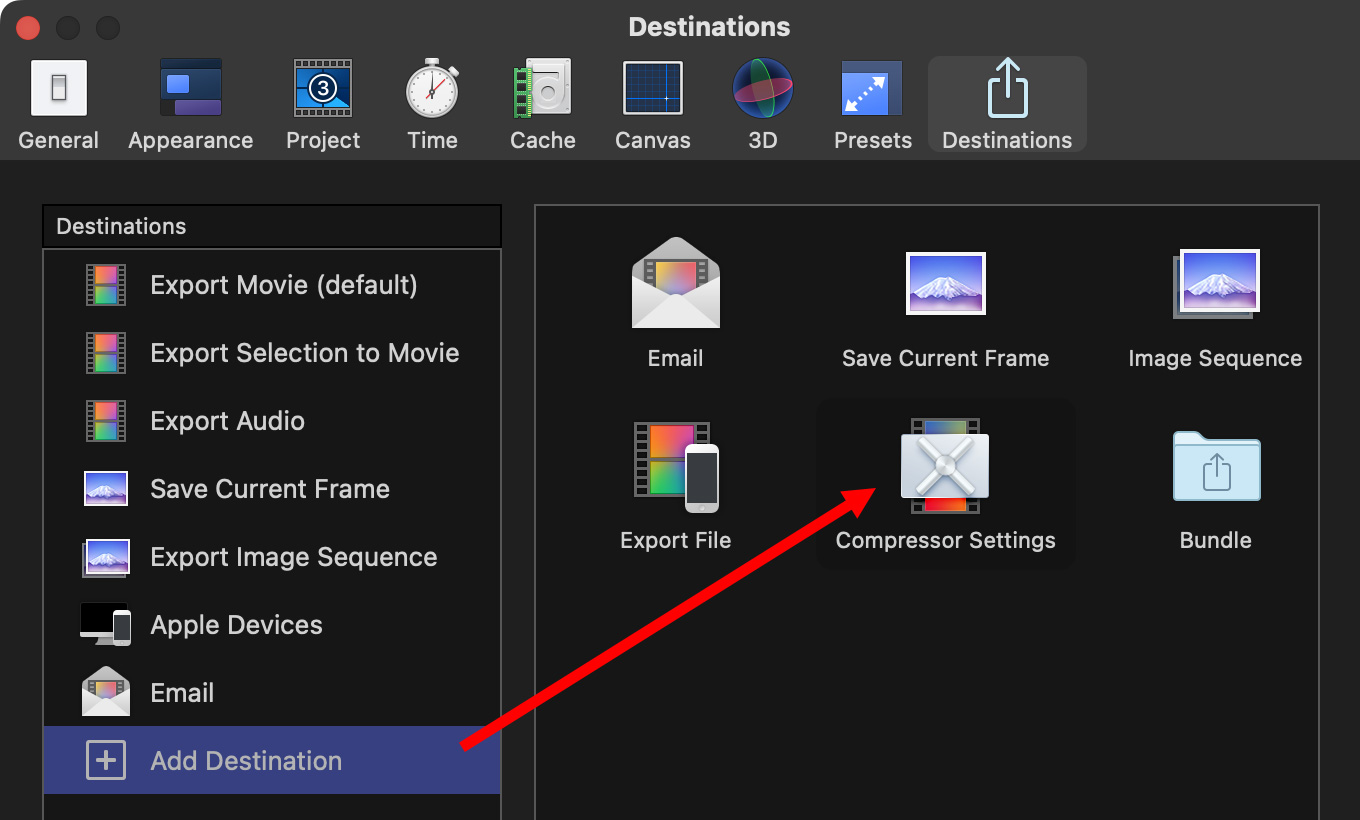
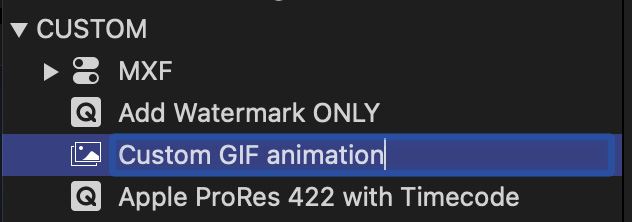
Before we re-open the animation project in Motion, we need to make a change to the destination settings. We only need to do this once.
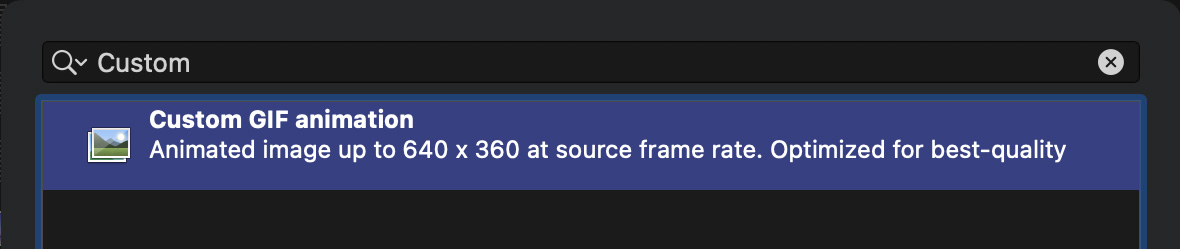
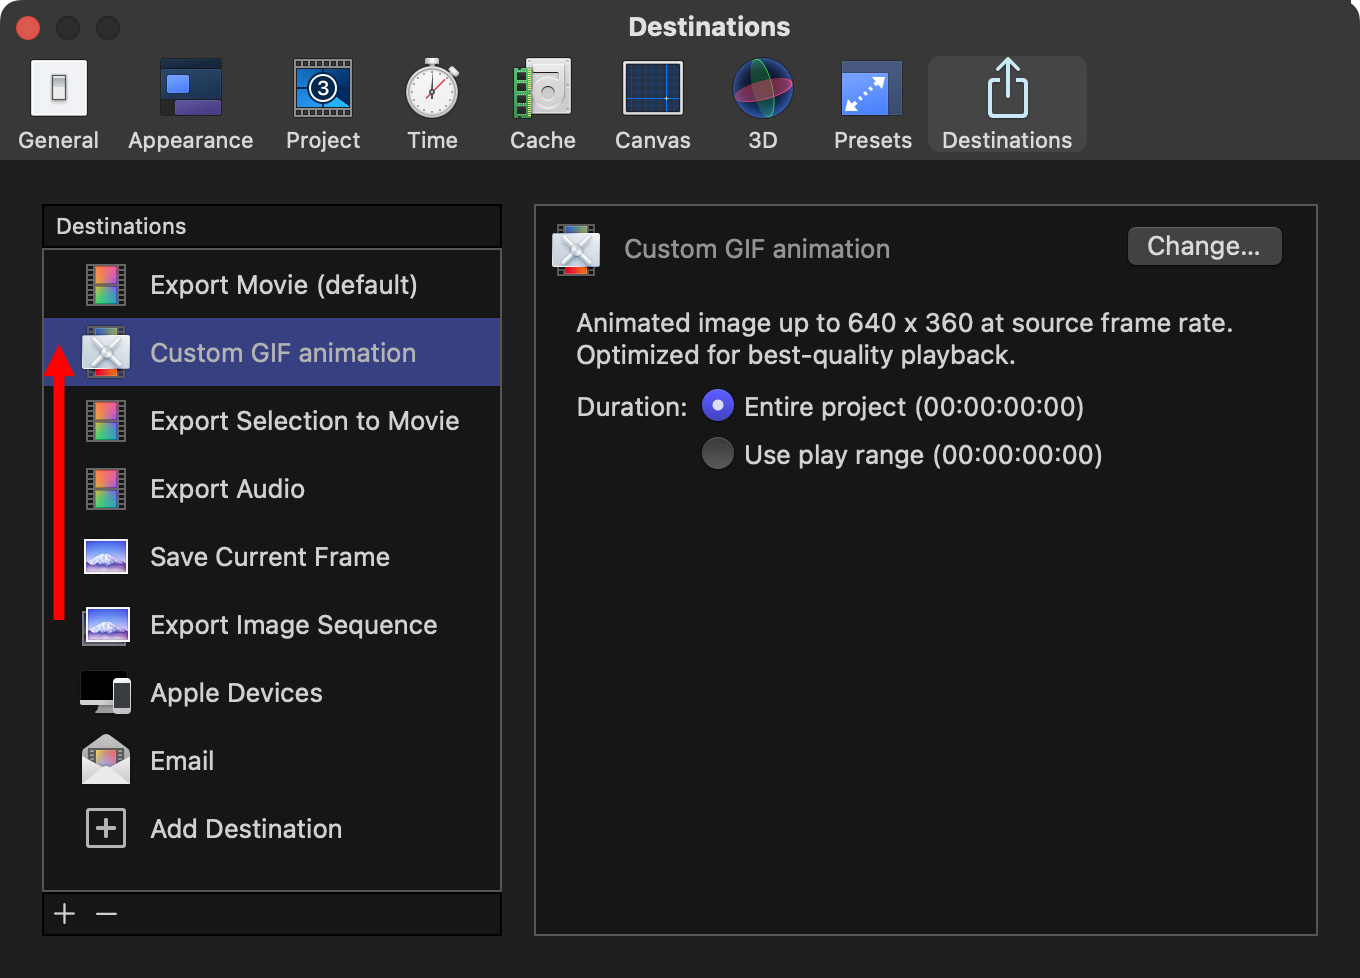
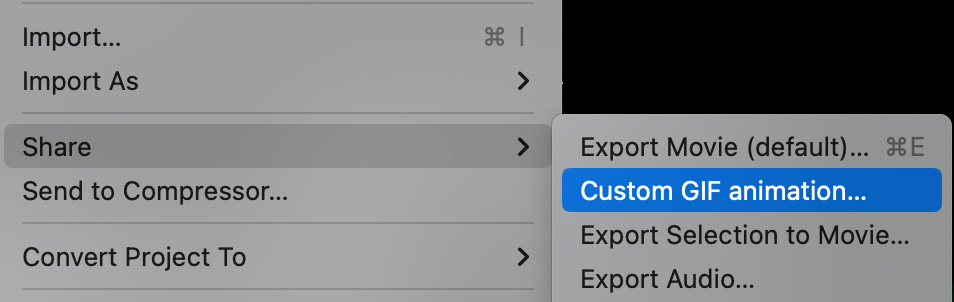
With that one change, this option now appears in your Share list.
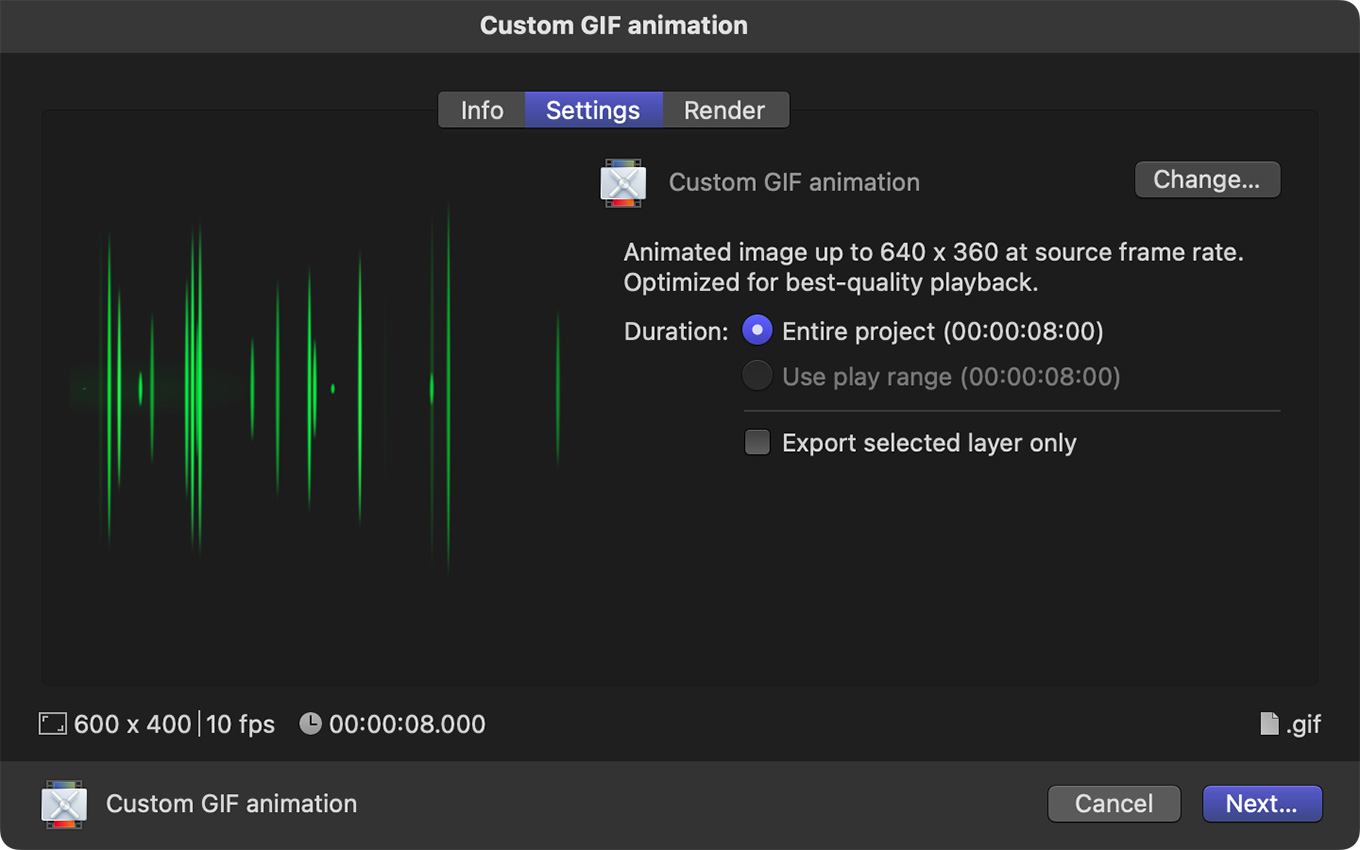
When you choose it Motion will automatically:
This method combines the animation creativity of Apple Motion with the speed of an automated background process that creates GIFs at blinding speed.
EXTRA CREDIT
Thanks to Jeffrey for the tip that led to this article.