
 Recently, I’ve gotten a lot of email from people trying to capture video from video tape. This used to be easy… but with changes to Adobe Premiere Pro and Apple Final Cut Pro, it has become more challenging.
CAUTION: During a recent webinar I recommended LifeFlix, an application specifically designed to capture from tape. However, since then I’ve gotten reliable reports that it does not always work. PLEASE download the free trial and make sure it works for you before purchasing – especially if you are working with semi-pro or professional video decks.
This workflow was written by Michael Powles, a UK-based videographer.
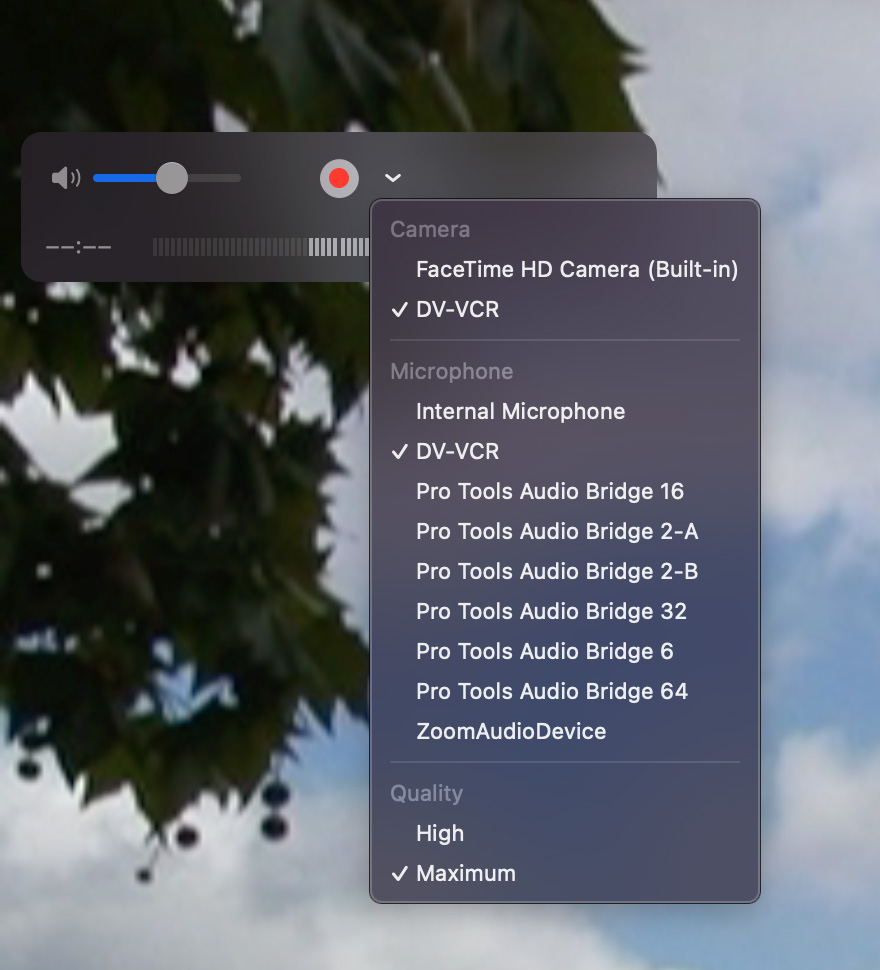
CAPTURE MEDIA
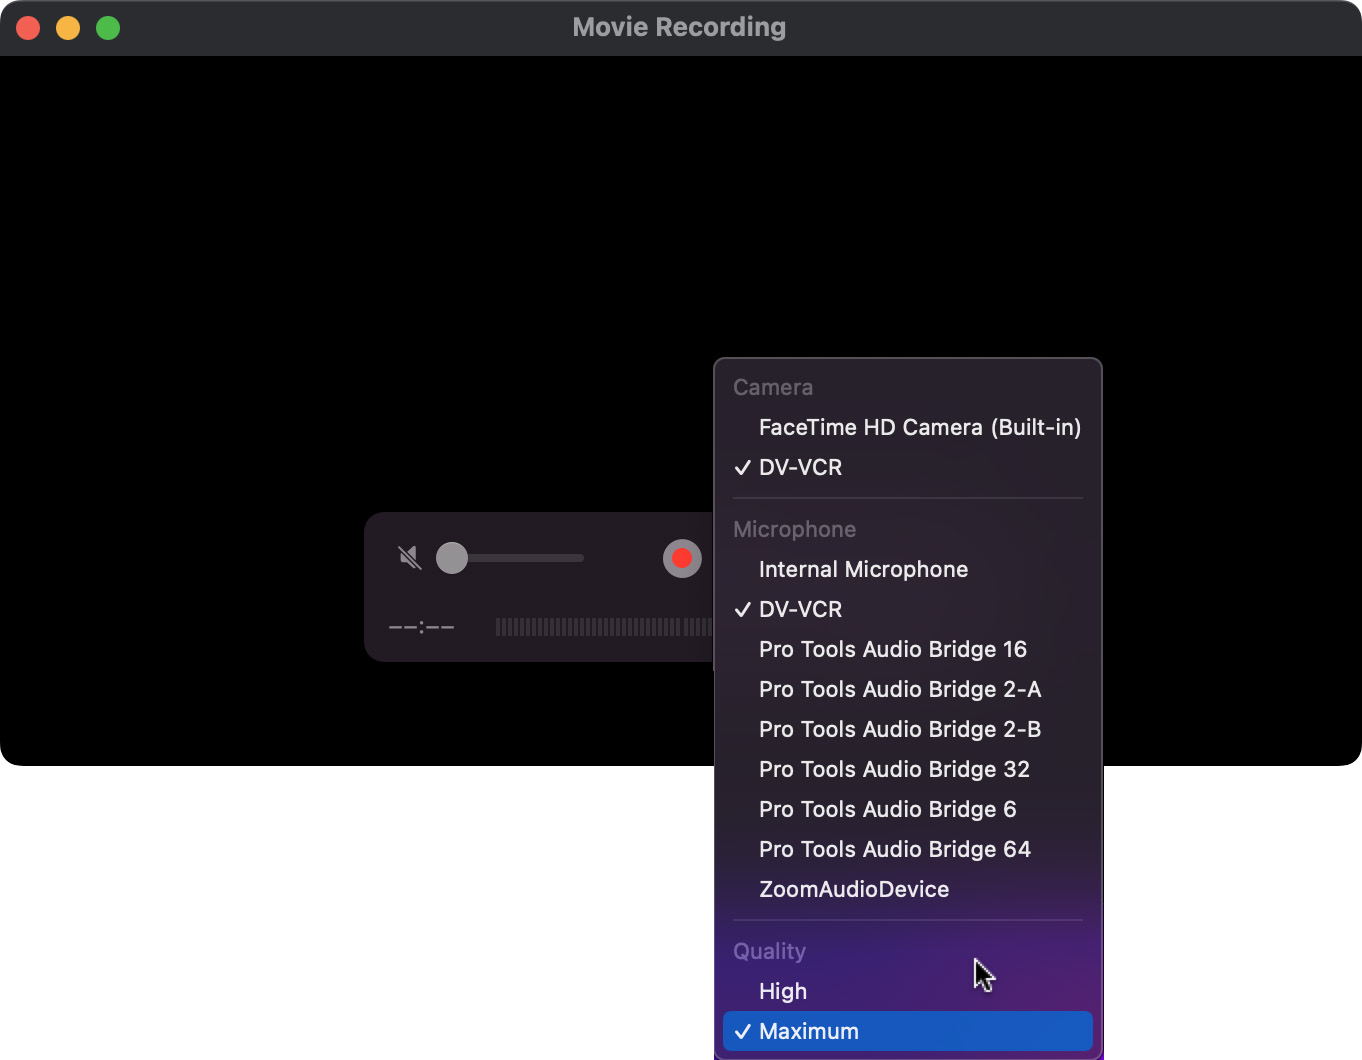
(Image courtesy of Michael Powles.)
You can either capture the entire tape or sections of it. However, sections are determined manually during playback, you can’t set an In or Out.
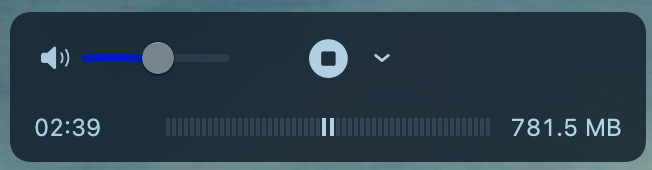
During capture, the left timer displays the increasing duration of material captured. The right timer displays the size of the captured media file.
FRAME SIZES
DV tapes can be either NTSC or PAL using 4:3 or 16:9 aspect ratios. This means that there are four different possible frame sizes. Plus two more frame sizes for broadcast NTSC SD formats – because … sigh… life was not simple.
NOTE: Making this more complex is that almost all DV video is interlaced and uses non-square pixels. Worse, the pixel shapes change between a 4:3 and 16:9 aspect ratio. These numbers assume you are capturing non-square pixels.
Here’s a table that explains them.
| Video Format | Capture Size |
| DV-NTSC 4:3 | 720×480 |
| DV-NTSC 16:9 Anamorphic | 853×480 |
| DV-PAL 4:3 | 720×576 |
| DV-PAL 16:9 Anamorphic | 1024×576 |
| 601-NTSC 4:3 | 720×486 |
| 601-NTSC 16:9 Anamorphic | 853×486 |
(Image courtesy of Michael Powles.)
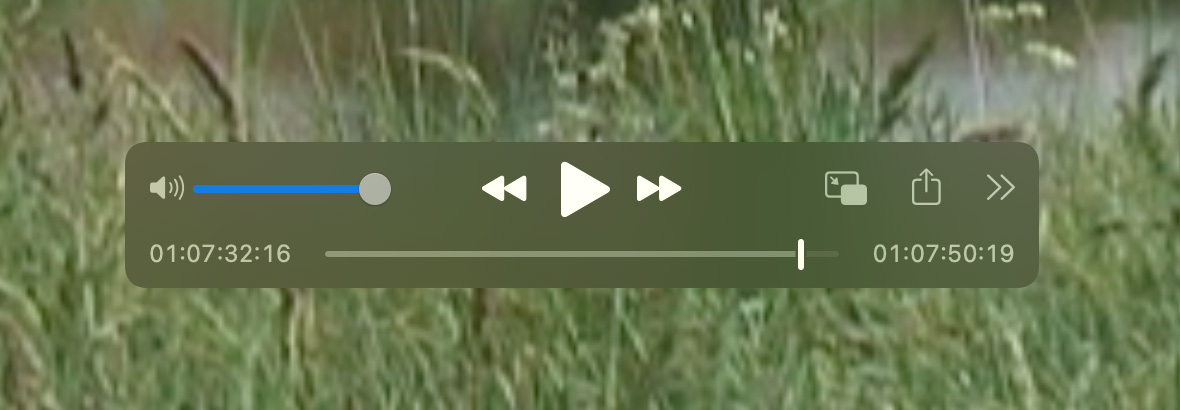
When capturing is complete (either when the selected part of a tape is captured and stopped manually or the end of the tape reached), the capture window will show the file as ‘Untitled.’ The duration display on the playback timeline shows the in and out time code, which matches the timecode on the camera tape.
SAVE MEDIA
It is important to note that the codec the file is saved into depends upon how the file is saved.
Option 1 – Create H.264 (Compressed format)
Option 2 – Create ProRes (Uncompressed format)
In my test, the duration of the captured file is one minute eight seconds. The file sizes are:
I hope this is of interest to you and your readers.

29 Responses to UPDATE: Capturing Video from Tape for Premiere Pro or Final Cut Pro
← Older Comments-
 Alan says:
July 15, 2024 at 8:54 am
-
 Larry says:
July 15, 2024 at 9:18 am
-
 Alan says:
July 15, 2024 at 10:12 am
-
 Edward Scott says:
October 22, 2025 at 7:54 am
-
 Larry says:
October 22, 2025 at 7:59 am
← Older CommentsLarry,
Thanks again for your reply.
I did capture the video by using QuickTime and the instructions in your article here, so it came in as 704×480, Linear PCM, Apple Pro Res 422 (color Profile SD(6-1-6)).
I was wondering about export…..and the fact that the DV is so small I think most people/ family will just hit “Full Screen” on the video. As far as I can tell I don’t see a big difference at full screen between exporting from Premiere Pro at High Quality 1080 (H.264) and exporting at Match Source Adaptive High Bit Rate…(Match source obviously a lot smaller but at “Full Screen” when viewing seems similar, maybe a little smoother than the HQ1080?)
Any thoughts on this….would I be best to export at Match Source and people can enlarge it on their computer displays if they want?
Thanks,
Alan.
Alan:
The difference between these two is where scaling occurs. High Quality 1080 scales the video at time of export. Match Source leaves the video at 100% with scaling at the user’s TV. I would opt for the second, unscaled, option.
Why? Given the current speed of image enhancement via AI, in coming months/years it will be possible to take your DV footage and up-res it so it looks great. If it is already scaled, you are baking artifacts into it that will be hard to remove in the future.
By the way, good job capturing into ProRes. That preserved all the color in the original video.
Larry
Thanks again Larry, really appreciate you input and expertise.I’ll go with the original size (Match Source).
Fascinating to think this could be uprezed in the future…(I’m a still photographer in Chicago) but already I have seen incredible results in Lightroom / PS uprezing raw files, and in noise reduction too…some of it is unbelievable!
Best wishes,
Alan.
This is an amazing article. Following your outline, I was able to capture DV CAM footage into my Mac Book Pro. However, I needed three adaptors from the deck (Sony DSR-45- DVCAM Recorder) to the computer:
1) DV to Fire Wire 800
2) Thunderbolt to Fire Wire adaptor
3) Thunderbolt 3 (USB-C) to Thunderbolt 2
The footage was saved as Apple Pro Res, 704×480, color profile: (6-1-6)
Edward:
Yay you!! This is excellent news – and, yeah, adapters are required. Good to get this done before FireWire support goes away in macOS Tahoe.
Larry