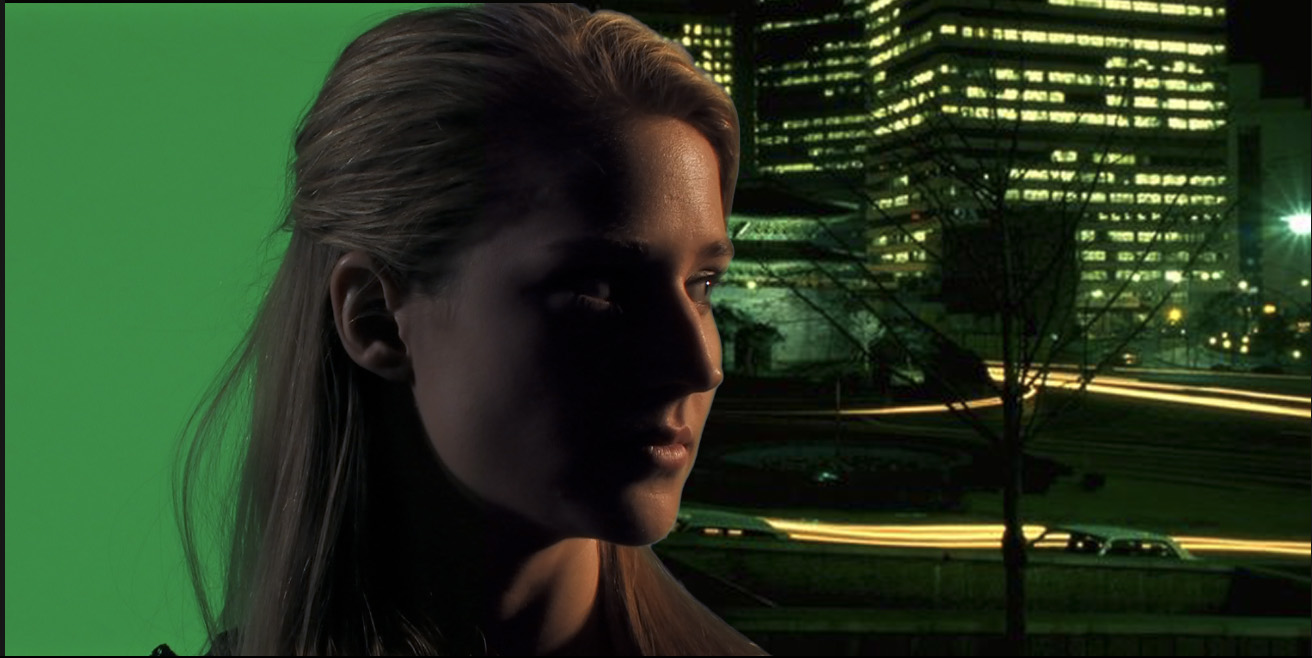
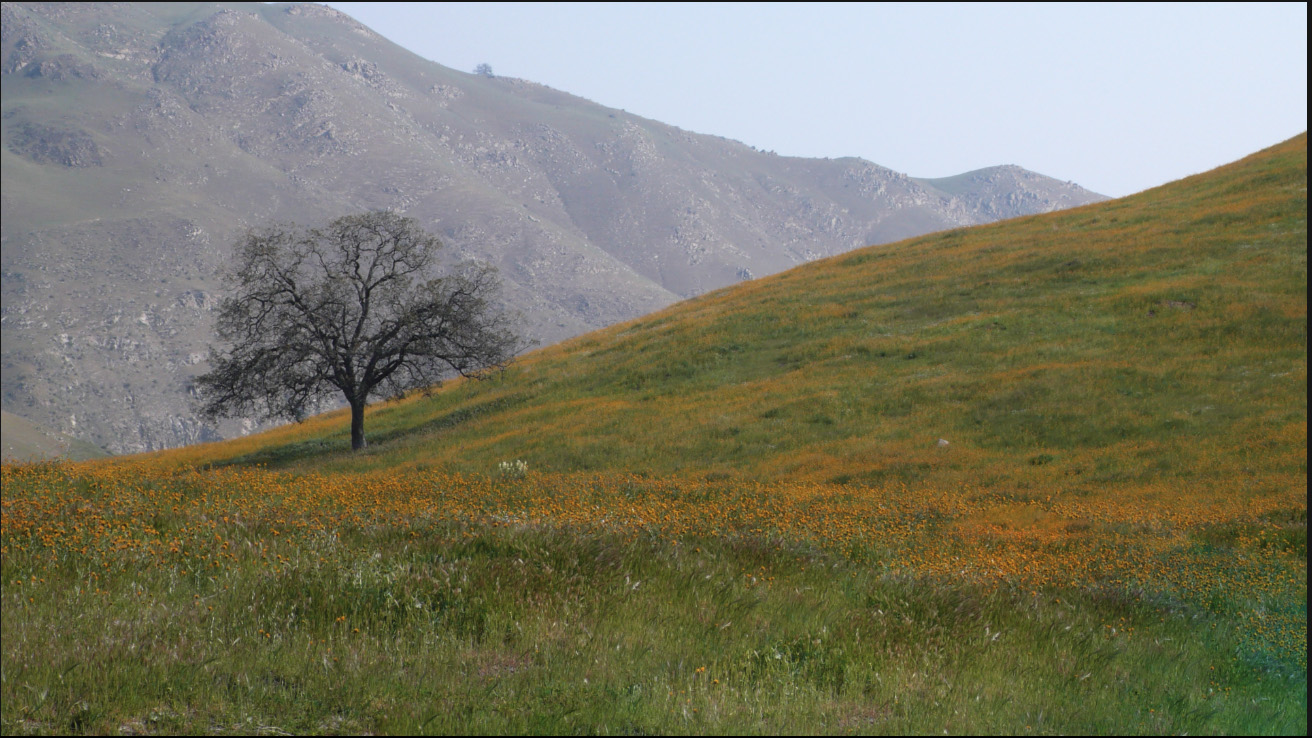
 In the past, if we needed to insert an actor into a different background, we had two choices: chroma-key (also called a “green-screen key”), and rotoscoping.
Rotoscoping is a highly labor-intensive process of drawing a mask (a boundary) separating the foreground actor from the background.
The problem with chroma-key is that it requires a special set and needs to be created during production. The problem with rotoscoping is that it takes a skilled artist and a lot of time.

(An example of chroma-key with half the background removed.)
Enter the “Magnetic Mask.”
The Magnetic Mask can “easily isolate people, objects, and shapes from the background using machine learning. You can then apply the mask to the rest of a video clip automatically, without time-consuming manual tracking or rotoscoping.” (Apple help)
NOTE: Another option is the Scene Removal mask, but this also requires special techniques during production.
HERE’S HOW IT WORKS

Edit the background clip into which you want to composite the source image, into the Primary Storyline.

Edit the source clip above the background in the Timeline.

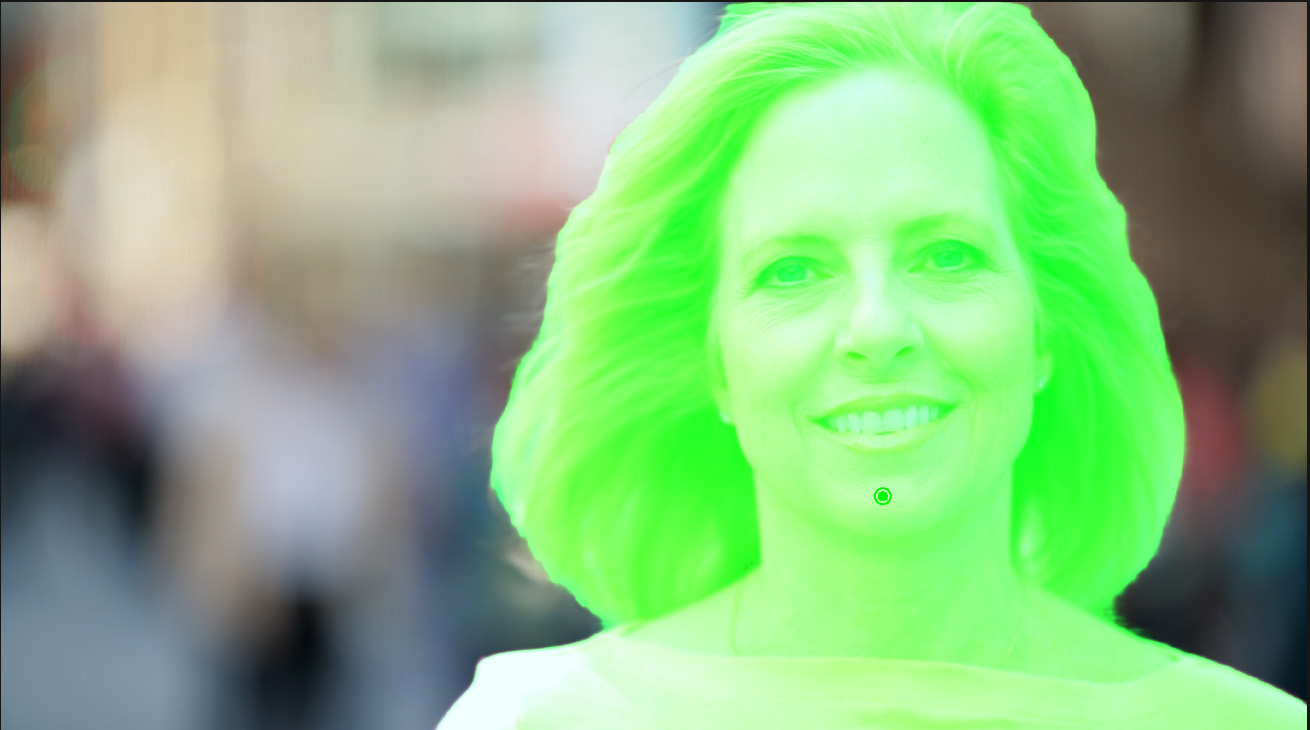
NOTE: This image is especially tricky because of all her blowing hair. Rotoscopists HATE blowing hair!

Select the source clip and drag Effects > Masks and Keying >Magnetic Mask either onto the Viewer, onto the Timeline source clip, or double-click the effect to apply it to all selected clips in the timeline.
I prefer dragging it from the Effects Browser into the Viewer directly on top of the portion of the image I want to mask. Final Cut highlights the masked area using a variety of garish colors – which I like because they clearly stand out from anything else in the image.
NOTE: The keyboard shortcut to apply the Magnetic Mask is Control + Cmd + M.

The Mask’s controls appear at the top. If you need to adjust the mask area, you can:
NOTE: Press the Option key to quickly toggle between the Add and Subtract eyedroppers. In general, you’ll only need a few extra control points.
In my case, the mask was perfect after I dragged it into the Viewer without me needing to make any adjustments.
NOTE: Yup, I was surprised by that, too!
ANALYZE THE MASK

Once you’ve got the mask you want, click the Analyze button in the top left corner (red arrow).
NOTE: Press ESC if you need to cancel the analysis.


FCP goes through and, under the control of machine learning, draws the mask for the rest of the frames in the clip. If you’ve never done rotoscoping, you have no idea just how much time this just saved!

When the Analysis is complete, click Done.

Frankly, the first time I did this, I was stunned at the quality of the results.
MAGNETIC MAST BEST PRACTICES
Here are Apple’s guidelines for effectively using the Magnetic Mask:
Here is Apple’s Magnetic Mask Help file to learn more.
5 Responses to The New Magnetic Mask in Apple Final Cut Pro 11
Cool! For me, who loves filming in the wind (for visual purposes…my poor sound departments…), this is great!
Aloha Larry,
Will you be creating a video tutorial on Magnetic Mask?
Mahalo,
Danny
Dan:
Yes, it’s scheduled for my webinar tomorrow: https://larryjordan.com/weekly-webinar/
Larry
Hi Larry, curious to where you land on the quality of magnetic mask vs. green screen chroma keying if you DO have the time to set up said screen. I am working in a production environment where we *could* use a green screen, but the project manager feels it is now not needed. I am seeing little bits of artifacting around the talent when using magnetic mask only. Seems like green screen is still the way to go if you are in a controlled environment. Or perhaps the best bet is to use a combination of both? Maybe I’m just being too nit-picky! 🙂
Jim:
There’s no perfect solution. The problem for green screen is hair. The problem for magnetic mask is hair (which it generally does well) and a lack of contrast between the foreground and background.
Both can do great work, but neither is perfect.
Larry