 Well, OK, so maybe this wasn’t such a great idea.
I was shooting a green-screen program and wanted some foreground. So I added a table to hold a computer and coffee cup.
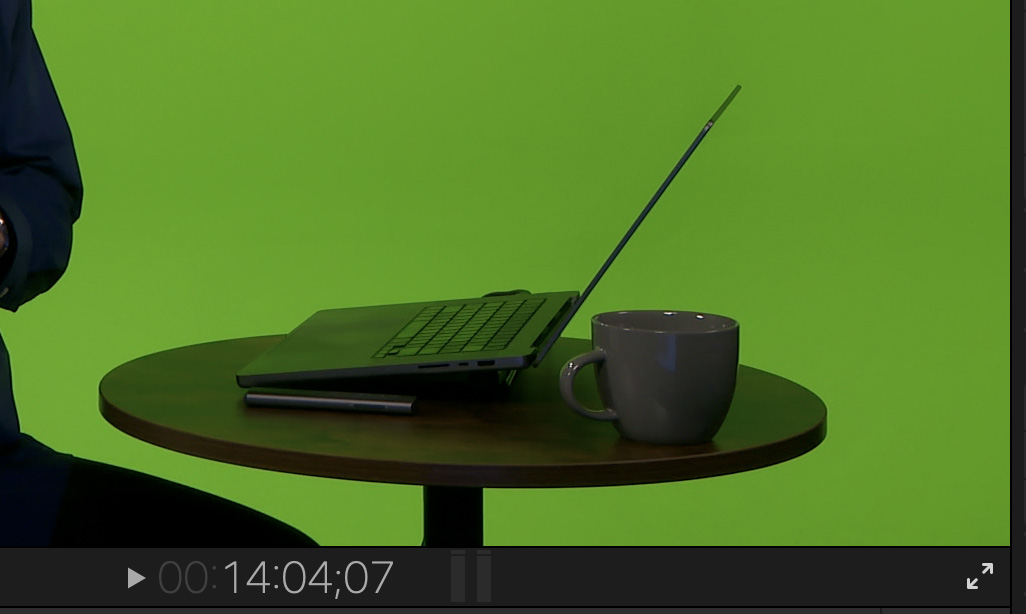
The idea was good. The execution was weak. The table, computer and coffee cup were reflective and radiated green.
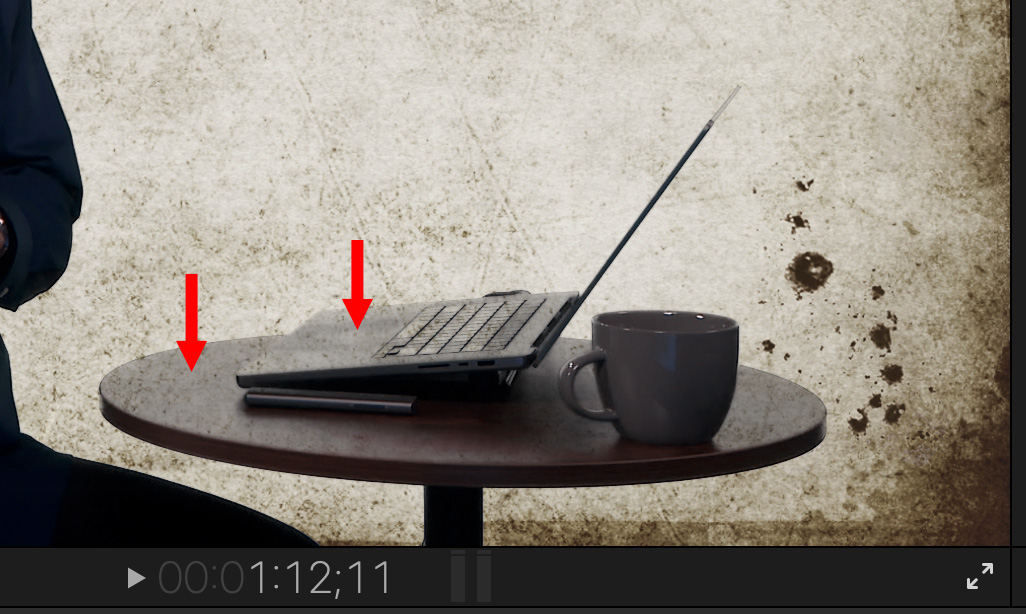
When I applied the key, all those foreground objects became translucent. None of the keying effects in Premiere or Final Cut could cleanly key this.
NOTE: Hawaiki Keyer 5 could, but that’s a story for another tutorial.
Still, there is a way to fix this that works in both Premiere and Final Cut. (And Resolve, for that matter. The process is the same.)
OVERVIEW
The trick is to create a separate image of the foreground and superimpose it above the green-screen shot. Then, as long as the foreground doesn’t move or change size during the shot, you are good. (If the camera moves, you’ll need to use more powerful keying software or track the mask which becomes REALLY tricky.)
Here are the steps to the fix:
It sounds complex, but the entire solution can be created in less than five minutes.
ISOLATE THE FOREGROUND
Export a frame that shows the entire foreground object, then import it into Photoshop.
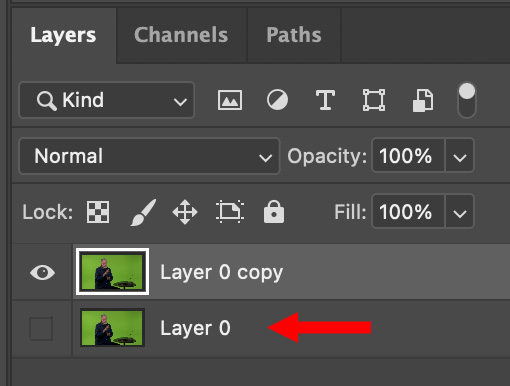
For safely, duplicate the layer containing the image (Cmd + J), then disable the lower image by clicking its eye icon and select the top layer.
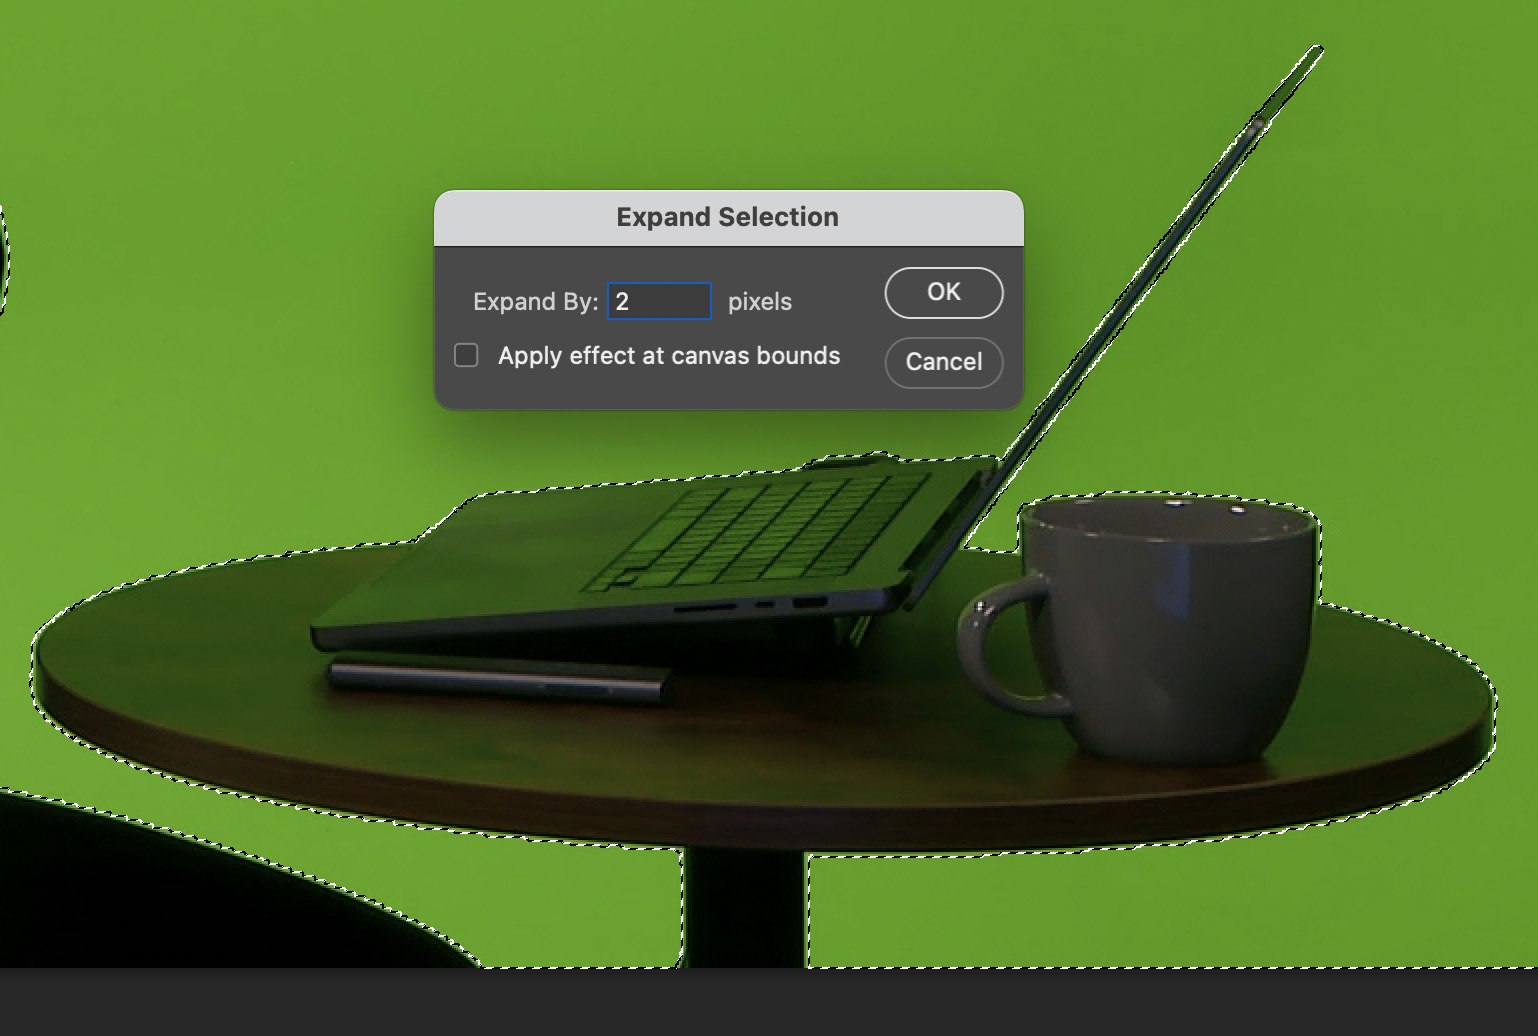
Using the Magic Wand tool, select all the green background, then choose Select > Expand and expand the selected area by 2 pixels to get rid of most of the green edging.
Press the Delete key to remove the selected green background.
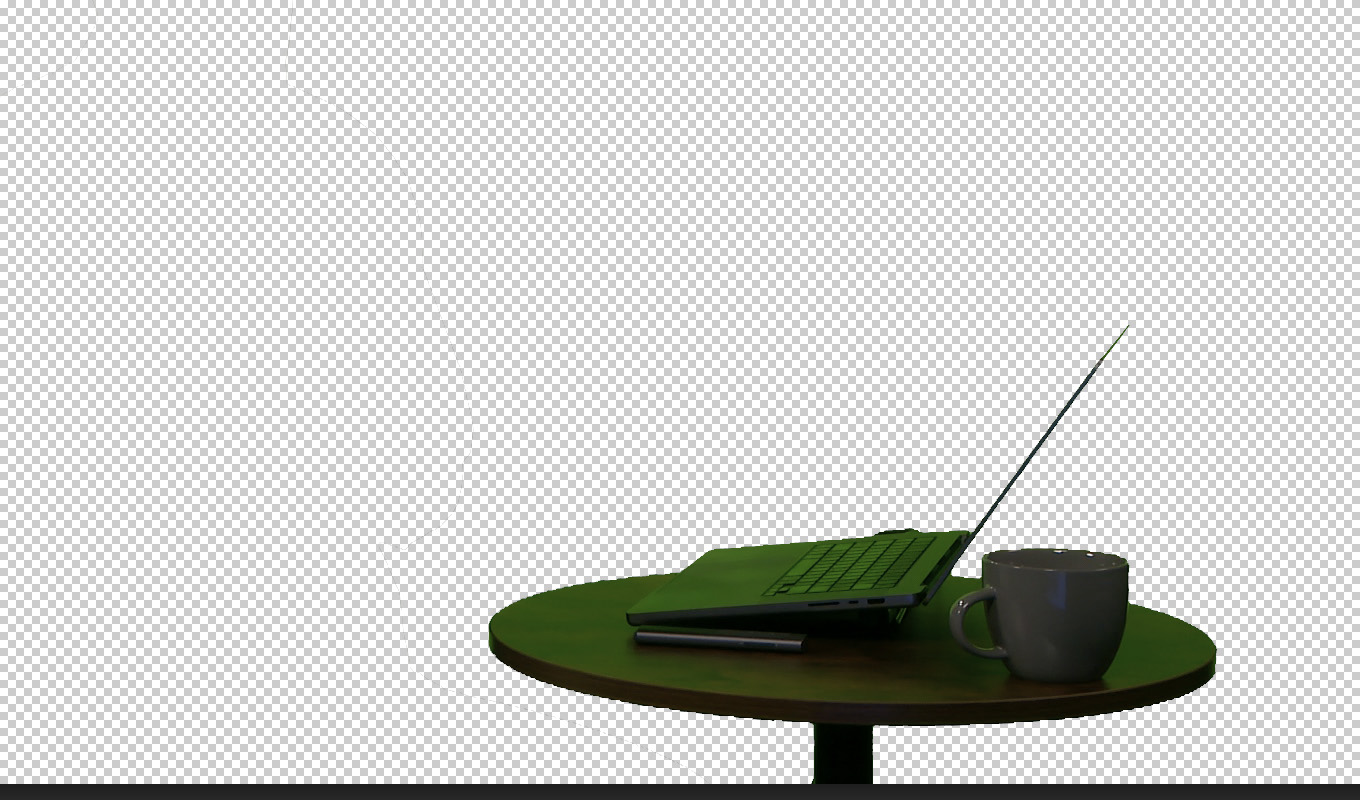
Press and hold the Option key and drag around any other elements in the image that you don’t want and delete them. Now, all you have left is the foreground object.
Save this file as a .PSD.
NOTE: Leave the original image disabled in the bottom layer. That way, if you need to come back to this file – as I did during this tutorial – you still have the original image to refer to.
When you save the file as a PSD, the background remains transparent, while the foreground retains all the original colors and elements of the source video.
FINISH THE KEY
Open the NLE, import this PSD and place it on a track/layer above the source green-screen image. Because the foreground object in the PSD is opaque, it blocks the image below it in the source video.
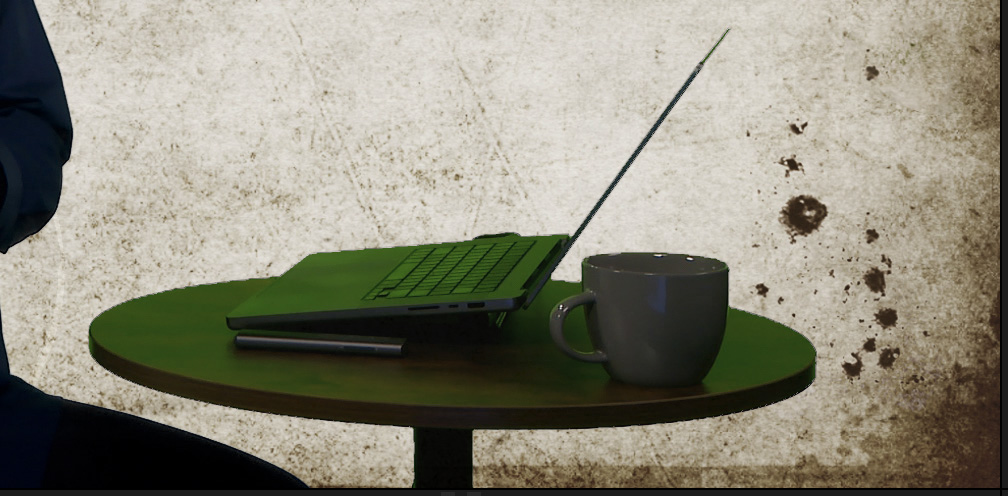
Now, when you create the key, the foreground object in the PSD is untouched, while the rest of the image keys cleanly.
Ta-DAH! Done.
EXTRA CREDIT
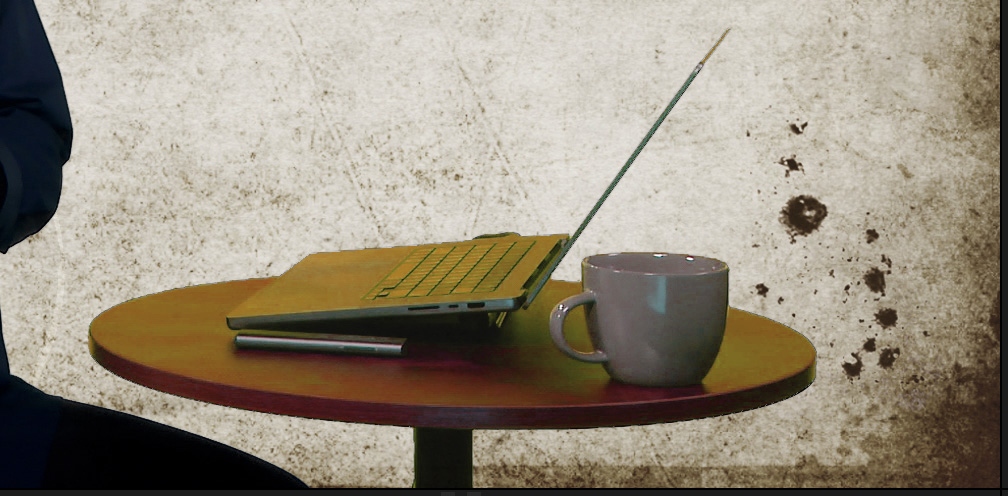
When you are in Photoshop you can manipulate this image as much as you want, as long as you don’t change size or position. For example, apply color correction or strange color effects.
The screen shot above is an example. I changed the levels, altered the color and increased saturation. Because… um, why not? Essentially, now that you’ve isolated the foreground image you can now do anything you want with it.
One Response to Solve Difficult Chroma-key Problems with a Stationary Mask
excellent Larry, done the work!