Send Sequences Between Adobe Premiere Pro and DaVinci Resolve
 There are several reasons why you might want to send a sequence from Premiere Pro to DaVinci Resolve: Fro example, to create more complex effects in Fusion or do more detailed color correction on the Color page. If so, you need to know how to send those files and bring the back.
“XML is one of the most straightforward methods of bringing edits with as many video tracks as you need from different NLEs into DaVinci Resolve. XML import has the added benefit of allowing a variety of supported effects to be imported along with the edit data, as well as multiple tracks of video data.” (Resolve User Guide)
NOTE: Before you start, know that Resolve does not import AIF files. If you use AIF audio in your sequence, convert it to WAV and replace all AIFF media with WAV in Premiere.
SEND FILES FROM PREMIERE TO RESOLVE

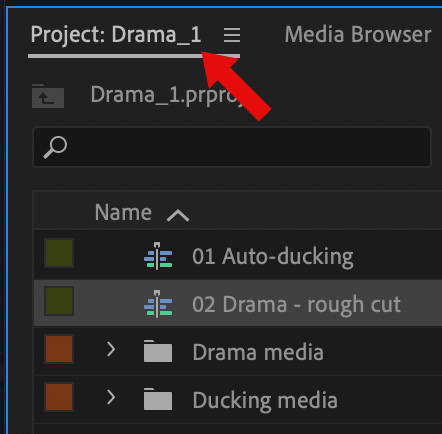
- In Premiere, select the sequence you want to transfer in the Project pane.
- Choose File > Export > Final Cut Pro XML

- Give the file a name and destination, then click Save. Depending upon the size of the sequence, exporting could take a few seconds.

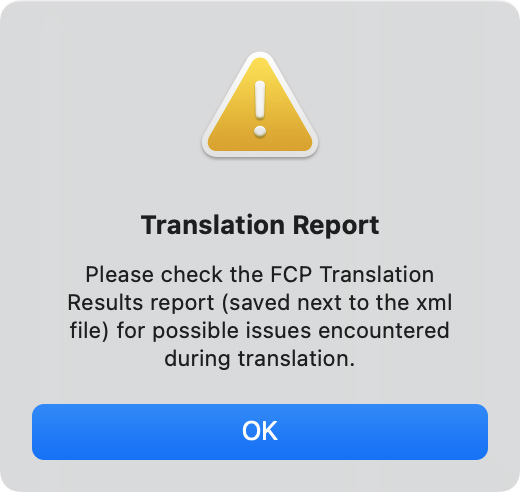
- Premiere pops up a warning about potential issues. Depending upon what you need to do in Resolve these may or may not be important.
NOTE: This Translation Report is a text file, saved to your desktop.
Quit Premiere, you are done with it for a while.

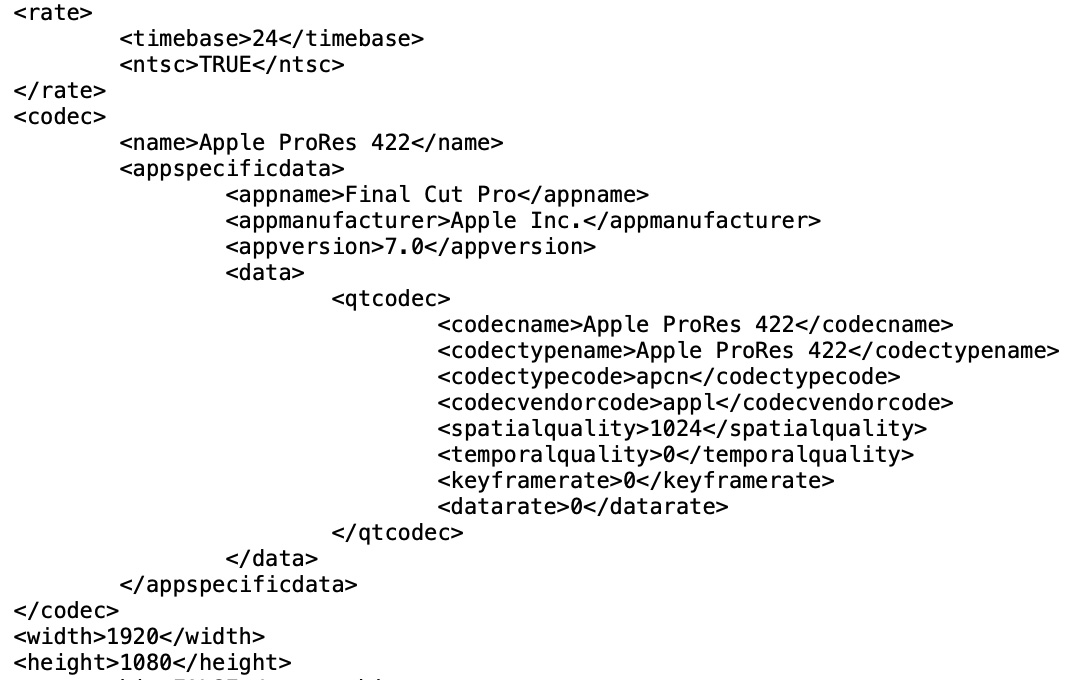
NOTE: XML files are human “readable” but, um, not necessarily human understandable.
IMPORT SEQUENCE INTO RESOLVE

- Create a new project by double-clicking the Untitled Project icon.
- Choose File > Import Timeline (shortcut: Shift + Cmd + I)
- Select the XML file you just exported from Premiere.

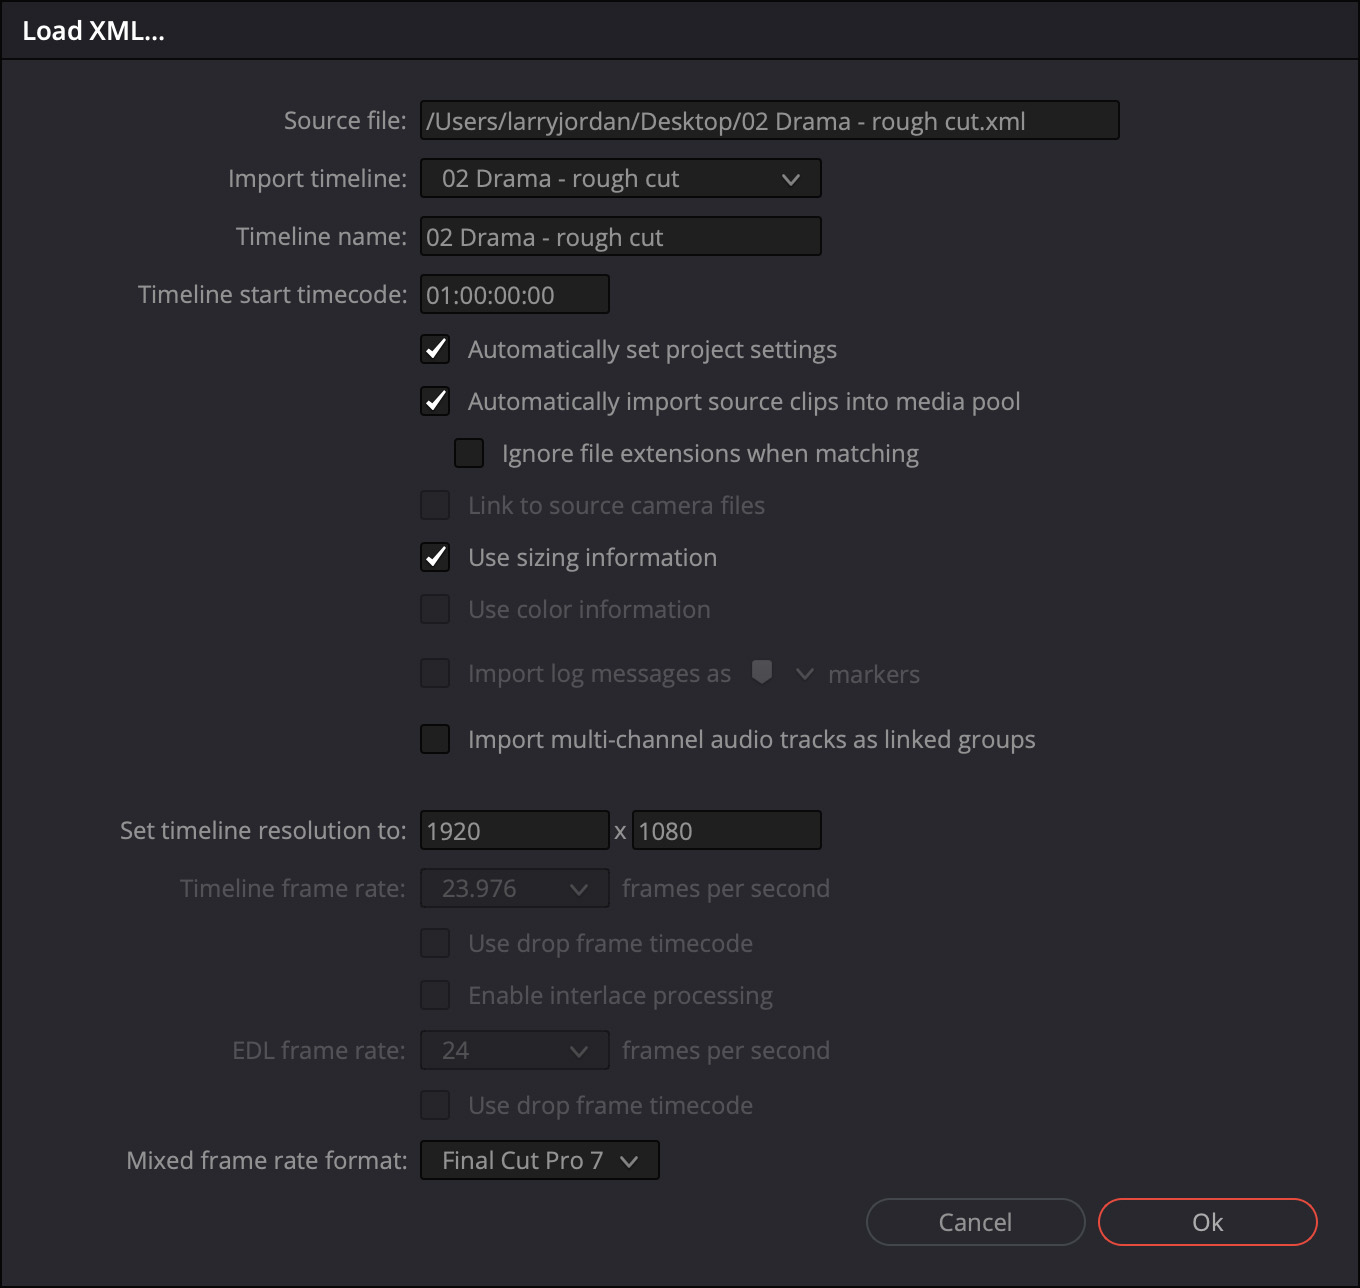
- In this dialog, make any changes necessary. Most of the time, the defaults will be fine.
However, if you need to make changes, here are the field definitions, according to the Resolve User Guide
- Source file: The file you selected in the previous step.
- Import timeline: If there are multiple sequences within the selected XML source file, this pop-up menu lets you choose which sequence to import as a DaVinci Resolve timeline.
- Timeline name: The name of the Timeline you’re about to create. This defaults to the name of the sequence that was exported, but you can change it if you like.
- Master timeline start timecode: The timecode at which the imported timeline will start. This automatically matches the start timecode of the selected Import Timeline.
- Automatically set project settings: Leave this option on to automatically change the frame size and frame rate settings in the Project tab of the Config page with those in this window. You can import timelines with frame rates that are different from the Project frame rate.
- Automatically import source clips into media pool: Leave this checkbox on to automatically import the media referenced by the XML project file you selected into the Media Pool based on the embedded file paths. If the media files are not automatically found at these locations, you will be prompted to manually select a directory where the clips are located.
- — Ignore file extensions when matching: Turn this checkbox on if you want to manually choose a different directory of media to link to, for example if the XML you’re importing links to ProRes Proxy media, and you want to relink to another directory of corresponding ProRes 4444 or camera raw media.
- Use sizing information: Lets you import position, scale, and rotation transforms from the originating NLE via the imported XML project file. These transforms are stored in each clip’s settings in the Edit page Inspector.
- Use color information: For Final Cut Pro X XML files only. This option lets you import a subset of color correction data from the Final Cut Pro X color board controls.
- Import multi-channel audio tracks as linked groups: Turn on this checkbox if you want to import multi-channel audio, such as stereo, 5.1, and 7.1 audio into individual mono timeline tracks that are linked together in the Fairlight page. For more information about Linked Groups, see Chapter 168, “Setting Up Tracks, Busses, and Patching.” If this checkbox is turned off, multi-channel audio will be imported into multi-channel audio tracks in the Timeline.
- Set timeline resolution to: Two fields let you specify the width and height of the frame size you want to work at in DaVinci Resolve. The default is whatever resolution is specified in the XML file being imported.
- Timeline frame rate: By default, this is derived from the frame rate of the XML file being imported. If you’re importing an XML file into a project that already has media in the Media Pool, the Timeline frame rate is locked and cannot be changed.
- Use drop frame timecode: By default, this is derived from the XML file being imported.
- EDL frame rate: By default, this is derived from the frame rate of the selected file.
- Use drop frame timecode: By default, this is derived from the frame rate of the selected file.
- Mixed frame rate format: This pop-up menu lets you choose the method used to conform mixed frame rates for rendering and playback. You can choose the “Final Cut Pro 7” or “Final Cut Pro X” methods of conform, while for projects imported from Media Composer, Premiere Pro, Smoke, or other NLEs, you should leave this set to “DaVinci Resolve.” This pop-up menu also appears in the Load XML dialogs when you import a project.
Click OK when you’re done.
The sequence and all its media are imported and ready for final polishing.

NOTE: If there’s a problem finding a clip, Resolve will pop up an error message. You can then relink the file manually, if necessary. Missing media are indicated in red in all timelines.
EXPORT BACK TO PREMIERE
If you want to send files back to Premiere for final output you generally face two options: Send the audio files or send the color-graded video files.
If you mixed the audio in Fairlight

- Set an In and Out on the Fairlight timeline to include the audio you want to export. This is especially necessary if you only want to export a section of the mix.

In the Deliver page choose:
- Custom export
- Give the file a name and destination
- Choose Render as single clip to export the completed mix
- Make sure Export Audio is checked
- Set the Codec to Linear PCM (which means uncompressed audio)
- Choose the Bus to output. Generally, this is the bus with the main mix.
NOTE: If you need to export stems, the easiest method is to export each stem individually, selecting the appropriate bus for each export; dialog, sound effects or music.

- If you want to export audio only, click the Video button and uncheck Export Video.

- When you are done modifying settings, click Add to Render Queue in the bottom right corner.
- Then, in the Render Queue, click Render all
To import an audio file into Premiere
- Import the file you exported from Resolve.
- Add it as the bottom track of audio.
- Then mute all other audio tracks.
- Export the final project as usual.
If you color-graded video or created visual effects

With the project open, go to the Deliver page. Choose:
- Custom export
- Give the file a name and destination
- If you want to render the complete movie (which means you don’t plan to relink or edit individual clips) choose Single clip. If you want to bring the clips back into Premiere to add titles, effects or other processing, choose Individual clips.
- Make sure Export Video is checked. (If you don’t need to export audio, click the Audio button and uncheck Export Audio.)
- For highest image quality, choose QuickTime ProRes 4444.
- Unless you are specifically instructed to do so, do NOT choose Interlaced Rendering or Network optimization.
- Adjust Resolution, if needed
- Adjust Frame Rate, if needed.
- If you want to create chapter markers, check this option and select the correct marker color.
If you are exporting individual clips, add these steps:

Click the File button:
- Set Filename uses to Source name. This will make relinking MUCH easier because all file names will match back to the original sequence.
- To prevent accidentally erasing the source files, store this new media in a different location.

- When you are done modifying settings, click Add to Render Queue in the bottom right corner.
- Then, in the Render Queue, click Render all
In Premiere:
- If you exported a single movie, import that movie, add it above all existing video tracks, then turn all other video tracks off.
- If you exported individual clips, relink the existing media to the new media because, while the file names are the same, the media is stored in a different location. Once you relink the first file, the rest should relink automatically.
SUMMARY
The process isn’t hard, but I strongly recommend you practice this when deadlines are not looming so you can see precisely how this will work for your project.
Bookmark the
permalink.
2,000 Video Training Titles
- Apple Final Cut Pro
- Adobe Premiere Pro
- DaVinci Resolve
Edit smarter with Larry Jordan. Available in our store.
Subscribe to Larry's FREE weekly "Edit Smarter" newsletter and
save 10%
on your first store purchase.
Read the latest Media Industry News, curated by Larry Jordan
Media News

 There are several reasons why you might want to send a sequence from Premiere Pro to DaVinci Resolve: Fro example, to create more complex effects in Fusion or do more detailed color correction on the Color page. If so, you need to know how to send those files and bring the back.