 3D Video Polygons pushes the boundaries of 3D in Final Cut Pro.
Developed by Luca Visual FX and distributed by FxFactory, this plugin takes still or moving images and puts them into rotating 3D cubes, cylinders or rings, then moves them in space. There are 18 highly-adjustable templates to choose from.
EXECUTIVE SUMMARY
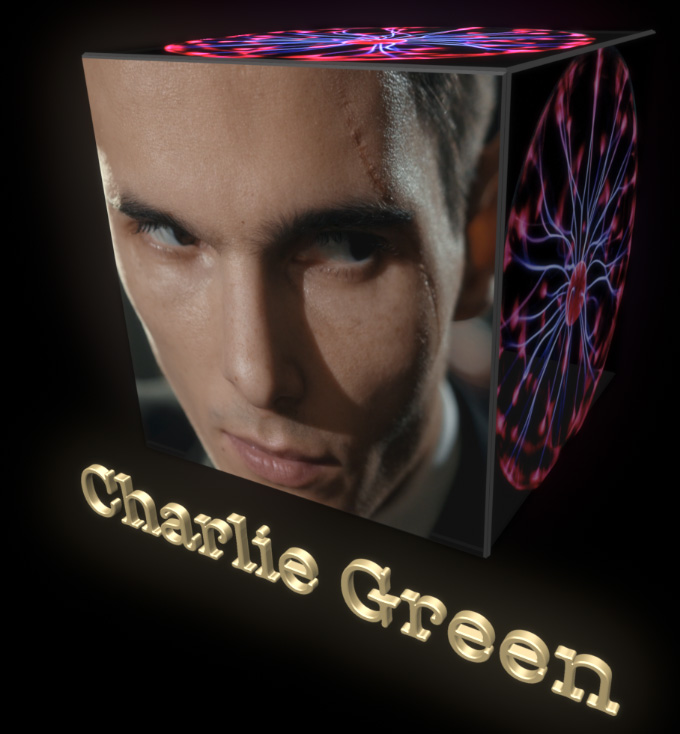
3D Video Polygons places video or still images on 3D objects that move in 3D space. Additionally, you can move around or fly through them. In other words, this easily creates visually arresting 3D images for stunning transitions and visual effects.
Featuring 18 templates with enough adjustable settings to keep your mouse happy for hours, each of these effects is applied to a base timeline clip, to which other clips are added via drop zones. While some effects – like a spinning tin can or a ring – only need one clip; others, like the 3D cube require six – top, bottom, left, right, front and back. Each image is independent and can be moving.
To understand how this works, it is helpful to watch the YouTube demo. Also, from my personal experience, it helps to create something simple, so you see how the plugin works before getting carried away tweaking.
NOTE: This plugin is render-intensive. Even HD images need to render for smooth playback, even on high-end systems.
3D Video Polygons, from Luca Visual FX, creates highly-adjustable eye-catching 3D effects and transitions that push the boundaries of 3D in Final Cut Pro. Even better, you don’t need to know how the magic works to create magical effects.
Developer: Luca Visual FX
Distributed by: FxFactory
Website: https://fxfactory.com/info/3dvideopolygons/
Price: $79 (US)
Supports: Apple Final Cut Pro
Free trial available from the FxFactory website
EXAMPLE 1: Spinning Cube
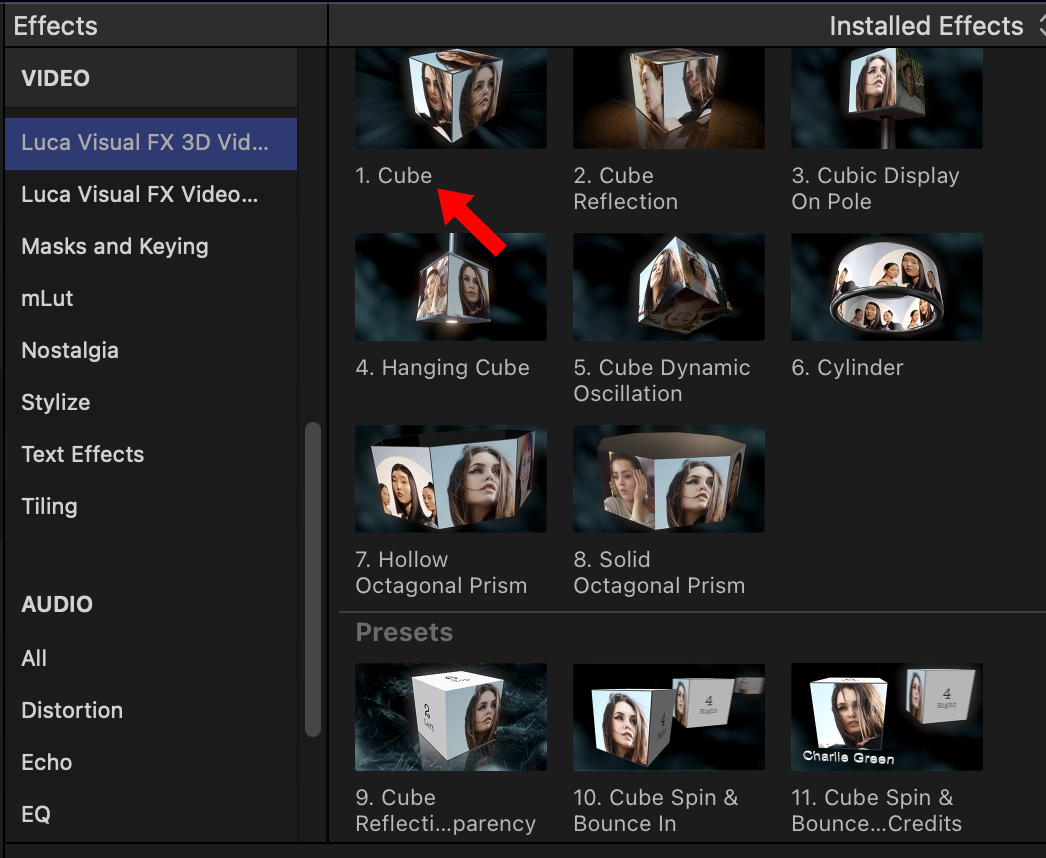
To create a spinning cube, add a video clip to the timeline, then apply Effects browser > Luca Visual FX 3D Video Polygon > 1. Cube.
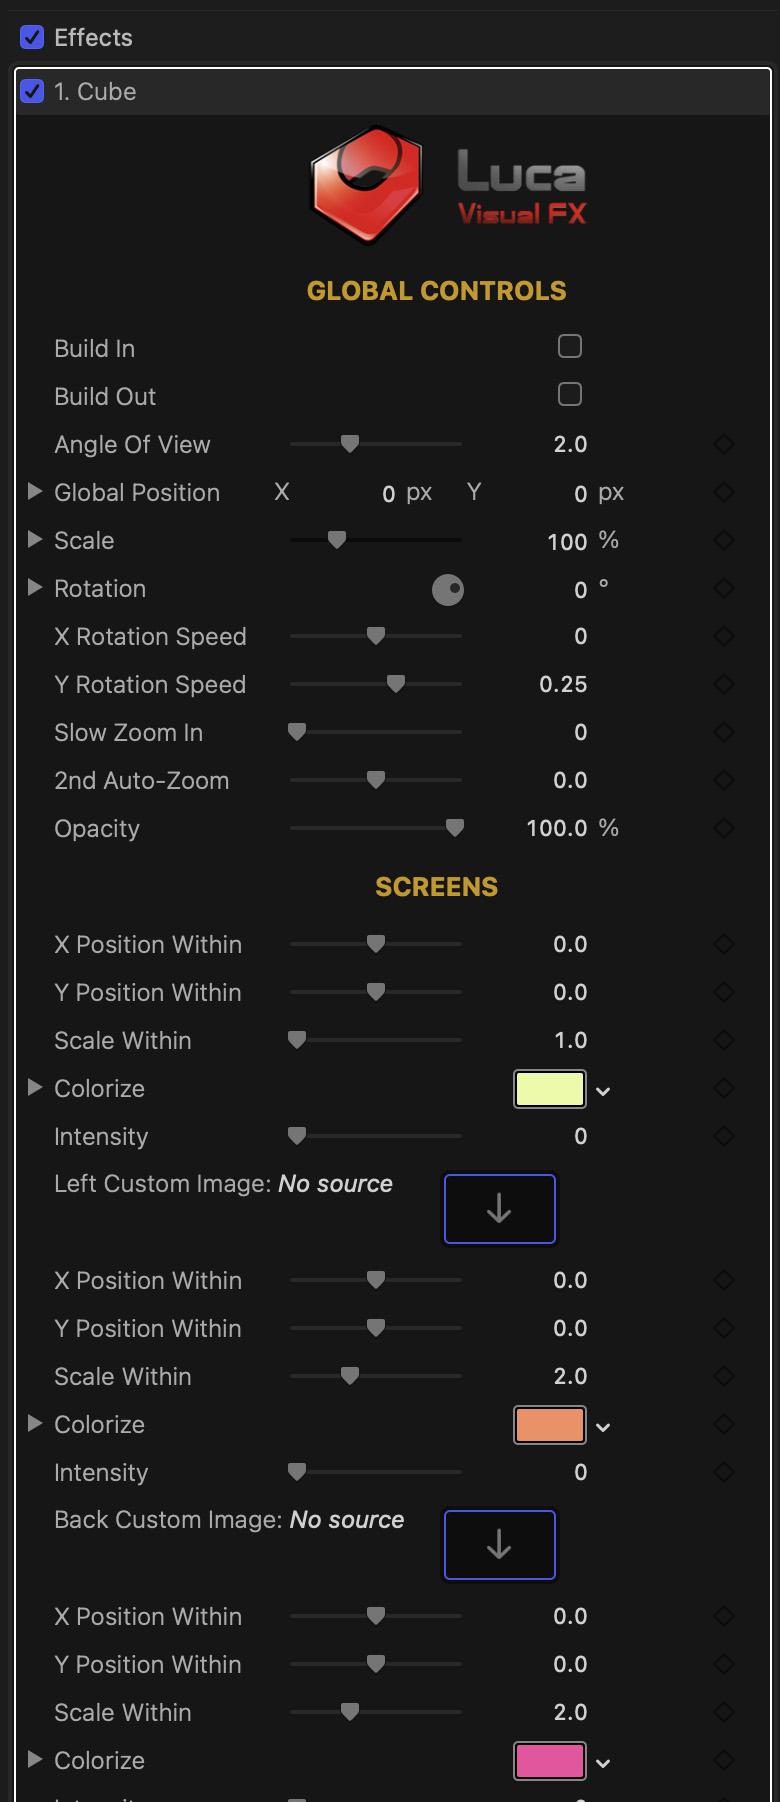
Open the Video Inspector and you’ll see dozens of controls for this effect. The screen shot above displays about half the total settings.
The key is to fill the five drop zones (one face is already filled with the clip in the timeline) with additional video.
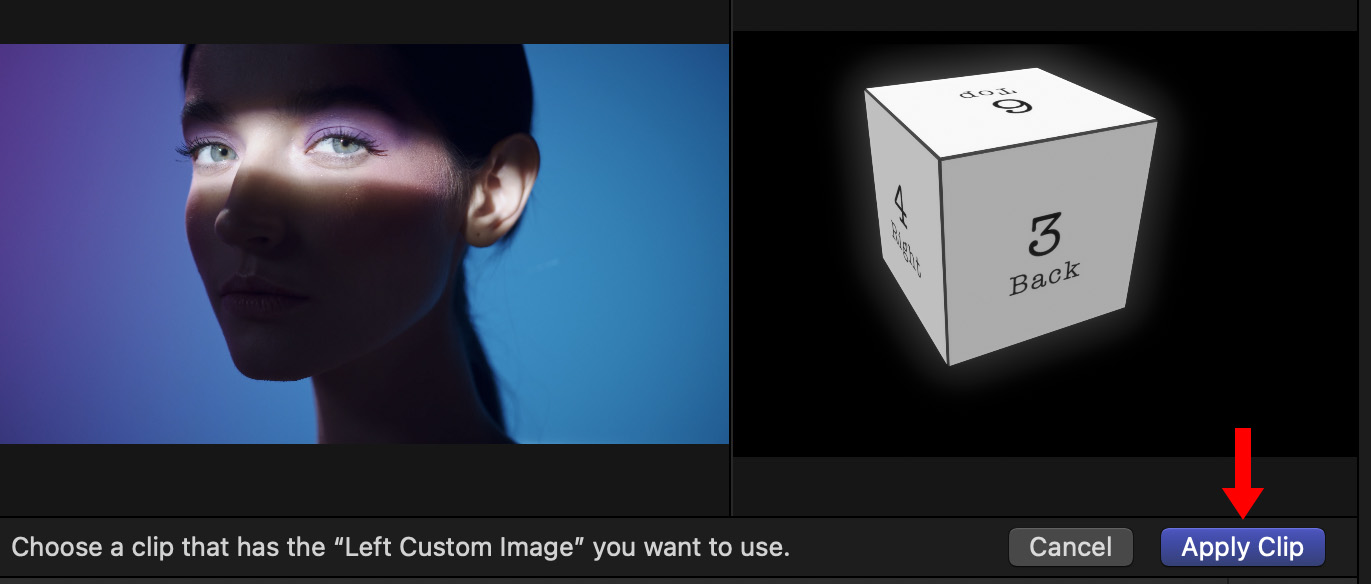
Click a drop zone in the Inspector to select it, then click a clip in the Browser. Once a clip is selected, click the blue Apply Clip button to assign it to that drop zone.
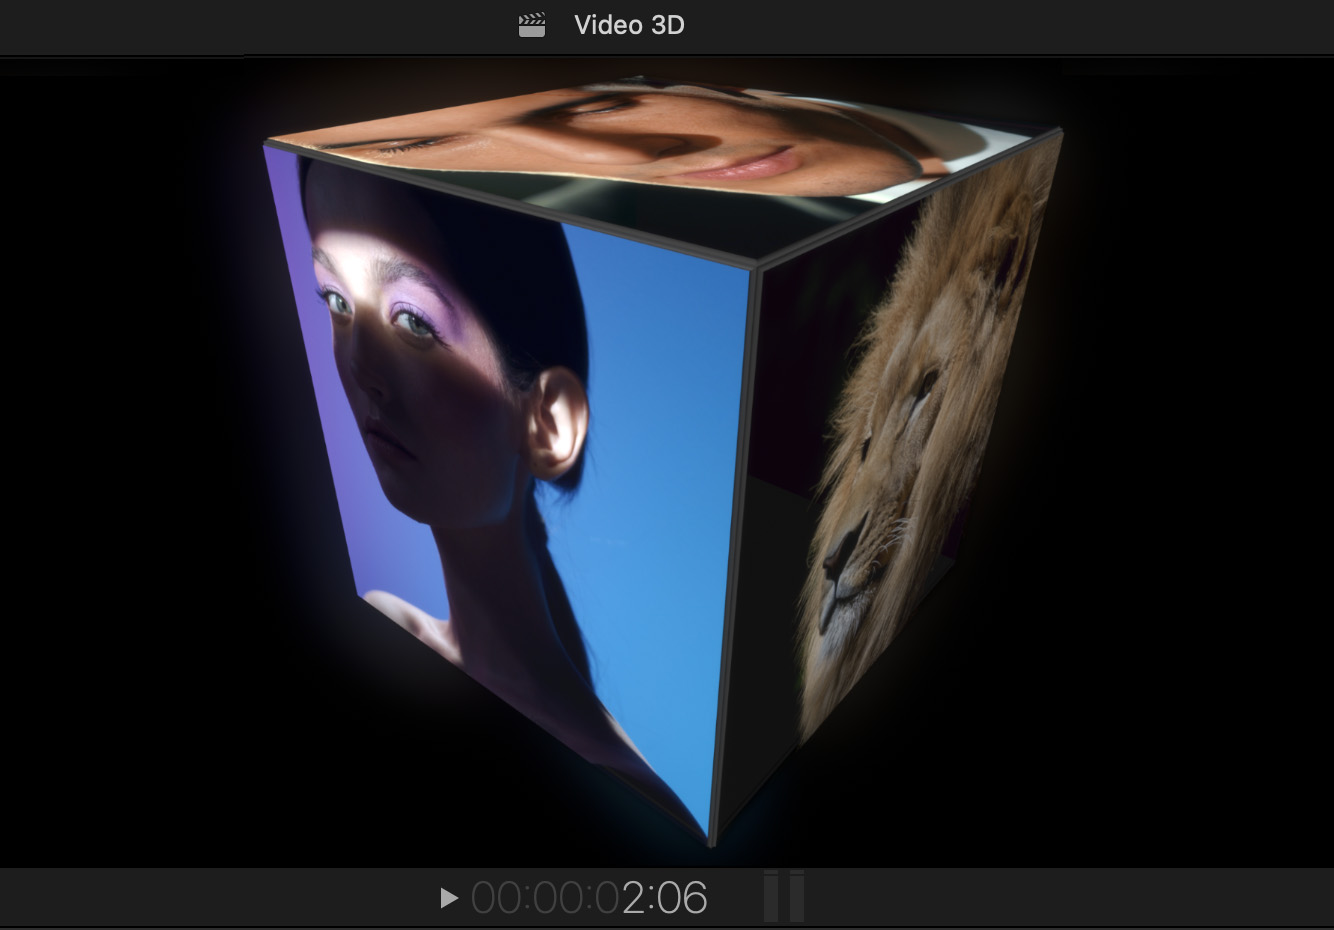
Once all drop zones have clips assigned, the fun starts. You can adjust:
The background itself is transparent, which means you can float this cube over any background you please.
Example 2: Hanging Pole
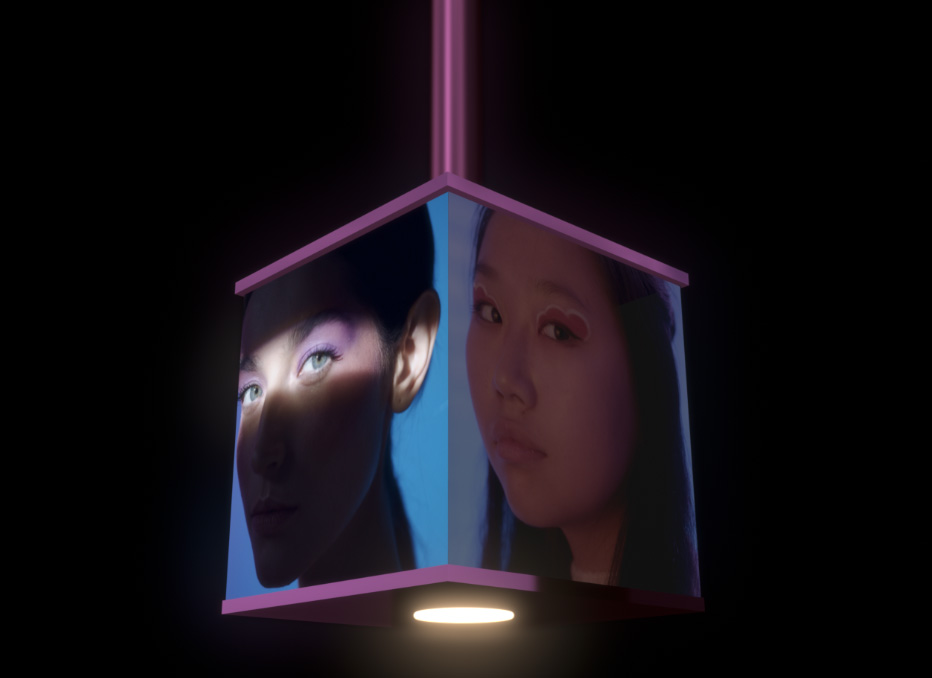
Another template displays the cube hanging from the ceiling or, in a different template, rising from the floor.
You can adjust:
Example 3: Fly-through Ring
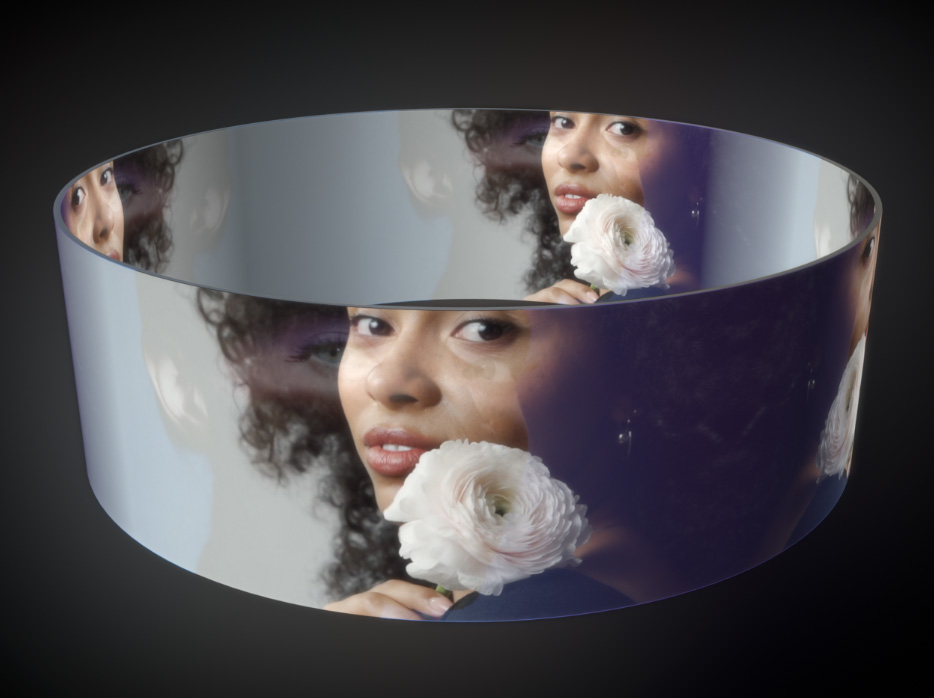
A favorite effect of mine is to create a ring, then fly through the center of it to reveal another video behind.
NOTE: While I’m using an image, you could easily use a texture to create a ring made of rock, rusted flooring, or…. gold.
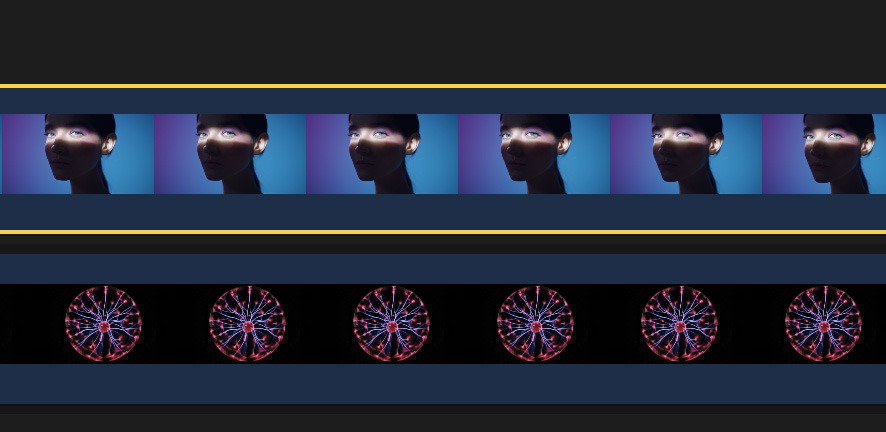
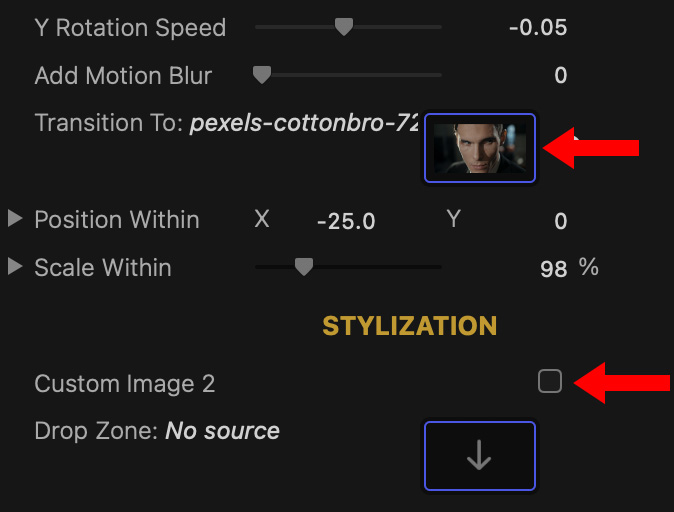
Uncheck Custom Image 2 (lower red arrow), then add a video into Transition to (upper red arrow).
Adjust the dozens of display settings to get the ring looking the way you want.
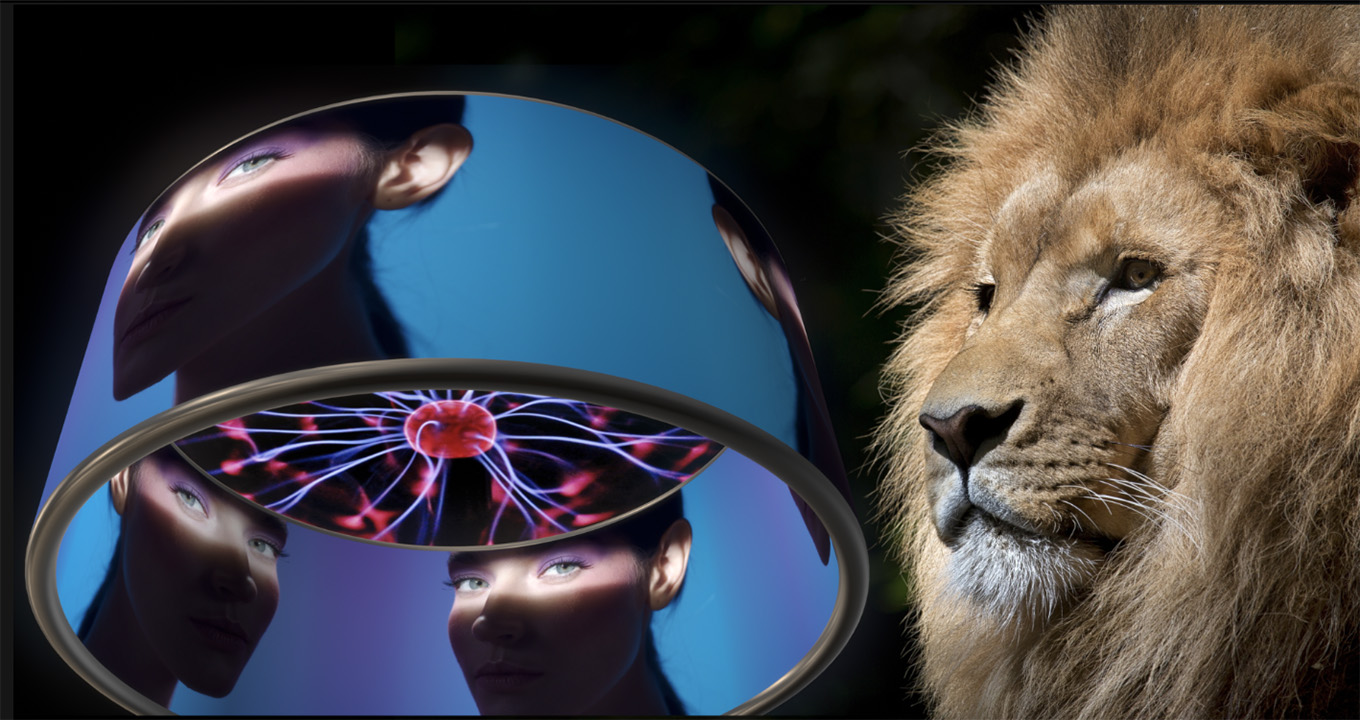
Here’s the result – a 3D transition through the ring to reveal the electric secrets beneath.
SUMMARY
Immediate applications for this effect are commercials, sports highlights and, ah, just about anything on YouTube.
Give the free trial a try and see what you think.
NOTE: Images in this review were courtesy of the following artists at Pexels.com: