A Really Fast Way to Color Correct an Image in Adobe Premiere Pro
 I was going to title this article: “Divide and Conquer,” but no one would ever find it in a search. Sigh… so much for literary titles.
This is SO COOL! Watch.

Here’s the source clip. Dim & green. While I could fire up the Lumetri panel and manually color grade this, let’s assume that I don’t know how to use it.
How can I make this better? Easy: Divide and conquer.
- Put the clip you want to color correct into the Timeline. Any track will work, but I’ll use Track 1 for this example.

- Choose File > New > Color Matte. Adjust the size to match the sequence. (My source image is small, so I created an SD timeline. This process works for any sized image.)
- Pick any color, it doesn’t matter, we’ll change it in a few steps.

- Name the clip whatever makes sense to you, then place the color matte on the track above the clip you want to correct.

- Here’s where we are now, image to be corrected on Track 1, color matte on Track 2.
- Turn off the “eye” next to the V2 track header to make the color matte invisible.

- Double-click the color matte in the Timeline to display the color picker dialog.
- Select the eye-dropper tool and click something in the image that is supposed to be gray, or white. (In my example, I used the white patch on the hide of the Holstein dairy cow. This selected a medium-gold color.)
- Click OK to close the color panel.
- Click the Track 2 eye to make the color matte clip visible, then select the clip.

- Go to Effect Controls and change Opacity > Blend mode to Divide.

Ta-DAH!!! Amazing…!
OK, my work is done here.
EXTRA CREDIT
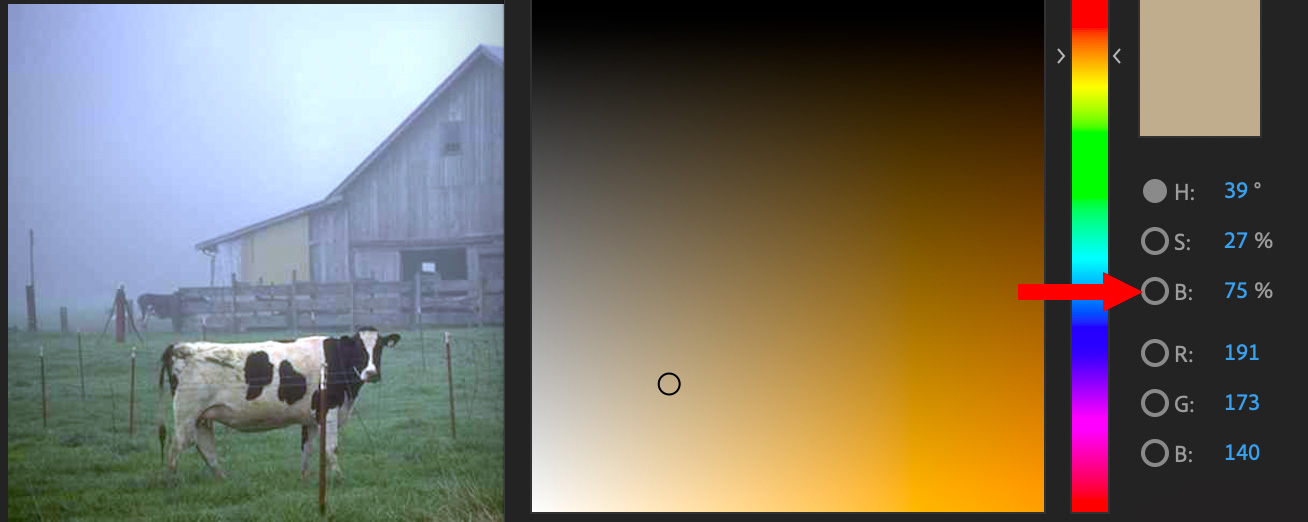
If the highlights are blowing out (becoming over-exposed), adjust the B (Brightness) level in the color matte clip (red arrow). Generally, you’ll need to raise this about ten percent.
Bookmark the
permalink.
2,000 Video Training Titles
- Apple Final Cut Pro
- Adobe Premiere Pro
- DaVinci Resolve
Edit smarter with Larry Jordan. Available in our store.
Subscribe to Larry's FREE weekly "Edit Smarter" newsletter and
save 10%
on your first store purchase.
Read the latest Media Industry News, curated by Larry Jordan
Media News