 Let’s say that you, like me, are, um, graphically challenged. In my case, I can’t draw a straight line without mechanical help.
Does this mean that the wonderful graphical world of Motion is forever denied us? (Of course not, otherwise why would I write this article?)
No! There are some very cool full-screen motion graphics that we can create that require zero artistic talent – just a good eye for what looks “good.” Let me share three examples with you.
NOTE: In spite of the fact that nothing in this article moves, all these effects are animated.
EXAMPLE 1 – REPLICATED BACKGROUND
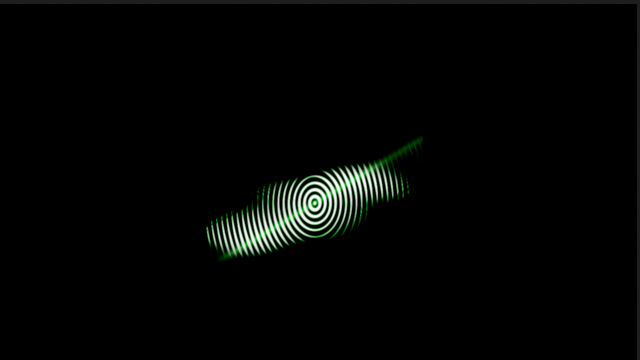
This first example uses an animated image from Content > Gauges. As you explore Gauges, you’ll discover a variety of interesting and different animated shapes you can use instead of the Radar example I chose.

The Replicator, in Motion, is a powerful resource for creating repeating patterns, which are ideally suited for backgrounds. The image above is what we will create. Here’s how.


NOTE: By default, Motion creates 10 second projects. You can change the default setting when creating a new Motion project in the Project Browser by changing the Duration.


Poof! Patterns. Press the space bar to play this animation.
NOTE: At any point, you can stop the playhead on a pattern you like and export a still frame that you can use instead of moving video. Choose Share > Save Current Frame. If you plan to use this in editing, save the image as either a TIFF or PNG, rather than JPEG, to retain the highest quality.
Now that we have a pattern, we can get fancy. Here are some things to try.

Apply Filters > Tiling > Kaleidoscope.

Apply Filters > Blur > Variable Blur

Apply Filters > Color > Colorize and pick whatever color appeals to you. I think this deep blue would look great with white text on top.
When you are done, you can export this for any video editor – Final Cut, Premiere, Avid – and use it in your next project. You don’t need to tell anyone how easy this was to create.
To do so, select Share > Export Movie and use the default ProRes 4444 settings.
EXAMPLE 2 – SWIRLING BOXES
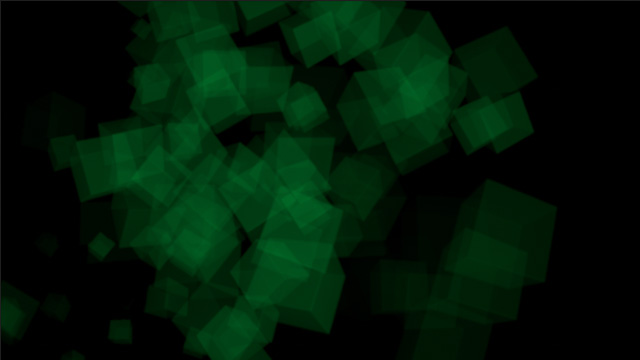
This second example uses a modified particle system to create a swirling background. If this speed is too fast, change the speed of playback once you get it into your editing system.


Again, this is too bright. Apply Filters > Color > Colorize to change this to something more subtle and laid back.
Done. And, it only took two minutes; plus, about half-an-hour while we asked: “Hmm, I wonder what happens if I change THIS?”
As before, use Share > Export Movie, with the default ProRes 4444 settings, to export this as a movie file for use anywhere.
EXAMPLE 3 – GENERALIZED WEIRDNESS

Here’s an example that combines animated shapes with blend modes and text tricks. The white border doesn’t move, but all the color inside the letters does.


Select the Text Group, at the top, then click the 2D Text tool and add whatever text you need. Size and position to taste. Here’s what I used:

With the text clip selected, Control-click it and choose Duplicate. Then, so you can see the text clip underneath, uncheck the top text clip.

Set the bottom clip to Inspector > Properties > Blend Mode > Stencil Alpha. The swirling shapes now appear ONLY inside the letters of that text clip.

Select the top clip, then using Inspector > Text > Appearance:
Very easy. Very animated. And requires no design or programing skills whatever.
I like that.