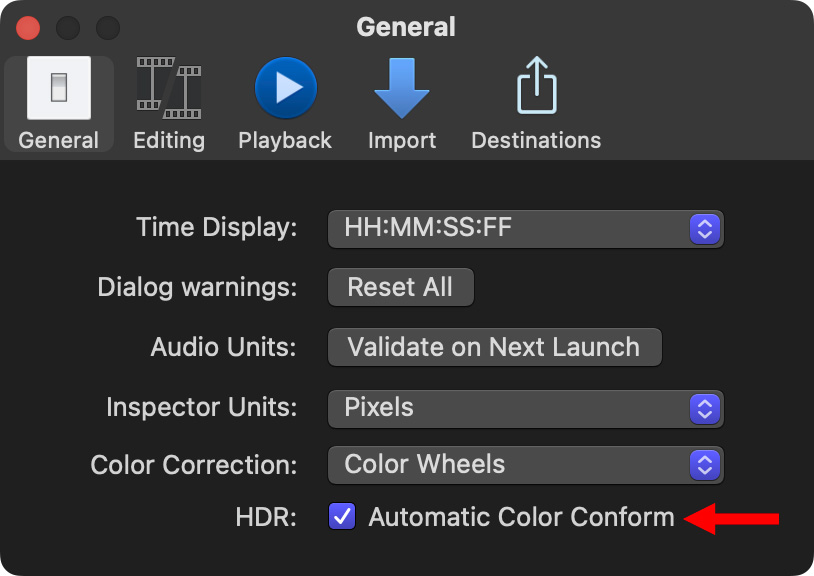
 A new feature in the 10.6.6 update to Final Cut Pro is automatic color management. This is achieved using a built-in effect called Color Conform. Similar to Spatial Conform, it is found in the Video Inspector.
It is important to understand that this does not do color correction or grading. Instead, it matches different color spaces – think converting sRGB to Rec. 709 – to that of the project settings.
“By default, Color Conform is set to Automatic, so that if you add a clip to a project that has a different color space setting, the clip’s color space is automatically converted to the project’s color space. If you don’t want clips to be automatically converted to another color space when you add them to a project, you can turn off automatic color management in Final Cut Pro settings.” (Apple Help)

Color Conform is enabled by default. Here’s how this works.
HDR IN AN SDR TIMELINE
Here I added a 4K HDR HLG clip (shot with a Panasonic EVA 1) to a Rec. 709 (SDR) timeline. Like all HDR media, it looks gray and overexposed.

The Color Conform function is ON and set to Automatic.
Using the Color Board (the Color Wheels will do the same thing), I’m able to adjust the HDR clip so it looks great in SDR.

However, selecting the timeline clip and setting Color Conform to Manual HLG > SDR does not achieve the same results.
This yields a very dark clip.
At this point, nothing I do in the Color Board makes highlights brighter than 50%. The image still looks gray and weak.
Automatic provides the best option for good looking color.
HDR IN AN HDR PROJECT

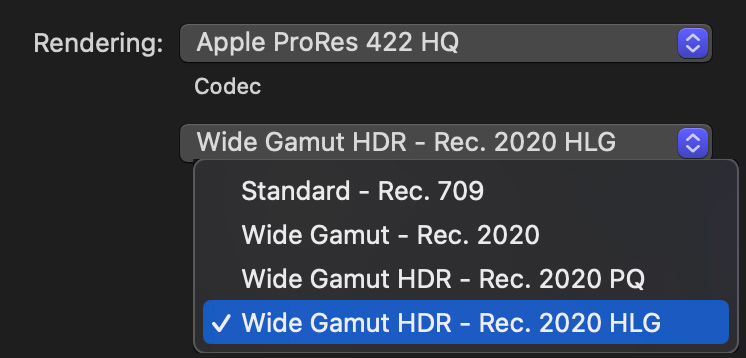
Next, I set the Library to support Wide Gamut HDR and created an HDR HLG project.
When I added an HDR HLG clip into the project, I was able to get the full range of gray scale values. This time I adjusted the Color Wheels, but the Color Board would work equally well.
The Color Conform settings were left on Automatic.
NOTE: This display uses tone mapping to display an HDR image on an SDR display. I don’t have a way to include an HDR screen grab on my website.
SDR IN AN HDR PROJECT

As part of this same HDR HLG project, I added a 4K clip shot on an iPhone. Color Conform automatically set the color space of this SDR clip to 75% HLG. This means that the SDR clip displays 75% of the brightness of an HDR HLG clip.
This makes sense, because – by definition – SDR is not as bright as HDR.
These are the default settings for the clip. It is easy to adjust both shadow and highlights to equal the full range of an HDR clip – however, SDR will never equal HDR for brightness. Nor should you attempt to make it equal the brightness – it will look, ah, bad.
My suggestion, when integrating SDR into an HDR timeline, is adjust shadows and midtones to make the image look as good as possible, without worrying overmuch about highlights.
SUMMARY
Integrating HDR into an SDR project is straightforward, though it sacrifices the extra brightness that is a hallmark of HDR. Still, Color Conform makes integrating the two color spaces easy.
As for adding SDR into HDR, that, too, is simple, but the finished results won’t look as good simply because SDR doesn’t have the same wide color and brightness range of HDR.
Until we learn more about how this feature works, it seems best to leave it at the Automatic setting. Still, Color Conform takes a really complex subject – matching color spaces – and makes it accessible and easy to use.
EXTRA CREDIT

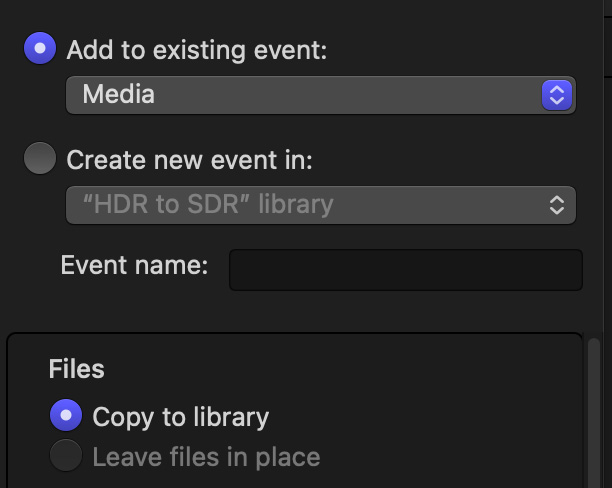
Something I noticed when importing the HDR footage, FCP only allows me to import it by copying it into the Library. In the past, I was able to leave the file on my storage.
I’m not sure why this change was made.
2 Responses to How to Use the New Color Conform in Apple Final Cut Pro
Awesome explanation
ND:
Thanks!
Larry