 OK, this gets a bit, well, perhaps more than a bit, into the weeds. If so, just read the Executive Summary. But, I found these results interesting.
Dave McCollum and I got into a long email conversation about how to maintain the highest image quality when adding still images that we don’t intend to do moves on into a Final Cut Pro video project. Should we import still images at the same size as the project or images at double the frame size of the project?
My understanding was that importing still images at 2X the project frame size provided the best image quality. Dave’s testing seemed to indicate that importing at the same frame size as the project was the best option.
Clearly, more research was needed and I had some spare time this week. Here’s what I found when I tested still images in Final Cut Pro.
NOTE: I’m working on similar tests for Adobe Premiere Pro which I’ll publish soon.
EXECUTIVE SUMMARY

This is the source image, taken on an iPhone.
As long as you don’t need to create moves on stills, importing stills at the same frame size as the video project yields the highest image quality. There is a clear difference when images are scaled – they look a bit “blurry” – which can be verified using Photoshop.

If you DO need to create moves on still images, such as pans or zooms, you must scan or create images larger than the project frame size to retain image quality. (Remember, though, that scaling any still image larger than 100% causes it to look increasingly blurry.)
NOTE: I didn’t test scaling any small images larger to fill the frame size of an FCP timeline because scaling small images larger than 100% always makes them look blurry and pixelated
THE TESTS

This was my source image. It was shot on an iPhone at 4K resolution. It has lots of detail with a full range of grayscale values and good color. Using Photoshop I cropped – not scaled – the source image to 3840 x 2160. This was saved as a TIFF. This became my reference image.
From this source image, I then scaled and exported two more images in Photoshop, one at an arbitrary 16×9 size and the other exactly the size of the project I would use for testing.
I then created the following projects and exported stills from each:

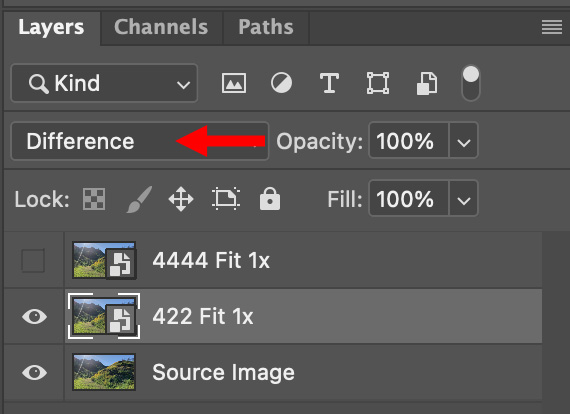
Finally, I took each set of images back into Photoshop and compared them to the original using the Difference blend mode. Difference highlights differences in both color and grayscale. All images were processed in Photoshop at 100%. They are displayed here at a reduced size, but you can see the full size by clicking an image.
Images which were identical showed black. Differences were highlighted as shades of gray. The more differences between images, the brighter the display. I made no changes to any image in Photoshop.
I ran about 30 tests. Here are the highlights.
THE RESULTS

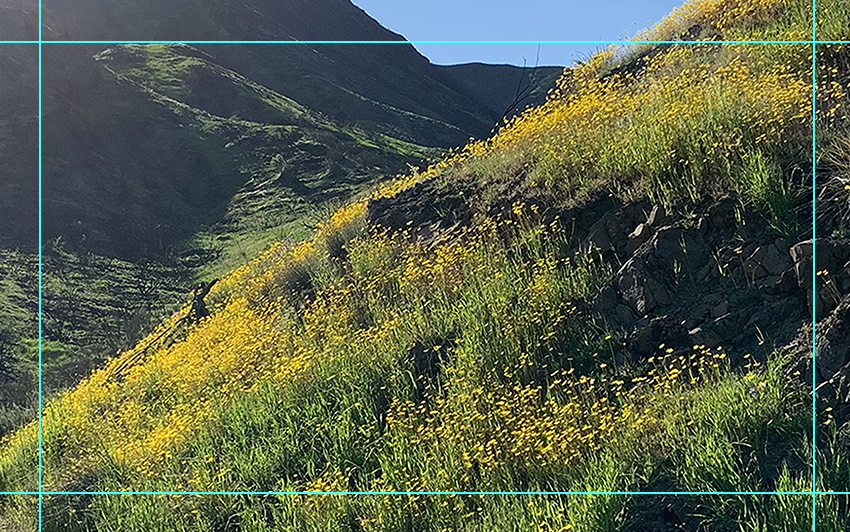
To make it easier to see differences, I selected a detail of the source image. This same section would be used for all tests.
First, I compared the visual look of the original 1920 x 1080 image to one exported without scaling from Final Cut. Whether put into a ProRes 422 or 4444 timeline, the exported image look identical to the source. There are no image artifacts created when exporting an image scaled to the same size as the timeline when measured using Difference.
Next, I compared a scaled image to the original. Notice the blurriness in the scaled image. This blurriness increased as larger images were scaled.
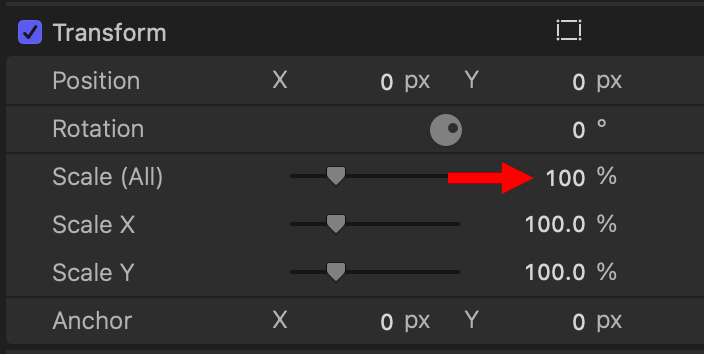
Next, I compared to see whether it made any difference if an image was scaled manually to fit the frame or used Spatial Conform > Fit. The answer is that it didn’t; images that were the same size all had the same amount of artifacts regardless of how they were scaled.
This compares the amount of change introduced based on the size of the timeline image to an unscaled clip. The less an image is scaled, the closer the image quality matches the source image. Two perfectly matched images would be solid black. Here, the brighter artifacts on the right indicates more differences because a larger 2x clip is scaled more than the smaller 1.4x clip on the left.
This compares differences when exporting the 2X image (which shows the most artifacts) from a rendered ProRes 422 vs. ProRes 4444 timeline. When compared using Difference, there are no differences between exporting stills from a 422 or 4444 timeline, but there are differences created by the scaling itself.
SUMMARY
Scaling images introduces blurriness and other artifacts into still images. The more you scale an image, the greater the amount of artifacts. The quality of using Spatial conform is the same as manually scaling images using the Transform menu.
So, for images that don’t move, create/size the image at the same frame size as your project before you import it into Final Cut Pro.
Thank you, Dave, for suggesting I look into this.
9 Responses to How to Output the Highest Quality Still Images from Apple Final Cut Pro
I don’t know if it’s just my eye’s or if I’m seeing a slight tonal difference which might be from color saturation but in the first side-by-side pairing the left image looks slightly crisper to me.
Thank you very much for your ongoing lessons resulting from your experience and research. It’s nice knowing you provide the info which can save the rest of us many hours of trial and error.
Robert:
Interesting. While I don’t necessarily disagree with you – the left image looks like the midpoint grayscale seems a bit darker – when I use the difference command in Photoshop, it shows the two images as identical. However, the differences seem less than those in other examples farther down.
Larry
This may or may not be relevant based on what method you’re using to scan or scale images, but many years ago I attended a PShop training seminar and the single most valuable trick I learned was how to resize images without image loss or pixelation by doing the “stair step” method (see below from photoshopcafe.com, which avoids sampling odd or random numbers of pixels and “interpreting” them when making large jumps in size both up and down and introduces artifacts). I’ve used this successfully for a ton of images over the years… like scaling an 8×10 image at 100% for example up to 3 or 4 feet for signage or posters where a raster based image (photo) is too complex to convert to vector based graphics (which do scale indefinitely).
“STAIR STEP INTERPOLATION
There is a “secret squirrel handshake” for experienced Photoshop users “in the know.” This secret is often credited to Fred Miranda, for discovering the stair step interpolation. It works like this, when you enlarge or reduce an image, rather than just jump to the final amount, scale it up or down at 10% at a time. You will see a marked improvement in your image sharpness and final quality IF you are using CS6 or the older interpolation algorithms.
However, on testing I have found that Preserve Details produces the same result as stair step and I hazard a guess that some of that is built into the newest algorithm. This was one of the unsung heroes in the first release of Photoshop CC.”
I am using the older CS6 version as I avoid subscription based software if I can, so perhaps as he mentions the newer versions may have this algorithm built in.
Alan:
Thanks for sharing this tip. You are not the only editor still using CS6.
Larry
wow – thanks for doing all this so we can sit back and see the results.
Patrick:
I’m glad you liked it. It was a very interesting morning running all these tests.
Larry
Wow. That’s an alarming amount of loss due to scaling. I’ll be very interested in your Premiere tests. I rarely keep a photo still, and graphics are frequently created at 4K and then scaled for HD output. Let’s just say this would be a deal breaker.
Also, might I suggest testing 4K video scaled down? You could compare a downscale in FCP to a downscale using other scalers.
Tod:
I plan to look at Premiere later this week. Also, keep in mind that once images start moving, the eye is VERY used to coping with motion blur.
Larry
Hi Larry,
Thanks for this topic and the tips!
When I need the best still image resolution in a FCPX export I export e.g. my slides from Apple Keynote as a movie (.m4v) in the same resolution like the video in Final cut and import this movie instead of still images.
In my case and for any reason it produces the sharpest images in the FCPX export.