 IMPORTANT: Before you start, please read this tutorial on The Critical Importance of Project Settings in DaVinci Resolve. It will save you pain.
DaVinci Resolve began 30 years ago as color-grading software. It long ago became an industry standard that has evolved into an indispensable color tool. Whatever you can imagine doing with color, Resolve can do.
But, while it is an incredible tool, professional-grade work also requires a room designed and lit for color grading, a calibrated color monitor for viewing colors accurately, and a skilled operator to know which buttons to push.
Sadly, there is no single button that automatically color grades a clip. So, while Resolve does a lot, it does not do everything. You are an active participant and your color skills will improve with practice.
Finally, before we begin this overview, I want to make clear that the DaVinci Resolve User Manual for the Color page spans 563 pages contained in 19 chapters. This tutorial is only 1,300 words. It simply skims the basics.
DEFINITIONS
Generally, a clip has one primary grade and a potentially unlimited number of secondary grades.
NOTE: For clarity, I use the terms “image,” “clip” and “shot” as synonyms to mean all the frames contained a single clip.
FIRST, SET A PREFERENCE
If you are working with a calibrated video monitor attached, connected using other than DisplayPort or HDMI, from companies like Flanders Scientific or Sony. you can ignore this setting.
If you don’t have the money for a high-end monitor, but want to have colors look their best on your system make these three changes.

On your Mac, in System Settings > Display, set the Color Profile to match the brand and model of computer monitor you have attached to your system.
Then, on the monitor, set the color space to Rec. 709 for HD or 4K media, provided you are not working with HDR. (HDR requires different monitor hardware and settings.)

Then, start Resolve and go to DaVinci Resolve menu > Preferences > System > General and check both these check boxes. This second check box forces Resolve to use Color Sync to accurately display monitor colors on computer monitors.
NOTE: If you have an older, Intel system, the top choice – “10-bit” – is optional.
ORIENTATION
Color grading is generally done at the end of a project. There’s no sense wasting time color grading clips that you won’t be using. The principal exception to this is performing a quick color grade on source clips for a multicam edit.
![]()
When your edit is ready for color grading, click the Color page icon (red arrow) at the bottom of the Resolve interface.
Here’s the Color page with an edit loaded into it. Here are the key areas of this page:
Panel 1 – Displays one of three choices
NOTE: The Clips icon toggles the thumbnail timeline open or closed.
Panel 2
Panel 3 – Displays one of two choices
NOTE: The Timeline icon toggles the mini-timeline open or closed.
Other panels
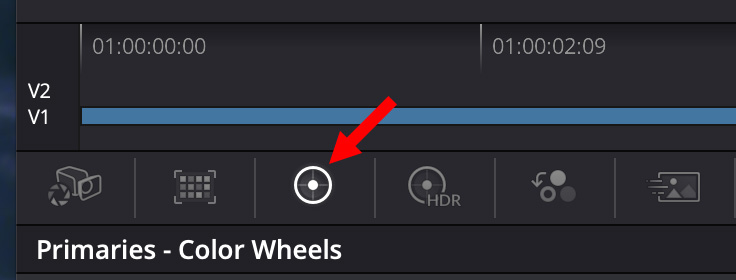
In the tool palette below the thumbnail timeline, click this icon (red arrow) to display color wheels.
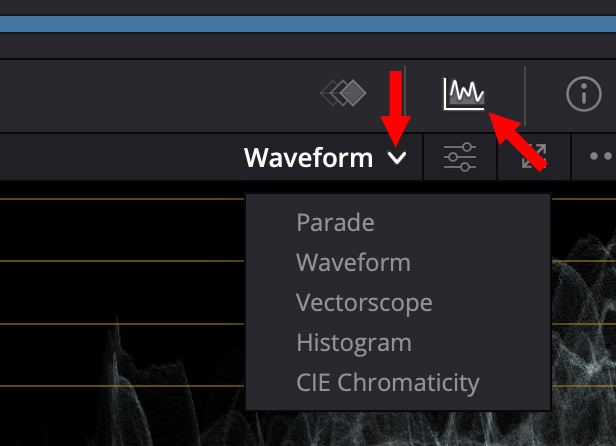
One the right side above the keyframe panel, click this icon (right red arrow) to display a video scopes. (This panel only displays individual scopes.)
Then, click the chevron next to the scope name (left red arrow) to choose between one of the four different scope types.
NOTE: Click the Settings icon to the right of the scopes name to change settings for the scopes.
ADJUST THE VIEWER
Normally, the Viewer is displayed as a small panel in the Color page. There are four ways to display the Viewer:
NOTE: To toggle back to normal, type the same key combination again.
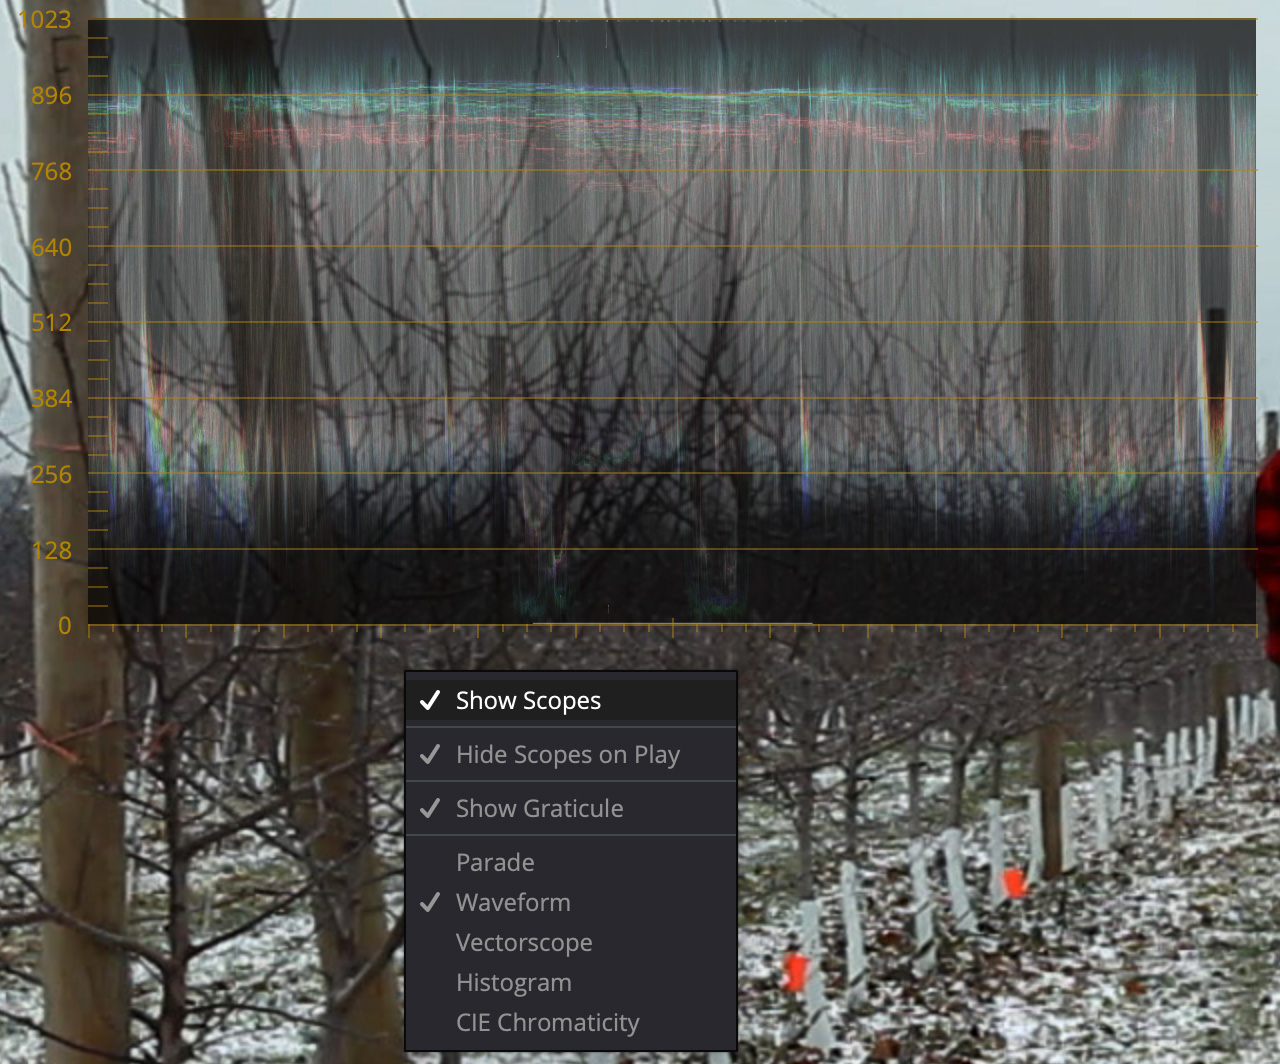
TO DISPLAY MULTIPLE SCOPES AT ONCE
If you have two monitors attached to your computer – which will help given the complexity of the Resolve interface – you can view all four scopes at the same time.
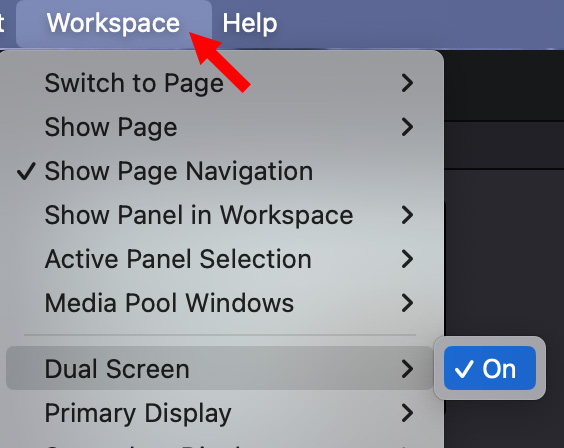
Choose Workspace > Dual Screen > On.
This displays all four scopes in one screen.
NOTE: If scopes are your thing, check into NobeOmniScope, created by TimeInPixels. It is an amazing tool which redefines what scopes can do.
MAKE A PRIMARY CORRECTION
To make a primary adjustment for a clip, you need to first select the clip. To do so, do one of the following:
There are four color wheels:
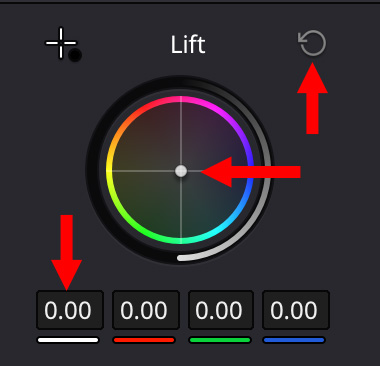
(Image enlarged for visibility.)
To adjust:
MAKE A SECONDARY CORRECTION
Let’s say we want to create a simple effect where an actor’s face is in color while the background is desaturated.
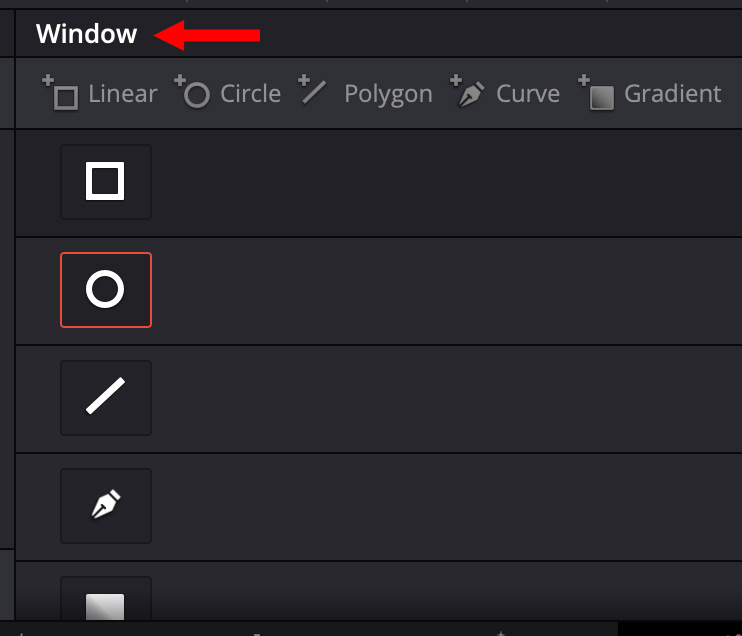
In the tool palette, click the Window icon. (In Premiere and Final Cut, windows are called “masks.”)

In the Window panel, choose the shape window you want to create. There are five to choose from, I’ll use an oval tool.
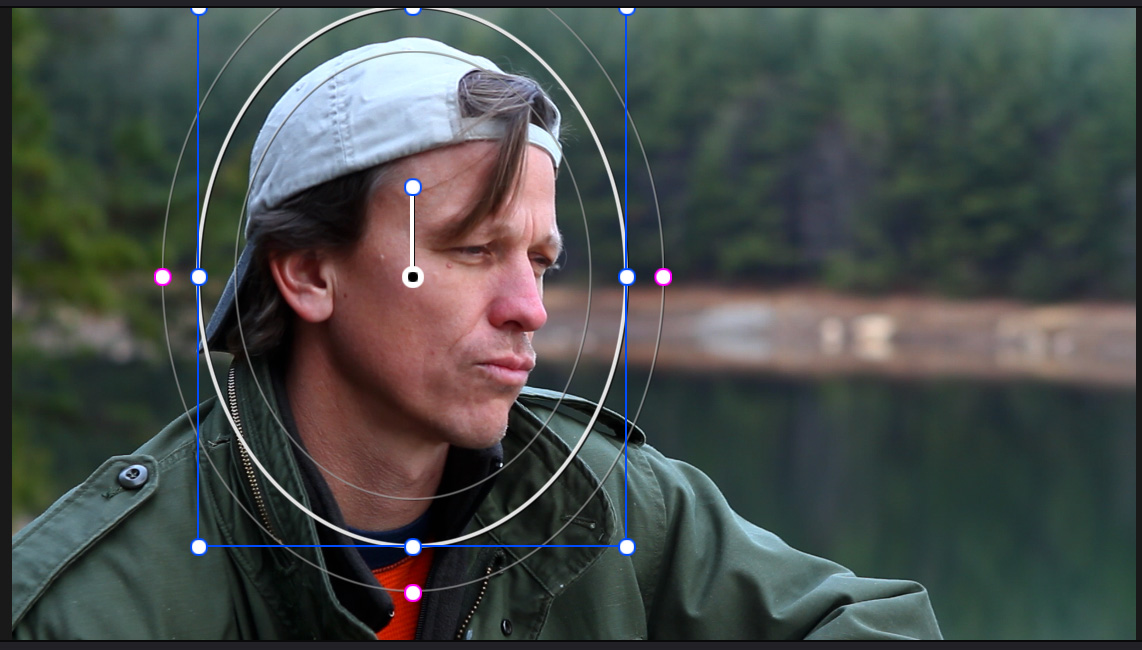
Adjust the shape of the window in the Viewer. This works almost exactly like masks in Final Cut or Premiere. You can adjust the position, size, shape and feathering of the window.
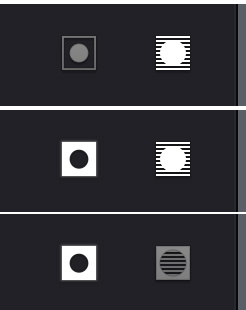
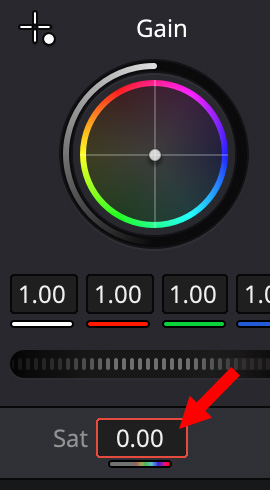
To adjust saturation, drag the numbers for Sat left or right. Left decreases saturation.
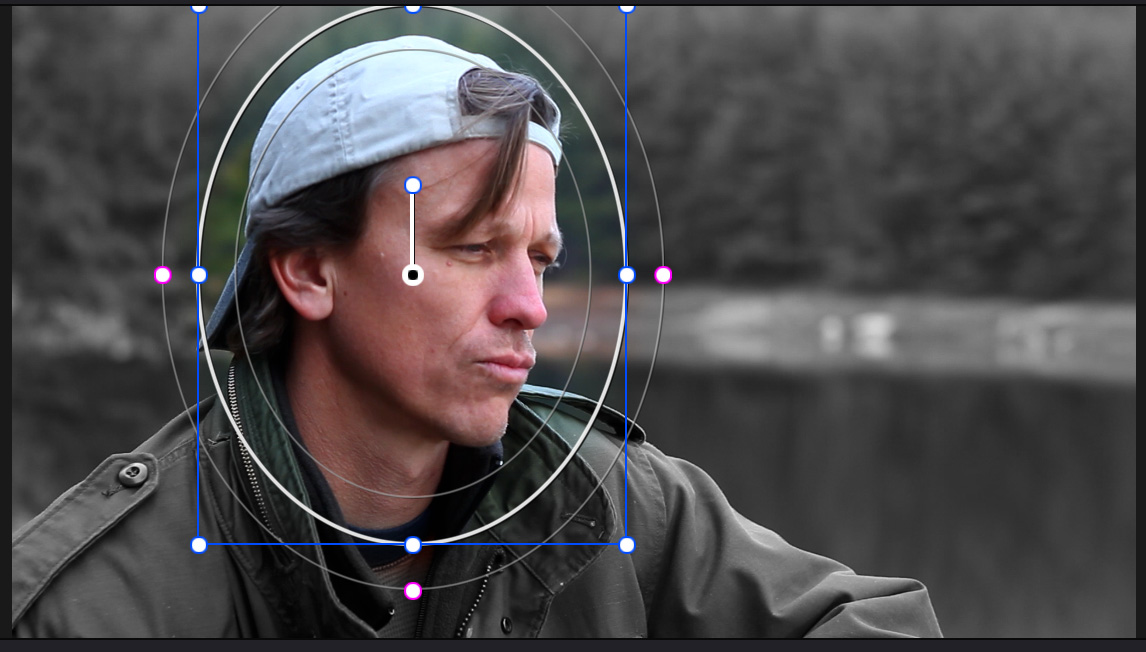
Here’s the result.
SUMMARY
To say there is more to learn about the Color page is a vast understatement. But, this overview will allow you to explore the Color page in more detail without getting lost. As always, the Resolve User Manual is a great resource in your explorations.