 [UPDATE March 23, 2025: Two months after I wrote this tutorial, Apple released AI-assisted caption creation for Final Cut. This tutorial explains how it works.]
Luis had a problem: “Larry, I exported my finished movie from Final Cut, along with a separate caption file. Now, the distributor tells me they want burned in captions. How do I burn in captions in Compressor?”
Well, you don’t need Compressor because it is really easy to create burned-in captions in Final Cut. But Apple did a good job hiding this feature.

NOTE: This process works with all supported caption formats in FCP.
To save time, let’s assume you’ve finished your project, added all necessary captions and are ready to export.

NOTE: Remember, burned-in captions are permanent. They cannot be turned off nor can you switch languages. Only one language can be burned into a video.
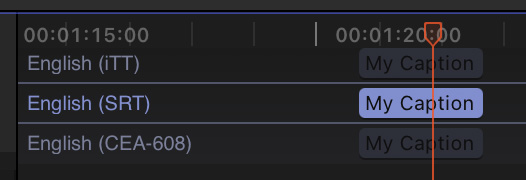
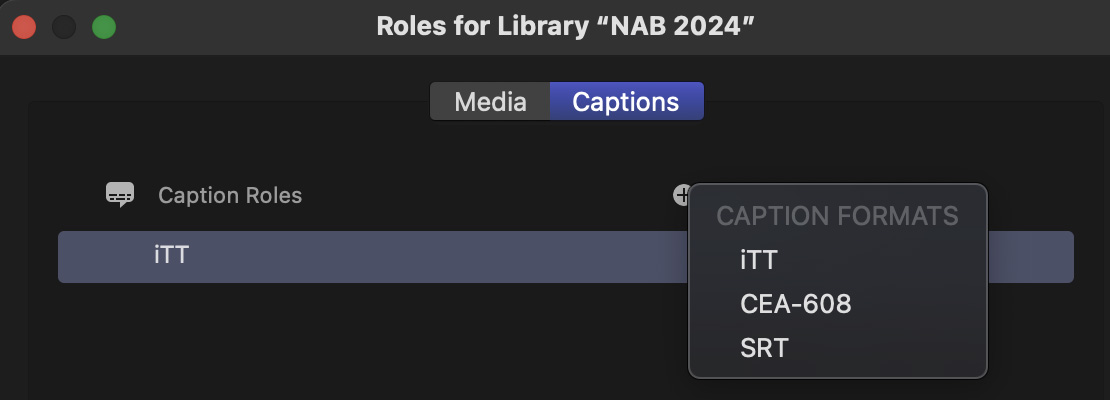
Captions are assigned Roles, depending upon their format. Here, to illustrate my point, I’ve created captions in all three formats in my project. Generally, you would only use one.
As usual, choose File > Share > Export file. Also, as usual, add any export metadata and change output settings as needed.
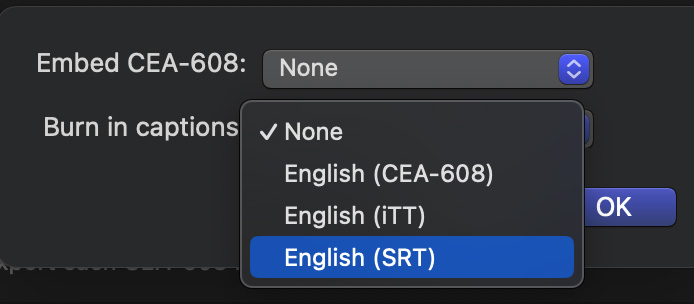
The magic happens when you click the Roles text button. Here you can opt to export each caption track as a separate file. OR! click the blue Captions text (red arrow).

This pops up a menu where you can choose which caption track to burn into your video.
NOTE: If you choose to burn in captions, you can spend more time formatting them because your formatting choices are permanently added to the video.
And that’s it. When you export, the selected caption track will be burned into the video.
Simple, but hard to find.
One Response to Create Burned-in Captions in Apple Final Cut Pro
thanks for this, super helpful