 Recently, I needed to create the effect of a spotlight on a wall in Premiere. The only problem was that the only image I had to work with was a brick wall in sunlight.
Here’s how to create this effect.

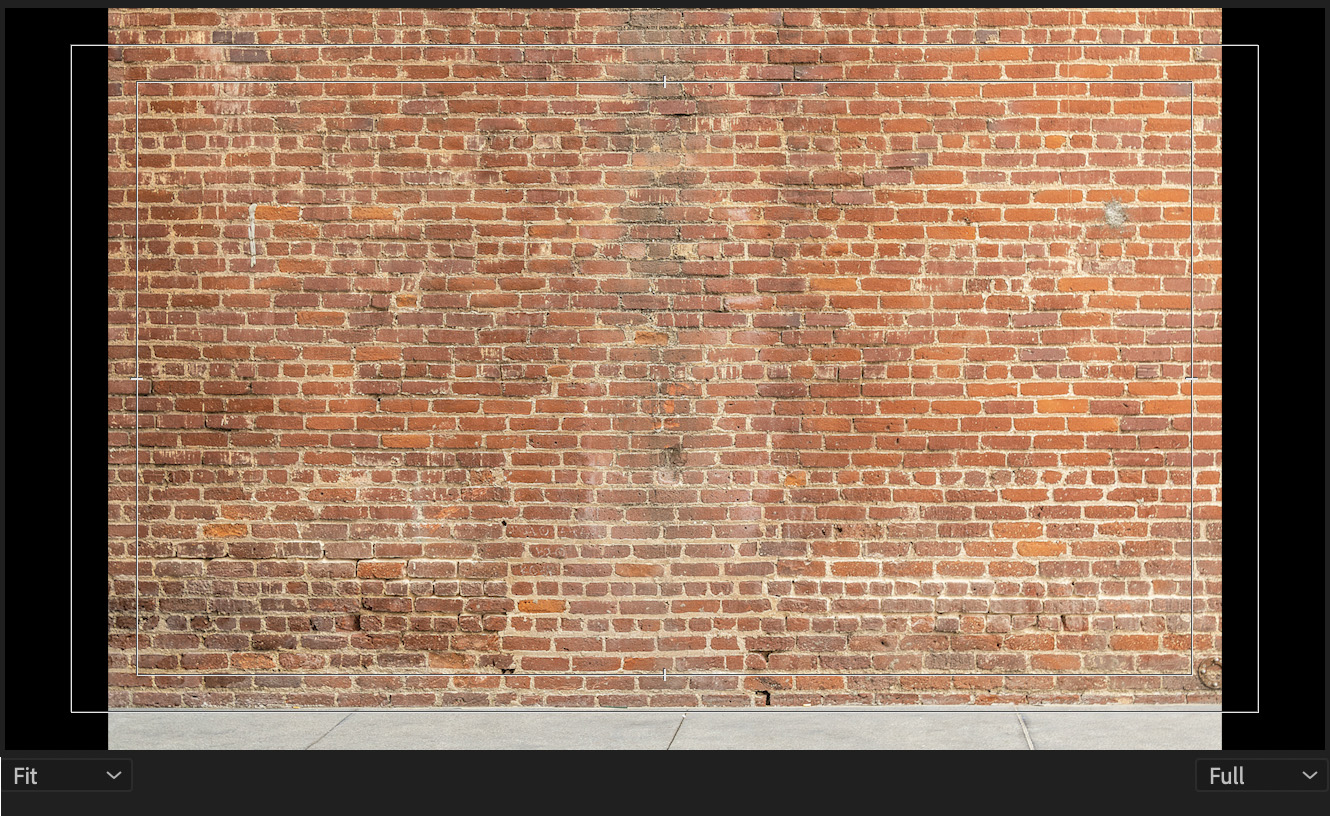
Here’s my original image, a photo by ShonEjai, from Pexels.com, displayed in Premiere.
Hmm… the image doesn’t fit. Right-click the image in the Timeline and choose Set to Frame Size. Then, in Effect Controls, adjust Scale until the image fits the frame.

Here’s my starting image.
KEY CONCEPTS
There are two key concepts you need to understand:
CREATE A MASK
Add an image to the timeline.

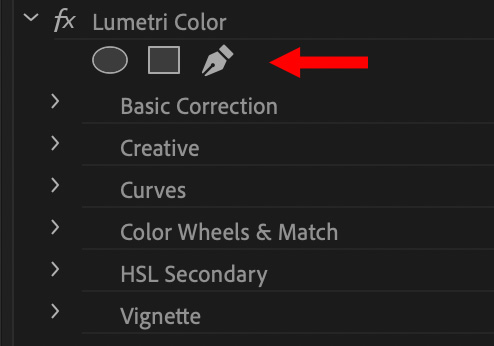
Switch to the Color workspace and go to the Lumetri Color panel. All grayscale effects are created using the Basic Correction > Light (red arrows) section of this panel.

Drag the Exposure slider to the left – or right, (red arrow) the actual direction doesn’t matter… yet. The look of the image will change, again, don’t worry about that right now.
NOTE: Left lowers levels, right increases levels. For a spotlight effect we will be lowering several levels.

As soon as you change a setting in the Lumetri Color panel, a new effect appears in Effect Controls: Lumetri Color. At the very top of the effect are the three mask tools: ovals, rectangles and free hand.

Here are the three basic mask shapes. To draw a free-hand effect, click inside the image in the Program monitor to set control points. To create a curve, click and drag any control point after the first.

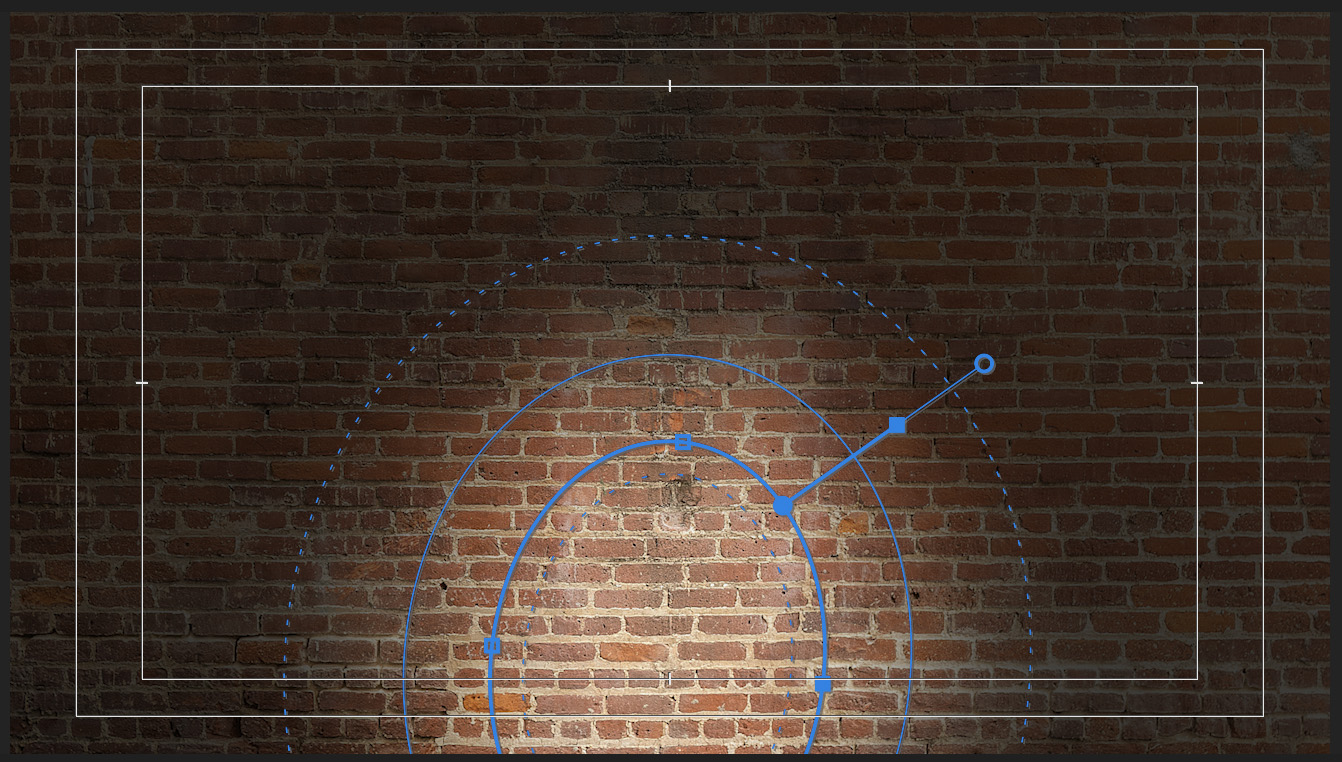
Here, I added a circle mask. To display the mask shape, select the timeline clip that contains it.
NOTE: In this screen shot, I darkened the background to make the blue mask controls more visible.
With the blue mask controls displayed:
CREATE THE EFFECT

Here, I added the circle mask, squeezed the sides to make it more of an oval, dragged the center down and increased the feathering.

Because I want the darkened areas outside the mask, I enabled Inverted (red arrow).

To create a stronger spotlight effect, I lowered three settings in the Lumetri Color panel: Exposure, Shadows and Blacks. Adjust these until the effect looks good to you. Every shot is different.

This screen shot illustrates the final spotlight results.
Because the wall isn’t the object of this shot, I added a Gaussian Blur and increased Blurriness to 81. This gives the image a sense of depth of field.

Finally, I chroma-keyed an evil villain, lurking in the foreground.
Done.
3 Responses to Create a Spotlight Effect in Adobe Premiere Pro
I dunno, I thought they were some sort of whistleblower, spilling the beans on governmental malfeasance.
Premiere certainly has made this sort of shot manipulation relatively painless. Thanks for another cool tutorial.
Ah… Mike, Mike, Mike. You are such an optimist.
And thanks for the kind words.
Larry
thanks for the tutorial mate, just used for a talkthrough of a website.
Really useful