
![]() DaVinci Resolve 20 provides a view of the future in AI-powered tools for video editing. I define a “tool” as something that enables us to do tasks faster or to complete tasks that we weren’t able to do before.
DaVinci Resolve 20 provides a view of the future in AI-powered tools for video editing. I define a “tool” as something that enables us to do tasks faster or to complete tasks that we weren’t able to do before.
NOTE: Generative AI, on the other hand, tends to replace human creativity with AI iteration.
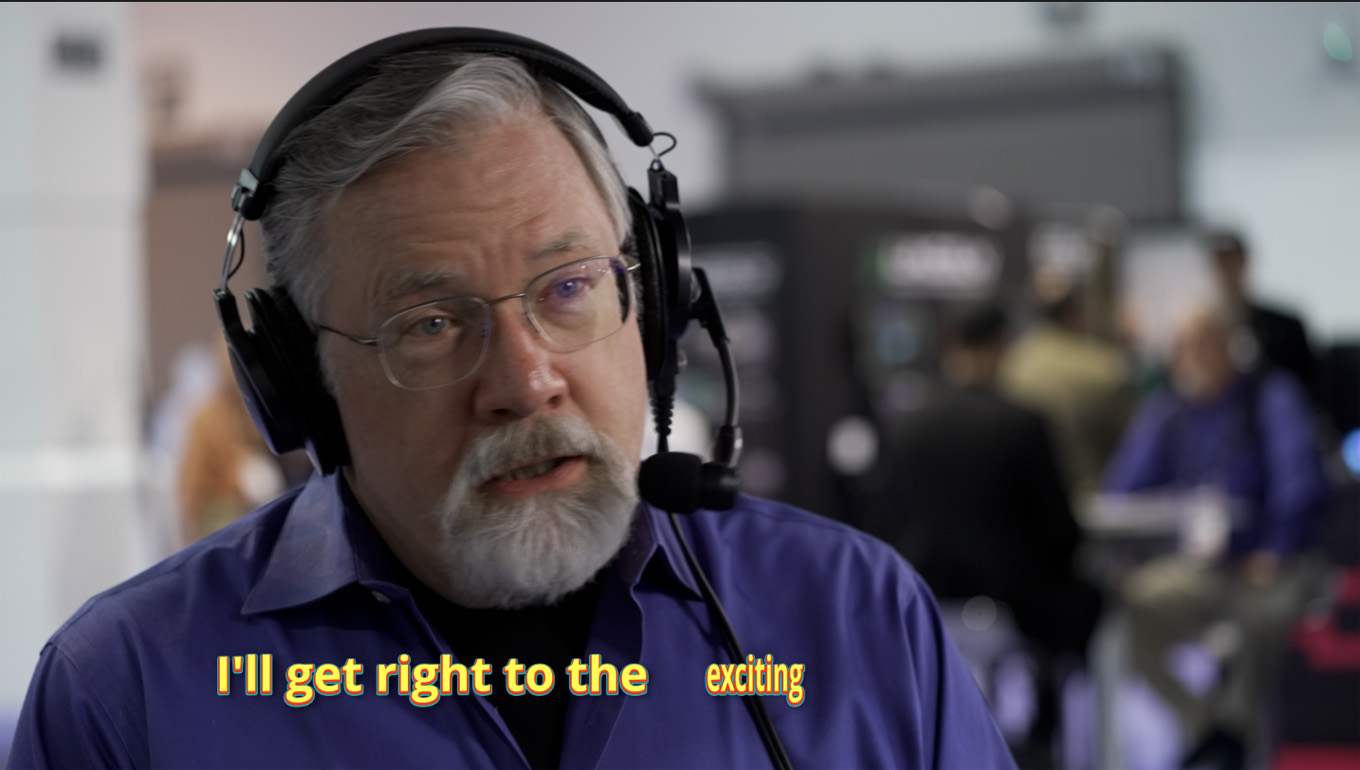
One of the new features in Resolve 20 is animated subtitles. Made famous by ubiquitous social media videos created by CapCut, this feature offers animated, colorful, burned-in video captions. Resolve can now create them as well.
Here’s how.
NOTE: Almost all AI-powered effects require the Studio version of Resolve.
FIRST – CREATE CAPTIONS

When your timeline edit is complete, display the Edit page (shortcut: Shift+4).
From the Timeline menu in the menubar at the top of your screen, choose AI Tools > Create AI Tools > Create Subtitles from Audio.
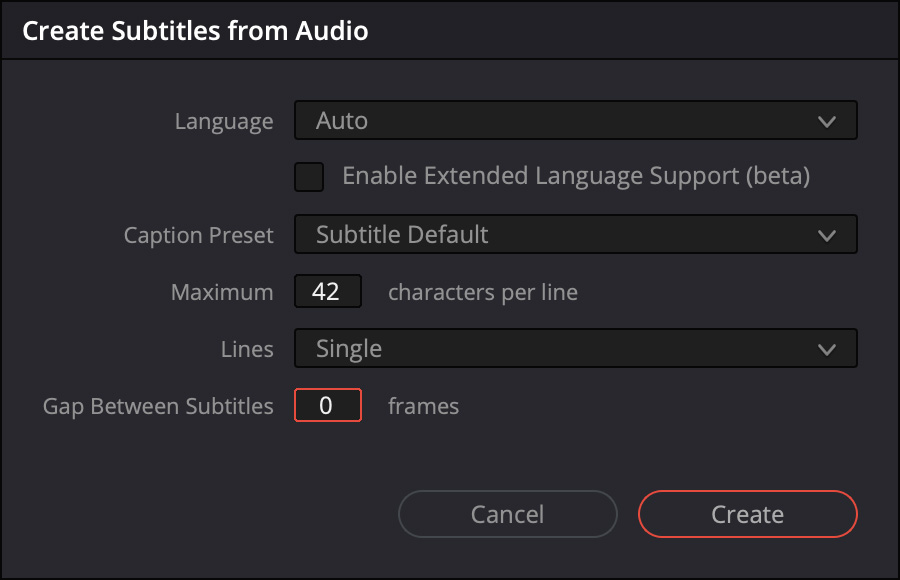
Make any necessary adjustments in this screen. However, most of the time, these defaults will be fine.
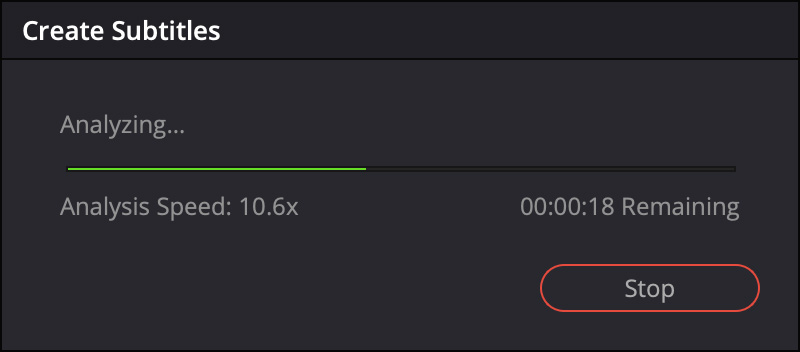
The software initializes the transcription language model, analyzes the clips, creates a text transcript, then, from that transcript, creates captions and places them on the timeline.
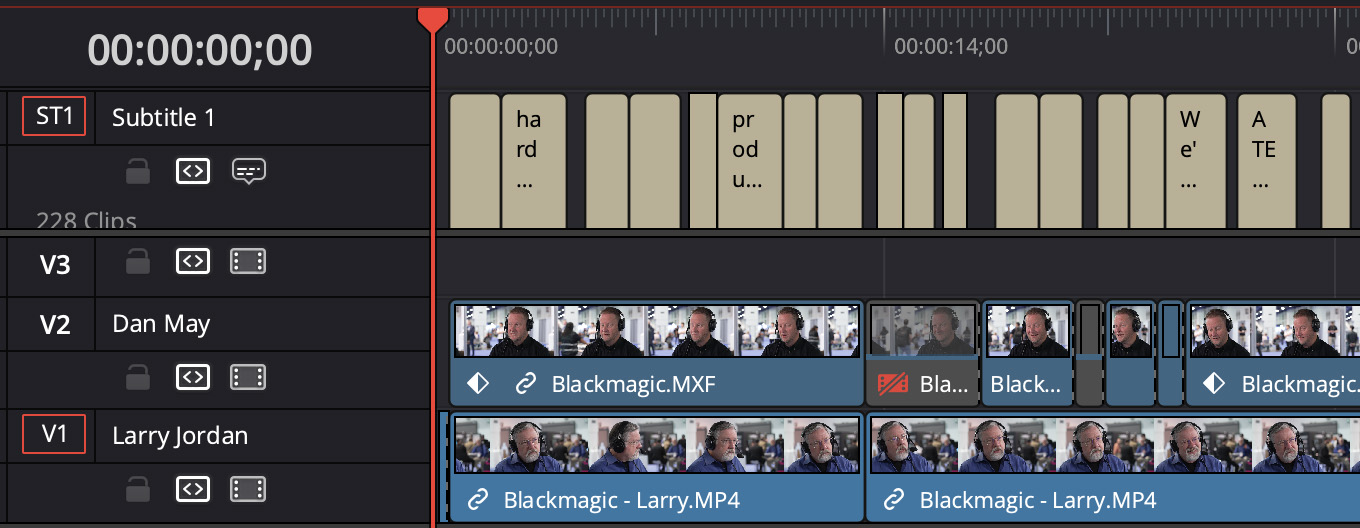
Those captions are then displayed in a caption track at the top of the timeline.
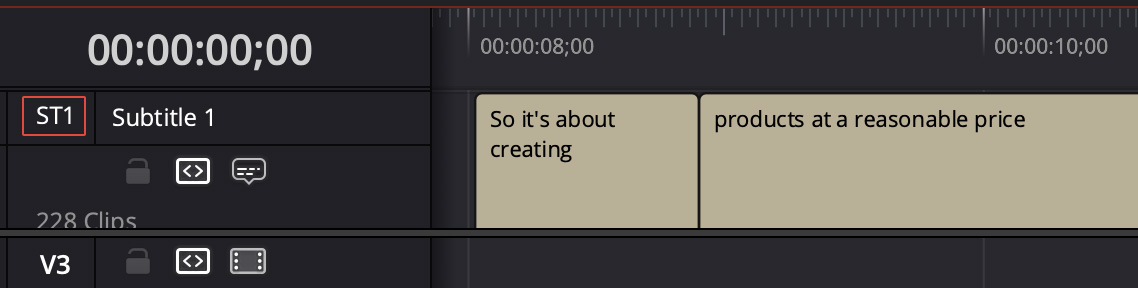
NOTE: All AI-based transcripts are inaccurate. Before burning titles into your video, be sure to review all captions for accuracy, spelling and punctation. Yes, it would be nice if they were perfect, but they aren’t. Please take time to review them before embarrassing yourself in public.
SECOND – ANIMATE THEM
Now, the fun part starts: Create the animation.

Click the Effects text button (top red arrow) at the top of the Resolve interface. Under Toolbox, choose Titles (middle red arrow), then scroll way down to Animated (lower red arrow).
There are five choices: Lollipop, Rotate, Slide In, Statement, and Word Highlight.
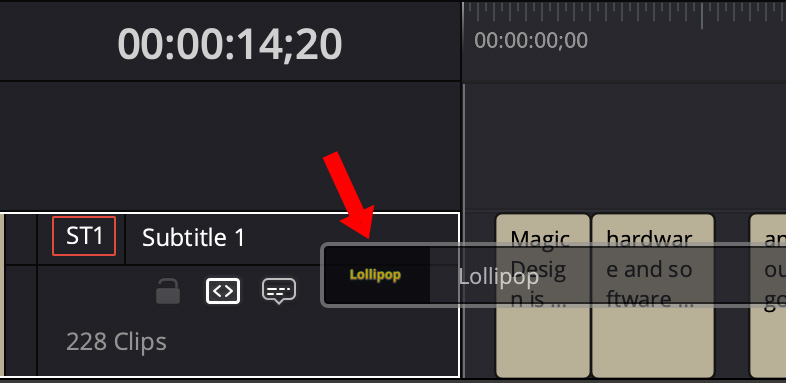
Drag any one of them into the caption track header.
Poof! Instant animation.
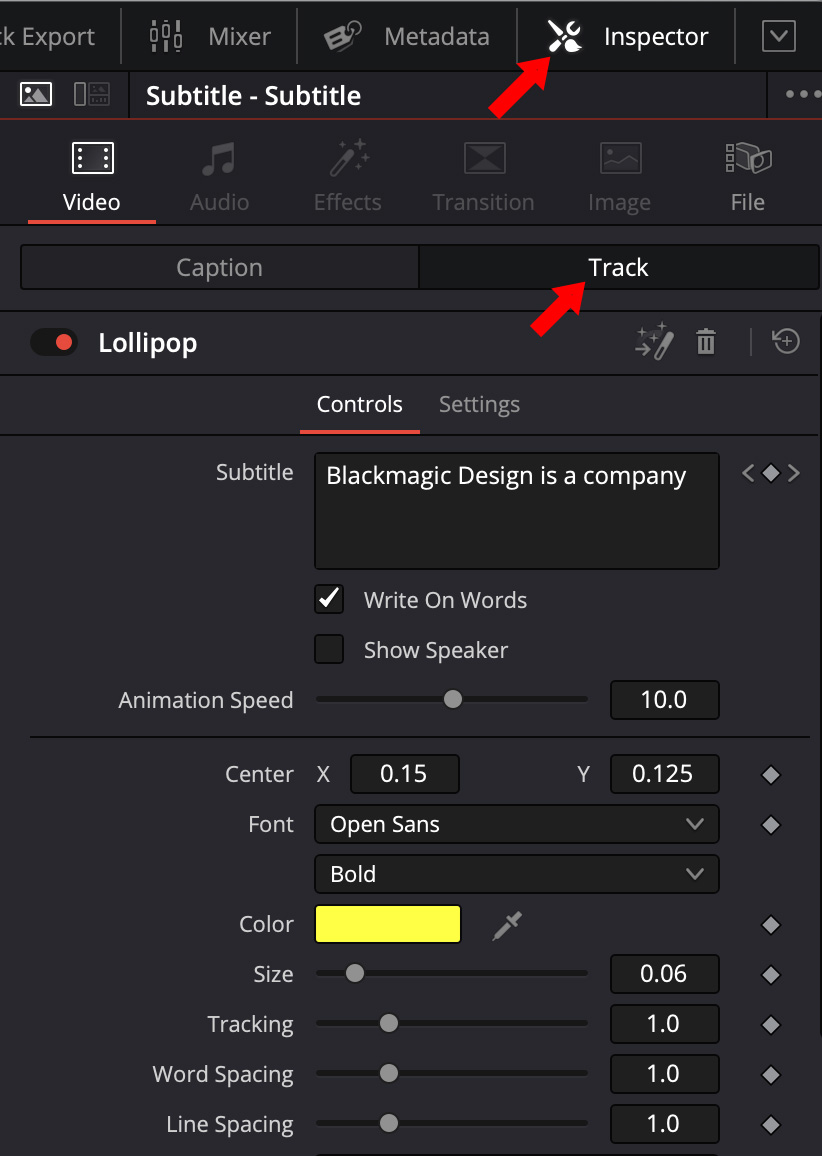
Select the Caption track in the Track Header, then open the Video Inspector (top red arrow) and click the Track text button at the top (lower red arrow). This gives you control over:
To replace one animation effect with another, drag the new choice into the caption track header; the new effect replaces the existing effect.
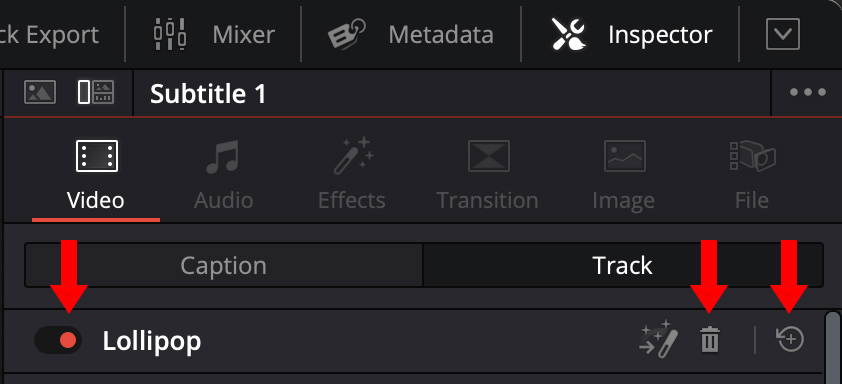
To disable the animation, click the red slider next to the effect name in the Video Inspector Video Inspector (left red arrow), To remove an effect, click the trash can icon (middle red arrow), to reset the entire effect click the “Go Back” icon (right red arr0w).
Output the animated video the same as any other Resolve project.
Have fun playing!
