 A week ago, Tony sent me an interesting puzzle:
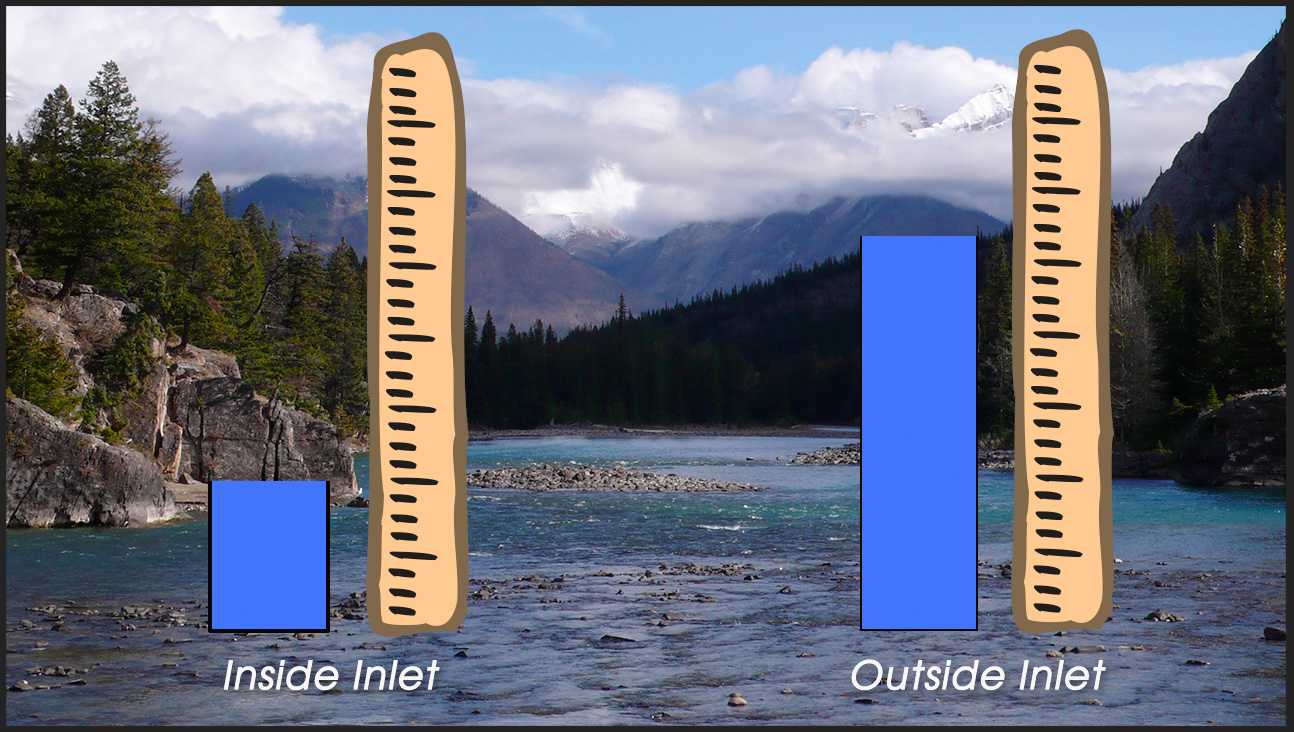
“I am making a video which illustrates the differences and rates at which the tide rises and falls outside a narrow inlet compared to what is happening inside that inlet. I envisage showing two columns: one for outside and one for inside and show something representing water rising and falling within these columns. I don’t know how to animate such a thing.”
I love challenges like this, but I was buried in other projects and couldn’t turn to it immediately. Still, his question kept springing into my mind, along with multiple possible ways to solve it.
Multiple graphics? Chroma-key? Cell animation? All good alternatives, but it wasn’t until today that I could sit down at the computer to figure it out.
At which point, a quote from Albert Einstein popped into my head: “Make things as simple as possible, but no simpler.” I realized the solution was easy — if you thought about it as a problem of graphics, not video.
NOTE: Here’s a tutorial on how to create this effect using Final Cut Pro.

Here’s the finished result. The blue bars indicate the level of water inside an inlet vs. outside the inlet as the tide rolls in. Each blue bar can be animated separately at whatever speed is needed. Best of all, this effect is NLE independent. Virtually any software that can edit video can create this effect.
NOTE: Hydrology is not my speciality. Nor is designing art work. All images can be replaced by something more appropriate.
THE SECRET
The secret is that this entire image is created as a multi-layer graphic in Photoshop, or the image editing software of your choice. Then, the animation is added in Adobe Premiere Pro. No chroma key needed.
CREATE THE GRAPHIC
The final image created in Photoshop consists of seven layers. Then, just for neatness, I added a drop shadow to the text and bundled the graphics into two groups. While the groups help in positioning elements in Photoshop, they are ignored when importing the graphic into Premiere. However, Premiere will import Photoshop drop shadows.
NOTE: While I’m using Photoshop, these same steps apply to whatever image editing software you are using.

NOTE: You could also leave this layer blank to key the animation into video in Premiere if you choose. A blank base layer creates an alpha (transparency) channel that Premiere will use to superimpose the animation into existing video. Premiere also allows easily deleting layers you don’t need once the graphic is imported.


Here’s what the Layers menu looks like. However, because none of these elements overlap, the actual stacking order doesn’t make any difference.
I prefer labeling layers and organizing them because if/when I go back to modify the graphic I have a better chance of understanding what I did the first time.
Save the Photoshop file as a Photoshop document (.PSD). (I called it “Water Level.psd.”) The hard part is done. Animation is next.
ANIMATE THE GRAPHIC IN PREMIERE PRO


NOTE: If the graphic sequence does not match the frame rate of your project, select the graphic sequence in the Project panel, then go to Sequence > Sequence Settings and change the frame rate to match your project. While not strictly necessary, this is a good habit to get into.

NOTE: If you want to key the elements over existing video, delete the full screen image on the bottom layer of this sequence (if it exists).


Move the playhead to a new position and adjust the Top setting to the level you want to indicate. Because you set an initial keyframe, anytime you adjust the Top setting in this graphic, Premiere will set a new keyframe automatically.
Keyframes are very specific. Each keyframe applies to just one setting for the frame the keyframe is parked on in the selected clip.
NOTE: To modify a keyframe setting, put the playhead on the frame you want to adjust, then change the Top setting. To delete a keyframe, click the blue “diamond” shape. To remove all keyframes applied to a clip for that setting, click the stopwatch icon so it turns gray. To move between keyframes, click the left or right arrows on either side of the blue/gray diamond.
REPEAT AS NECESSARY
Because each of these blue bars are two separate layers, repeat this process for the second bar. Because they are independent, the movement of one bar won’t affect the movement of the other.
To return to the original sequence, click it’s name at the top left of the Timeline pane.
SUMMARY

You can add as many flourishes to this as you want. Add arrows, animated text, drop shadows, replace the background with video, add new graphics, whatever helps you tell the story.
But the basic procedure remains the same. Create the foreground animation as layers in Photoshop and use keyframes applied to the Crop > Top effect to reveal that which needs to be revealed.
It’s easy – once you know how.
One Response to Animate Photoshop Graphics In Adobe Premiere Pro
Thanks for this tutorial, Larry.