Add Vertical Video to a Horizontal Timeline Without Losing Image Quality
 Integrating vertical video into a horizontal video timeline is increasingly common. Here’s how to do it using either Final Cut Pro or Adobe Premiere Pro.
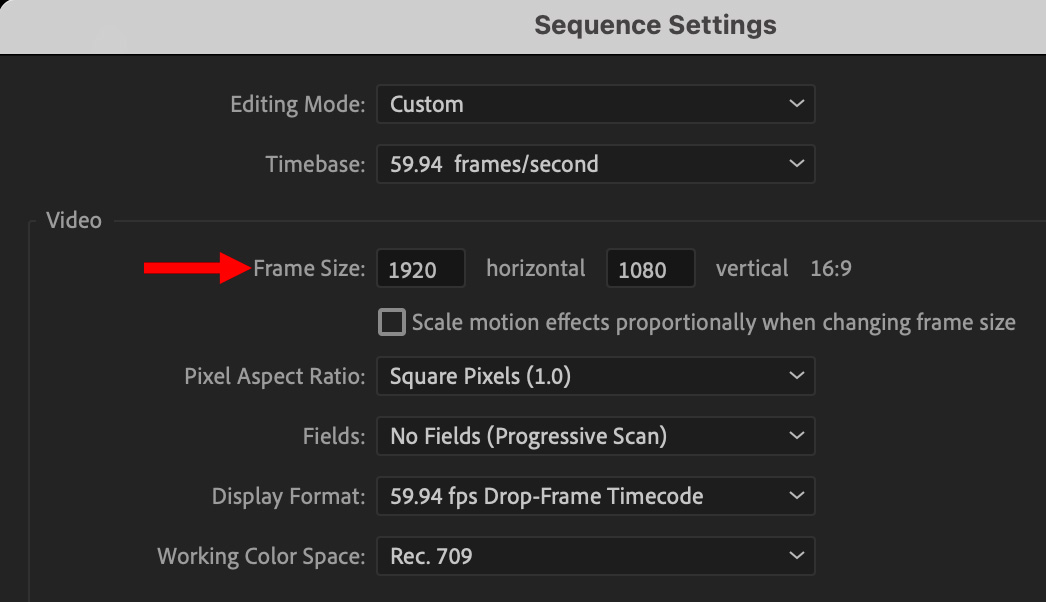
KEY POINT: To maintain the highest image quality, the height of horizontal timeline must be equal to or shorter than the height of the vertical video.

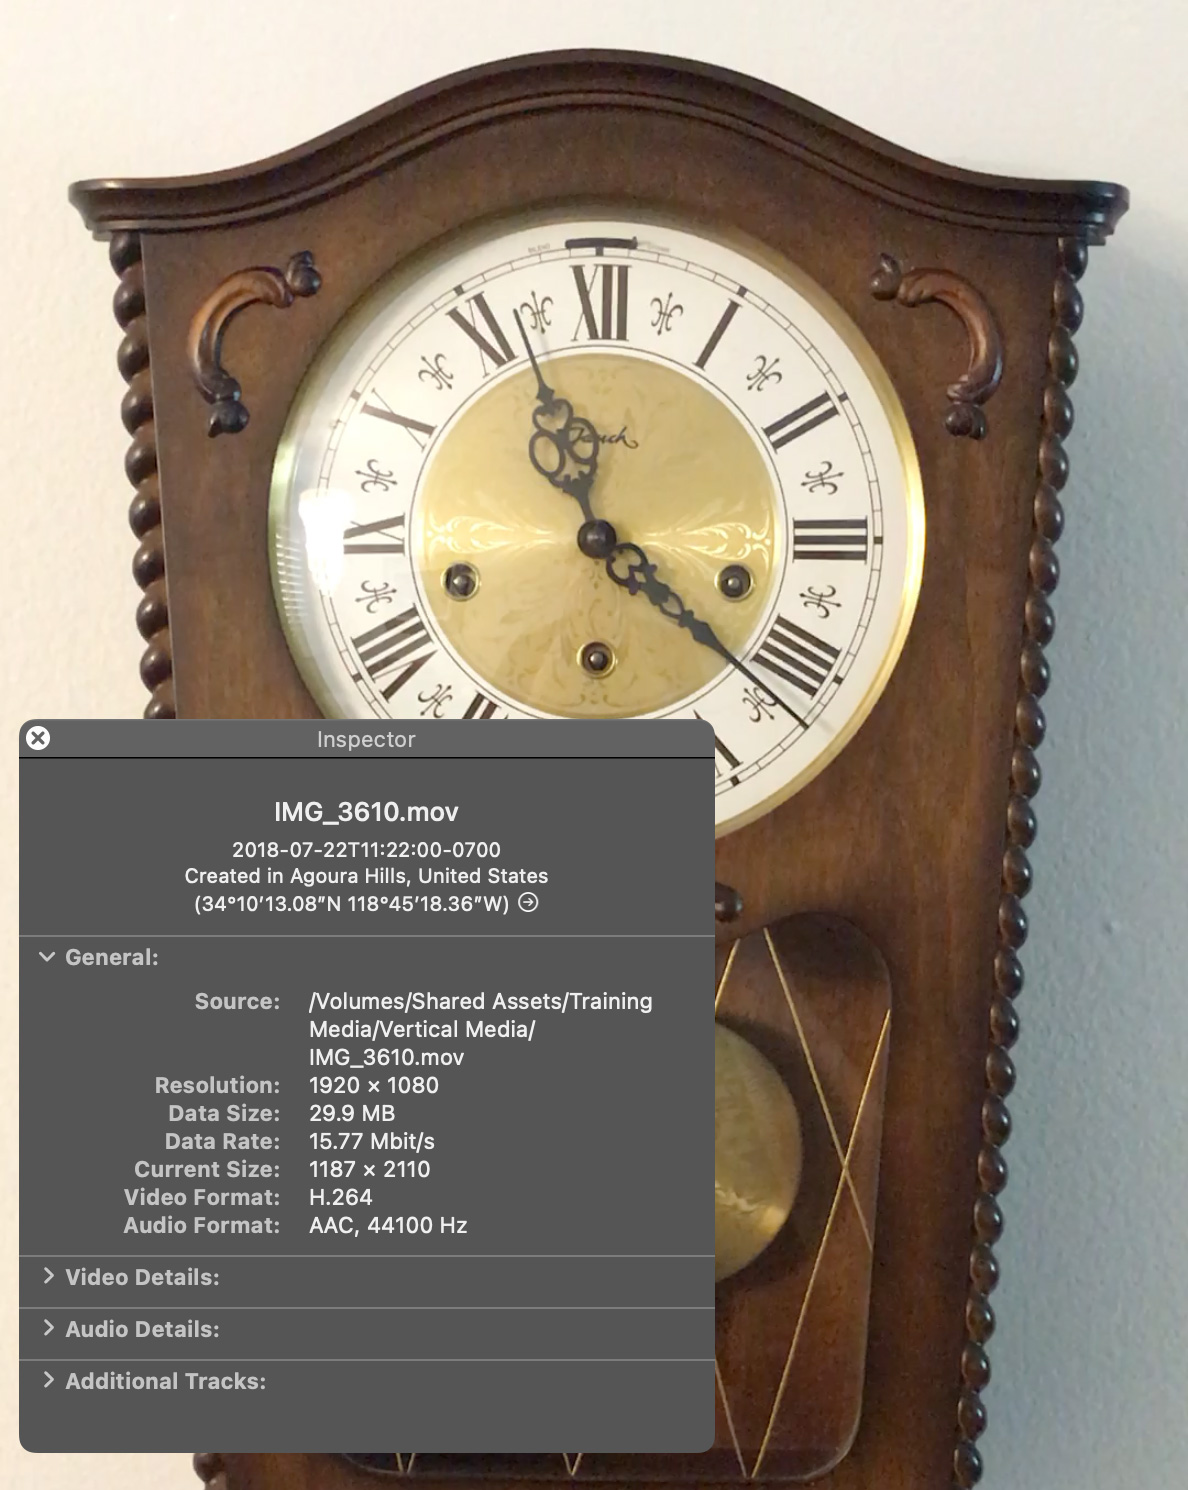
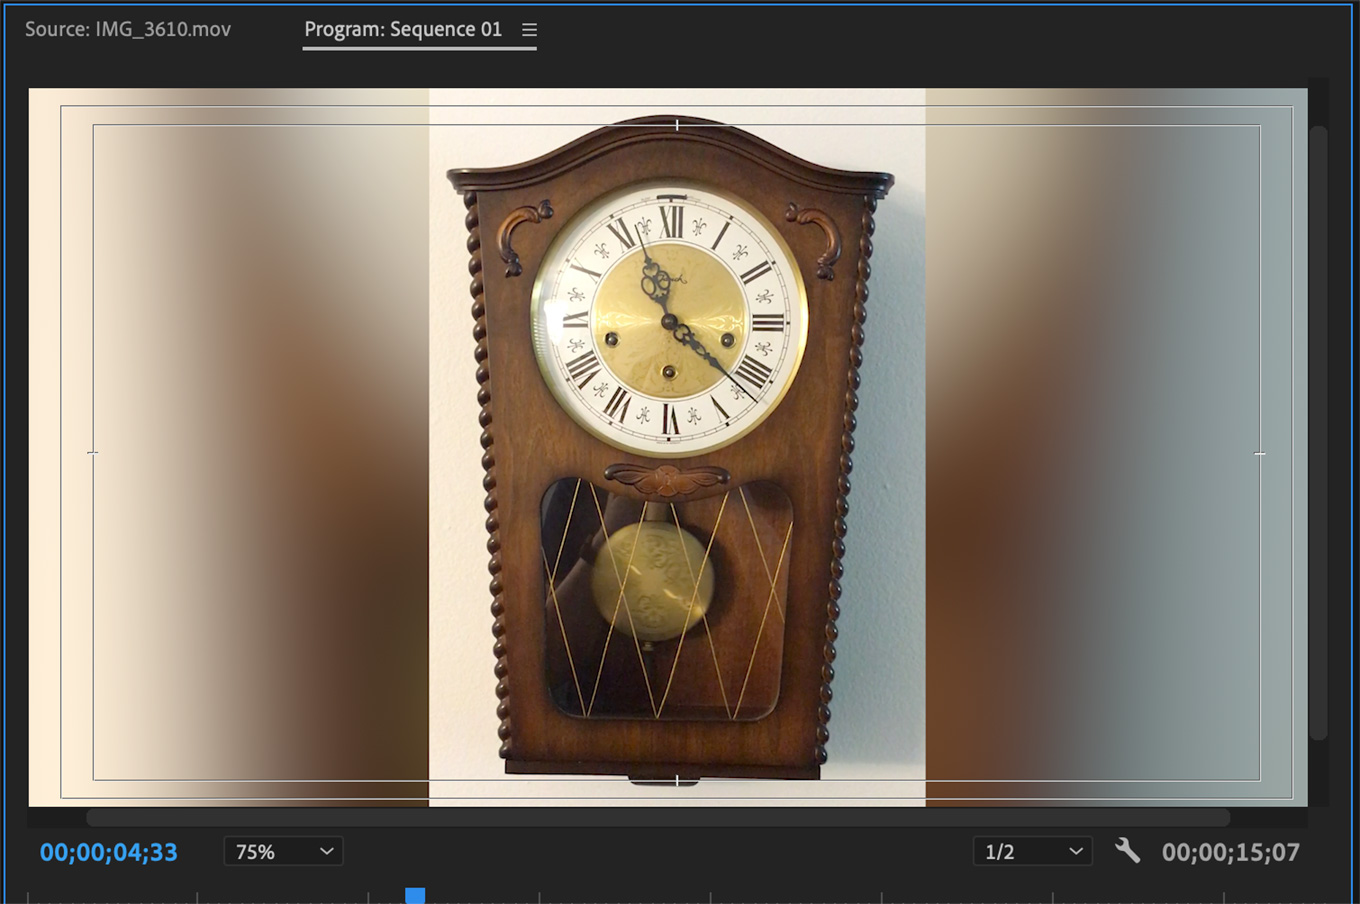
I’ll use this grandfather clock video for this example. Note the vertical height is 2110 pixels.
FINAL CUT PRO

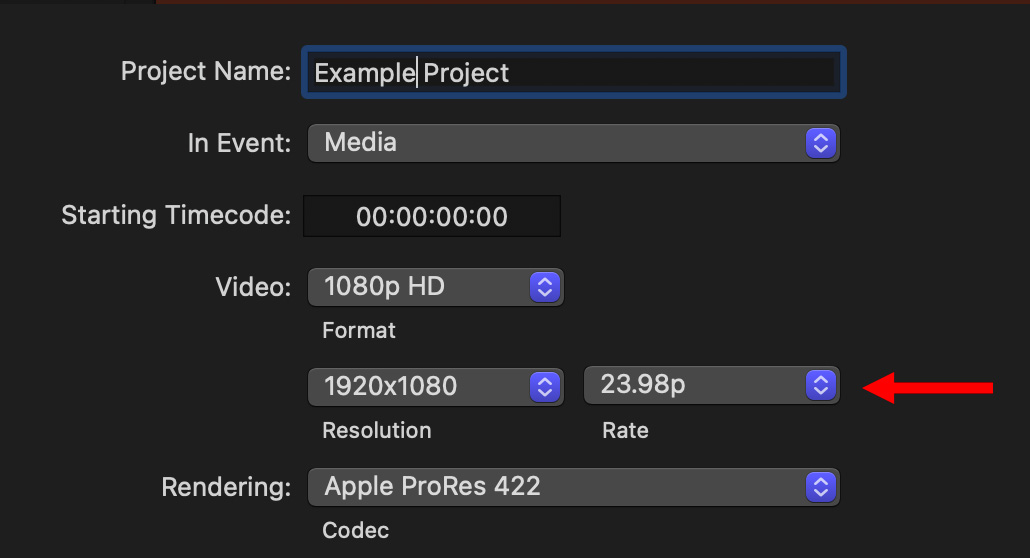
Create a project where the vertical dimension is equal to or less than the height of the vertical video. Because the vertical video will create black bars on either side when edited into a horizontal timeline, we first need to fill the background.

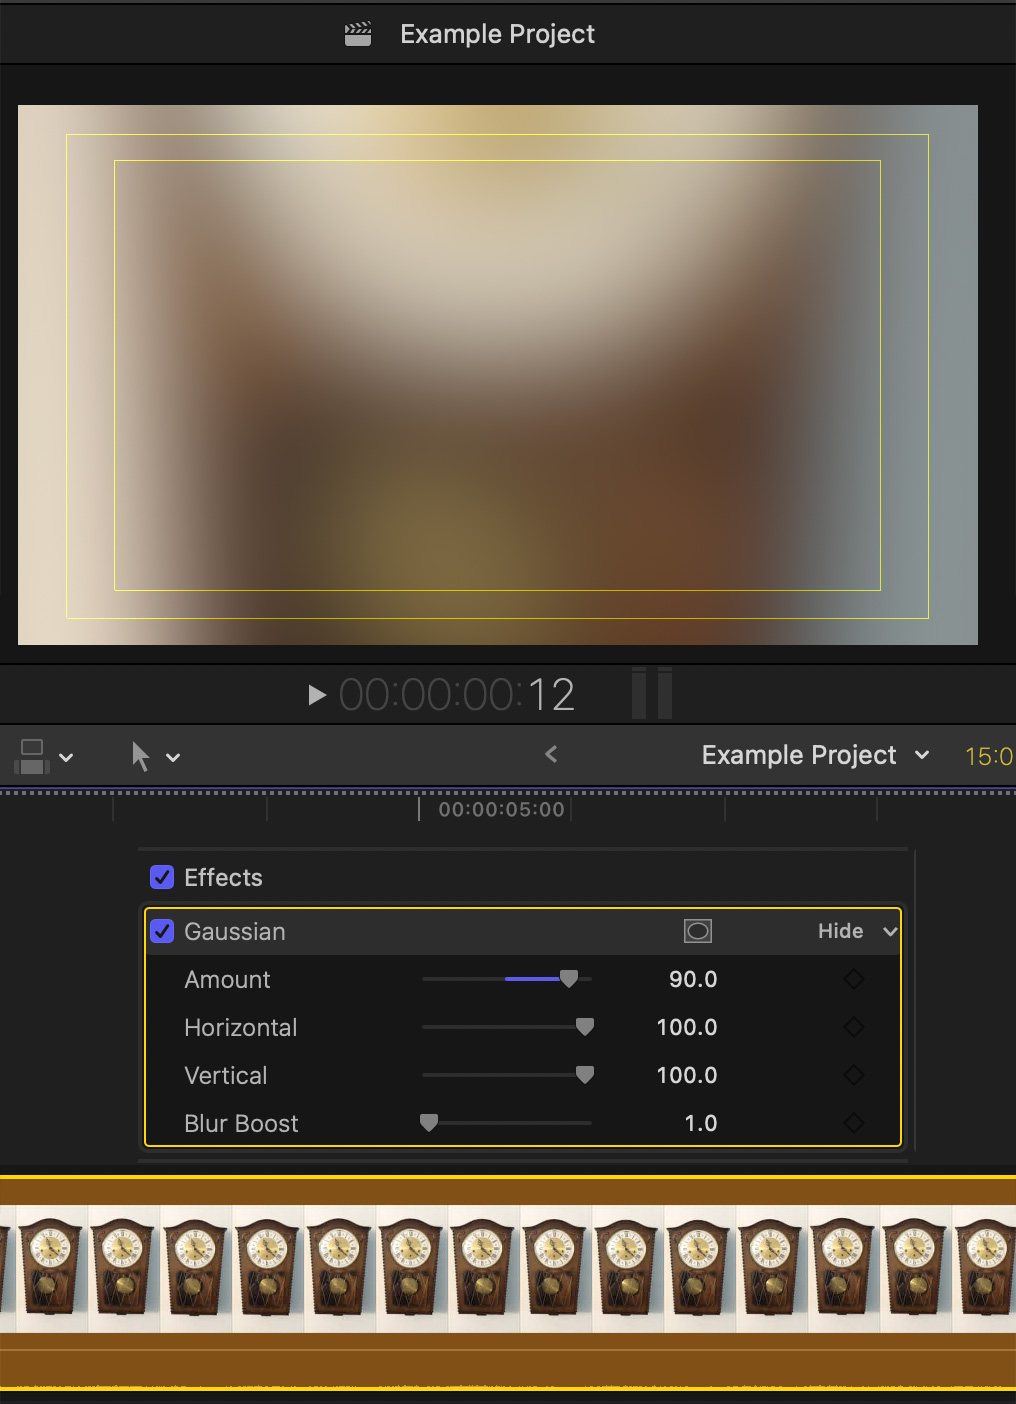
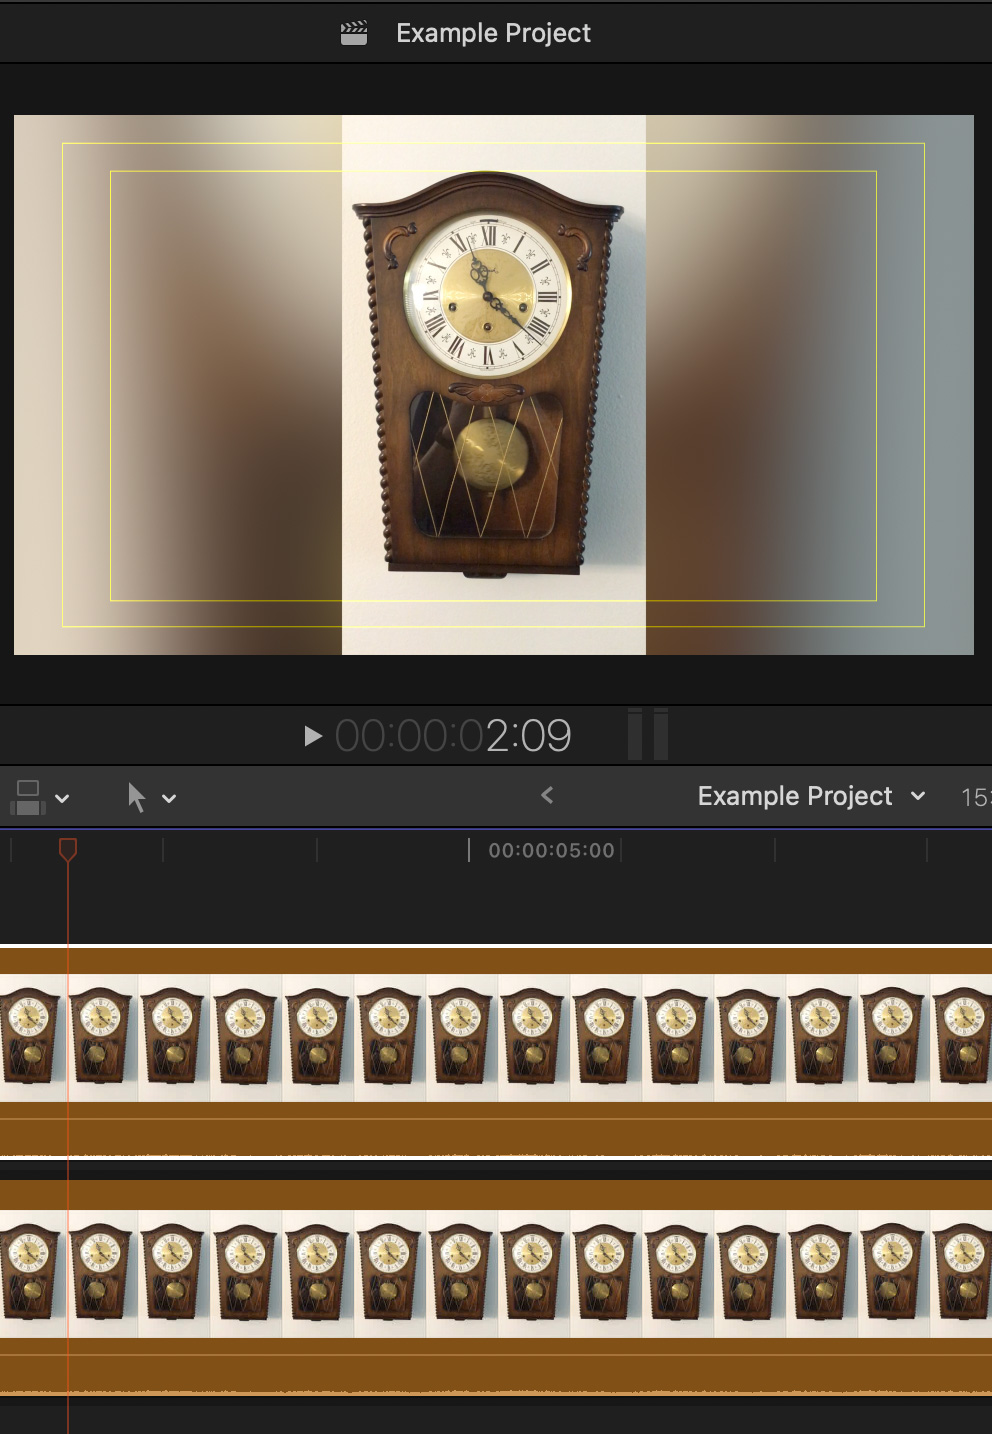
(This composite image shows the vertical clip in the Primary Storyline, along with the blur settings applied to it.)
In the Primary Storyline, edit one of the following:
- A background generator
- Or – a custom graphic
- Or – the vertical video
Whatever you add, make sure it fills the frame. If you used the vertical video:
- Set Video Inspector > Spatial Transform to None
- Adjust Video Inspector > Transform > Scale so the image fills the frame horizontally. While you can adjust the vertical position, you don’t really need to. All you need to do is fill the frame.
- Add Effects > Blurs > Gaussian and blur the background. An Amount setting of 90 works fine. This needs to be blurred a lot!
NOTE: It may be necessary to darken the highlights of the background clip to make the foreground clip more visible.

- Add the vertical video clip to a layer above the Primary Storyline. As long as Spatial Conform is set to Fit, the clip will automatically scale to fit the frame size of the project.
NOTE: Make sure to mute the audio of the clip in the Primary Storyline.
Done.
ADOBE PREMIERE PRO

- Create a sequence that is equal to or less than the height of the vertical video.
- Edit the vertical clip into track 1. Make sure to mute the audio from this clip.

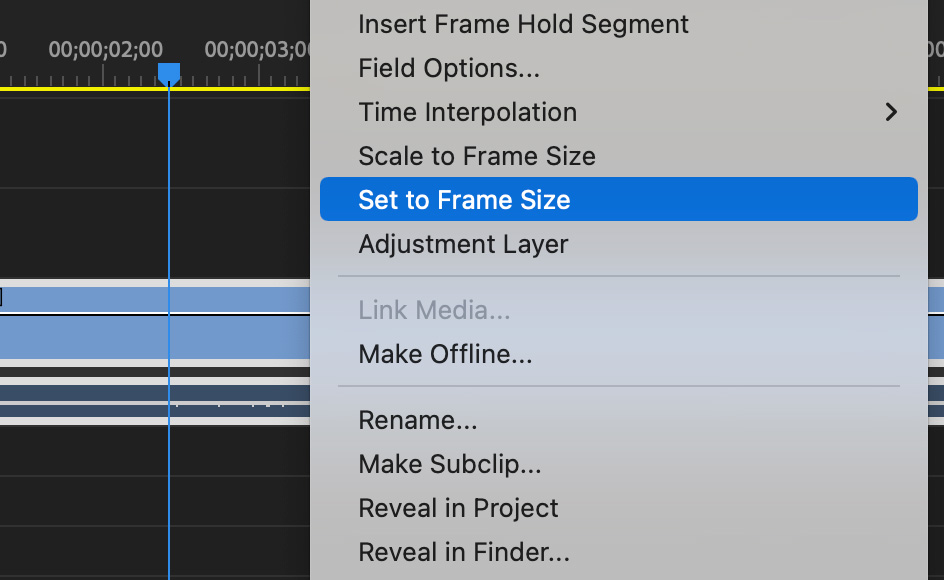
- Right-click the clip and choose Set to Frame Size.
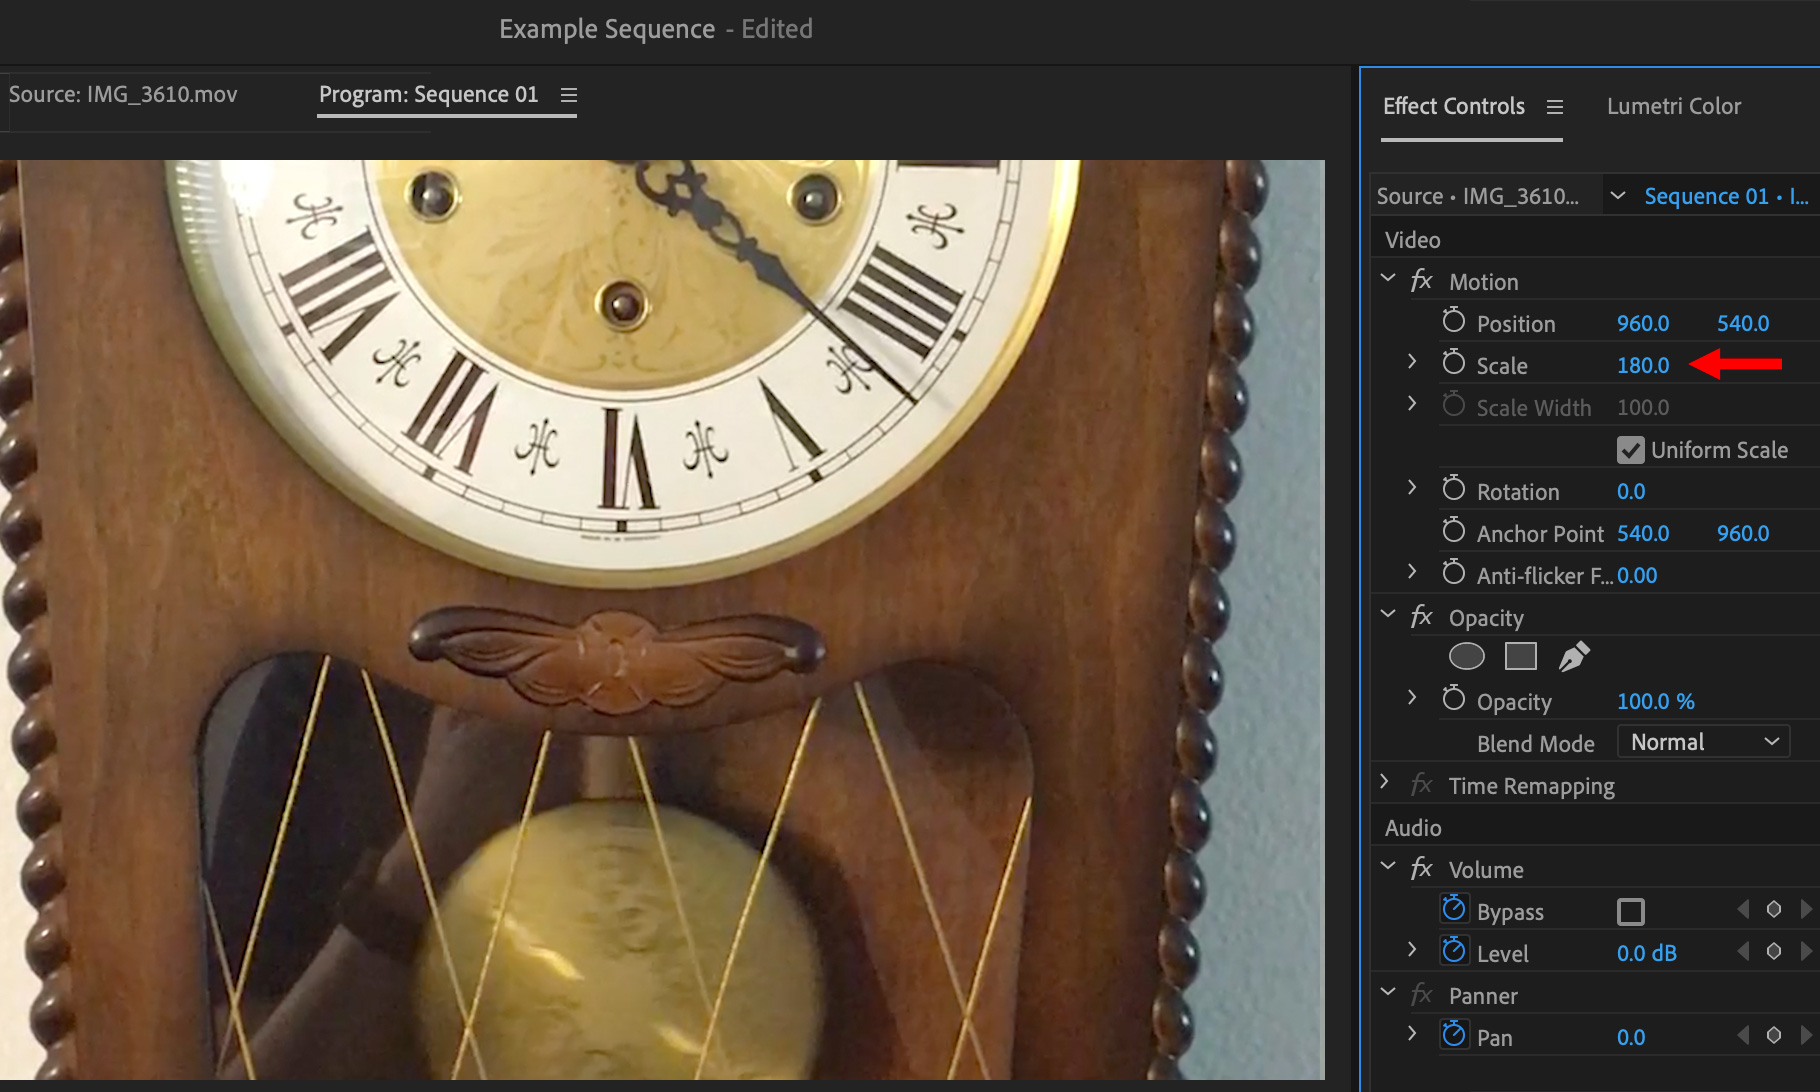
(Click to view larger image.)
- With the clip still selected, adjust Effect Controls > Scale so the image fills the frame. While you can adjust the vertical position, you generally don’t have to.

- Apply Effects > Blur & Sharpen > Gaussian Blur and set the Amount to 200. You need to create a really blurry background clip.

- Edit the vertical video clip onto track 2.
- Right-click the clip and choose Set to Frame Size. This scales the image so it fits in the frame.As long as the clip is scaled smaller, you won’t lose any image quality.
NOTE: It may be necessary to darken the highlights of the background clip to make the foreground clip more visible.
Done.
Bookmark the
permalink.
2,000 Video Training Titles
- Apple Final Cut Pro
- Adobe Premiere Pro
- DaVinci Resolve
Edit smarter with Larry Jordan. Available in our store.
Subscribe to Larry's FREE weekly "Edit Smarter" newsletter and
save 10%
on your first store purchase.
Read the latest Media Industry News, curated by Larry Jordan
Media News

 Integrating vertical video into a horizontal video timeline is increasingly common. Here’s how to do it using either Final Cut Pro or Adobe Premiere Pro.