 Another new feature in the 2014 release of Adobe Premiere Pro CC is Live Text Templates. These are After Effects comps which allow you to modify the text in Premiere, without messing up the design or animation; and without needing to return to After Effects every time you need to make a text change.
This reminds me of the ability Final Cut has had for a while of integrating Motion projects inside Final Cut to provide effects that Final Cut does not support natively.
NOTE: I really expect use of this feature to sky-rocket because it’s perfect for 3rd-party developers to create exciting animations which editors with no design skills, like me, can use inside Premiere.
GET YOUR FREE STUFF
Because my After Effects skills are, shall we say, somewhat limited, Adobe has provided some demo files that we can play with to learn more about this feature. You can download them here (113 MB): http://learndownload.adobe.com/pub/learn/premiere/Live-Text-Templates.zip.
Once the files download, move them from your Downloads folder to a more convenient location. They can be stored anywhere.
NOTE: The ReadMe text included with these sample files says that additional instructions are included in the folder. They aren’t. Use mine.
BEFORE YOU START
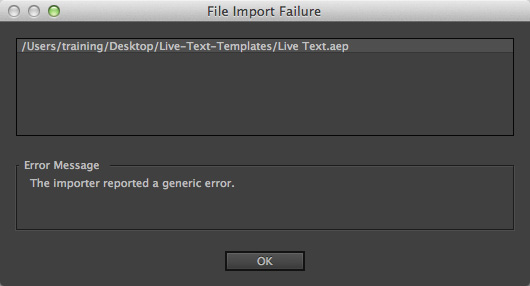
In order to use this feature, you must install the 2014 versions of both Premiere Pro and After Effects. Otherwise, I as discovered, you get the General Error message you see here.
GET STARTED
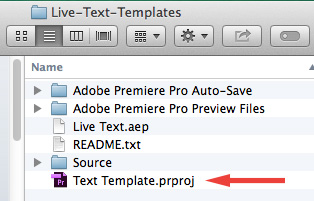
Close any open projects in Premiere, then, inside the Live-Text-Templates folder which you just downloaded, double-click the Text Template project to open it in Premiere.
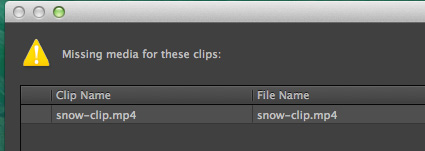
If necessary, relink any missing media. (The snow-clip.mp4 file is stored in the Source folder, inside the Live-Text-Templates folder.)
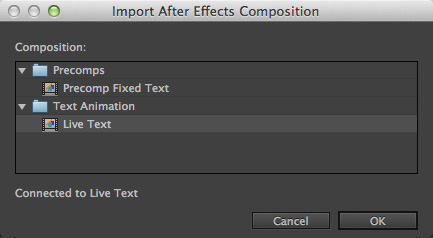
Next, import the Live Text comp; which is also stored in the Templates folder. In the Import After Effects Composition dialog, select Live Text and click Open.
NOTE: Depending upon the speed and configuration of your computer, Premiere may take several seconds to start the Dynamic Link server before you can select an option and finish the import.
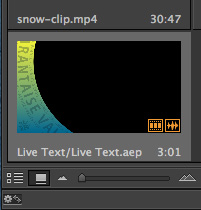
The comp now appears in the Project panel. Before you add it to the Timeline, we need to change the text.
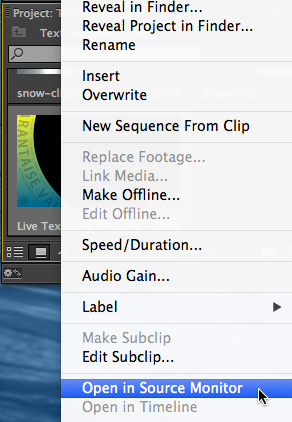
Load the comp into the Source Monitor by right-clicking the icon in the Project panel and select Open in Source Monitor.
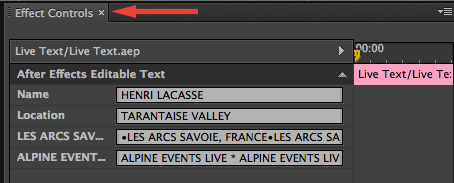
At which point, you can change the text associated with this clip in the Effect Controls panel. Each line of text in the comp is a separate line in the Effect Controls panel. Edit the text as you wish. The changes update instantly.
Once you’ve changed the text, you can edit the template into the Timeline sequence.
NOTE: Text changes are only stored in Premiere. The original comp is not affected.
BIG IMPORTANT NOTE
If you want to use the same text template more than once in the same sequence – for example, to give all lower-third titles the same animation — you must duplicate the template for each use. Otherwise, the template acts as a master clip and every time you change the text in the template, every Timeline clip that references that template will also change to match it.
To duplicate a template, select the template, then choose Edit > Duplicate.
MODIFYING TIMELINE CLIPS
Adobe notes: If the imported After Effects composition has been edited into a sequence, the Effect Controls panel does not display the editable text (or any other master clip effects). Use the Match Frame feature to load the master clip into the Source monitor and expose the editable text blocks for revision. Because all changes to the master clip automatically ripple down to the sequence track item instances, any changes are updated in the Program monitor.
The “Match Frame feature” means to put your playhead in the Timeline comp clip and select it. Then, either choose Sequence > Match Frame or type F.
EXTRA CREDIT
In order for this to work properly, you need to create and save your After Effects comp properly. Here’s a link to a page on Adobe’s website that provides more details: https://helpx.adobe.com/premiere-pro/using/live-text-templates.html
9 Responses to Premiere Pro CC (2014): Live Text Templates
Interesting note that the additional instructions didn’t make it into the folder. This sounds like a cool way to dress up & add pizzaz to a video instead of just plain ‘ole text.
Glad they’ve introduced something like this, but it’s much weaker (not even size changes are possible?) than even the title integration in FCP 7, let alone the much, much better titling system in FCP X.
[…] and Masks | Working with Live Text Templates | Using Master Clips | Auto-sync settings and back up projects to the cloud | Importing Layered […]
Hi,
I tried it but the text file developed in after effect does not open and it show the message that ” the importer reported a generic error”
How do I fix it?
thanks a lot
Fahad:
This sounds like an After Effects error with the template. And After Effects is not a program that I know well.
You’ll need to contact Adobe support.
larry
Hey Larry,
Thanks for sharing this. Is this supposed to maintain the formatting etc of the main comp template? I have one that has two types of font weight set and each time I edit the text in Premiere it defaults to just whatever font weight the first character is.
Quite frustrating. Also wish I could change the colour of the text too within Premiere without having to jump back to AE.
Cheers
Hi,
I recently practicing live text in Premier Pro and After Effects CC 14. But, the mask which I applied for pre-comp in AE is not applied in live text templet. I could not figure it out. Is there any function that mask work in premiere?
Thank you.
Andrew
Andrew:
The masks should transfer because Premiere is using the same render engine as AE. I would contact Adobe support for more help.
Larry
Thank you, Larry.
Andrew