
 [ UPDATED Sept. 8, 2025, to include how to create complex masks on the Color page, which I finally figured out.]
Last week, I wrote about creating a chroma-key (aka green-screen key) in Resolve 20. After which, a reader asked if Resolve could create garbage masks.
The answer is: Yes, there are several options and here’s how.
NOTE: Here’s a more detailed article on how to create one- and two-color chroma keys, along with which settings to adjust to improve edges.
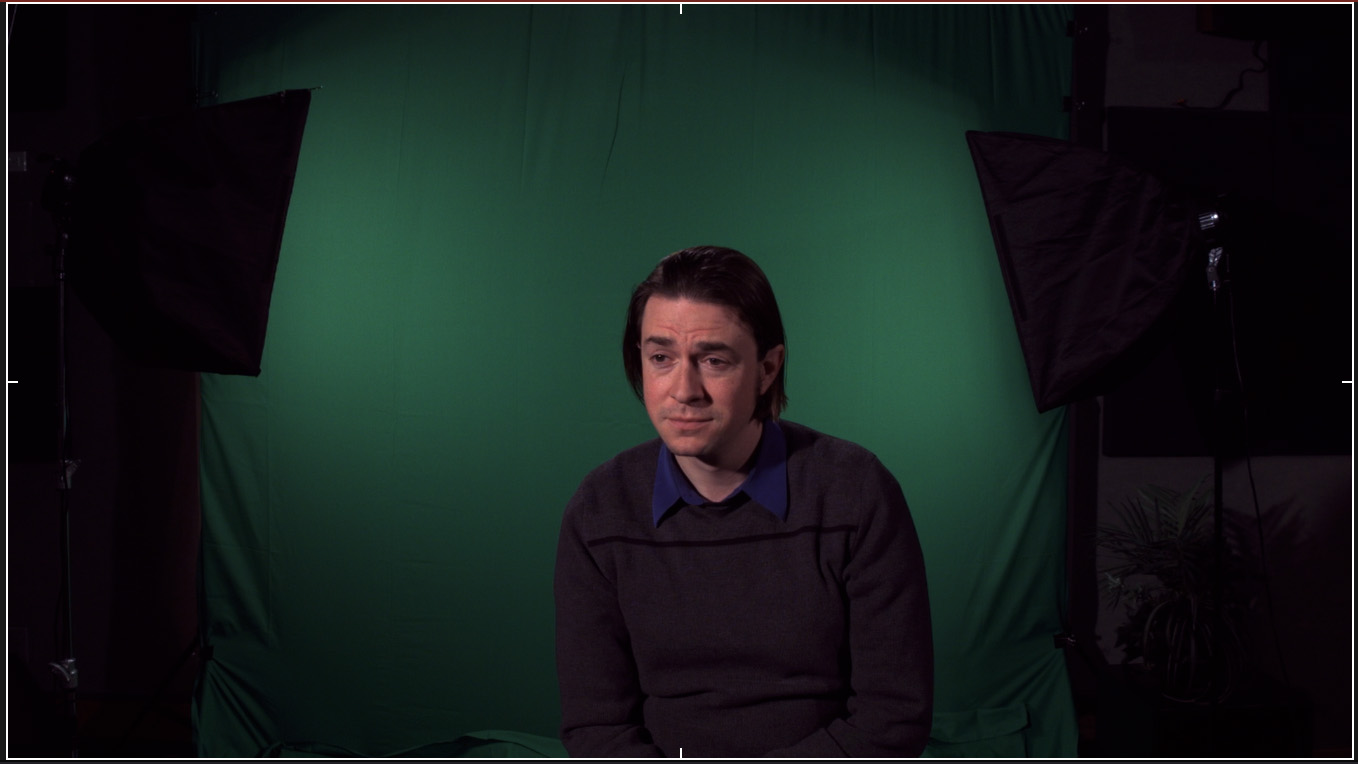
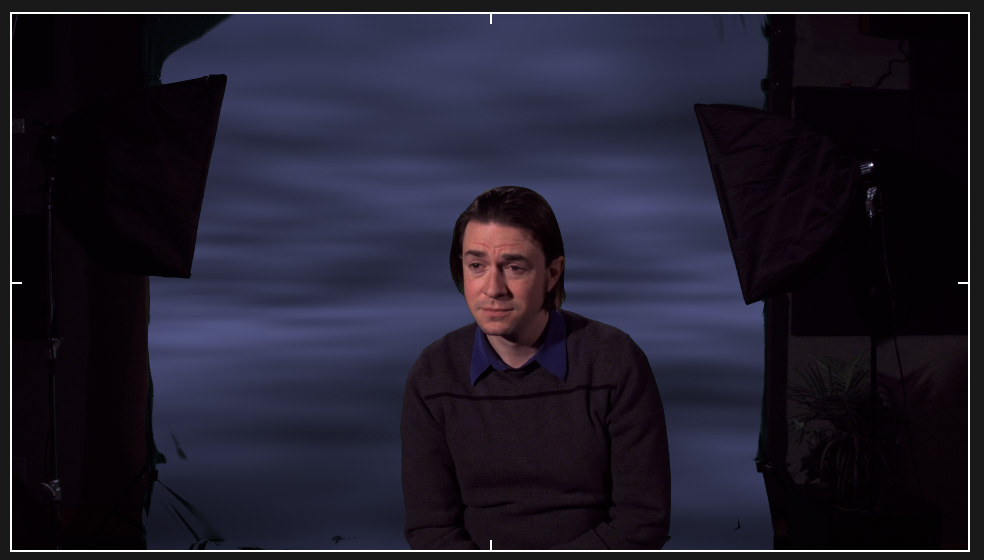
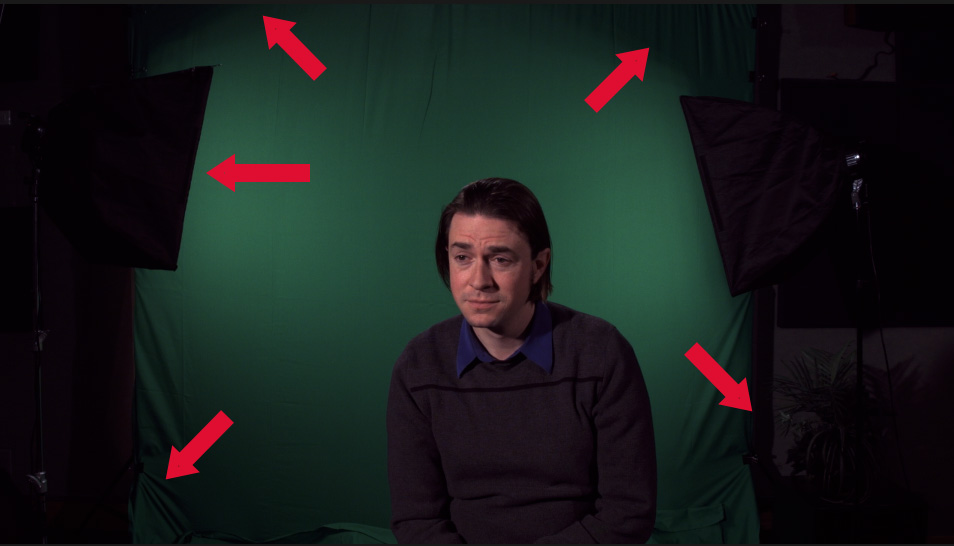
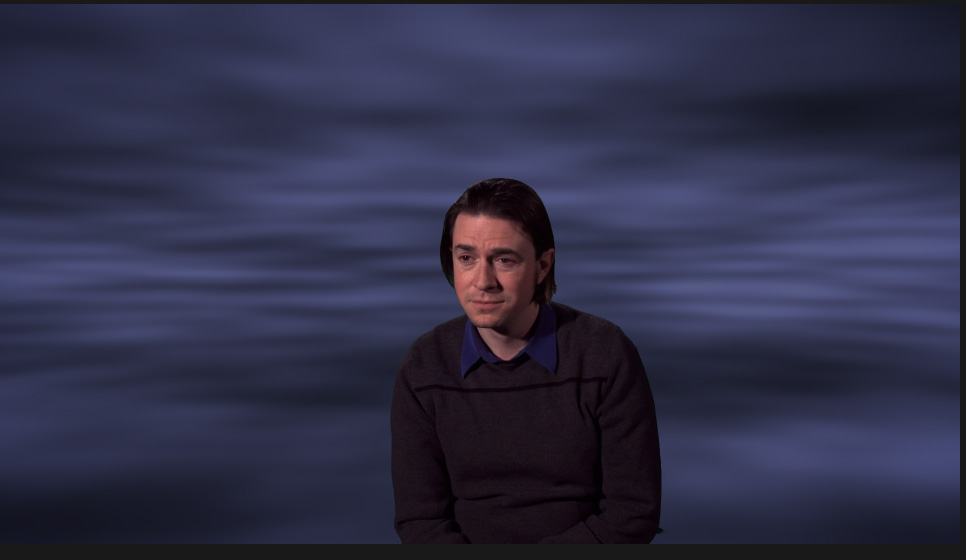
This is our hero, in a somewhat sad and bemused state. Why? Because he is sitting in front of a terrible green screen with uneven lighting, folds in the green screen background, and light stands and other “garbage” filling the edges of the frame. This is a classic case of, smile, the kinds of keys we run into every day.
CREATE THE KEY
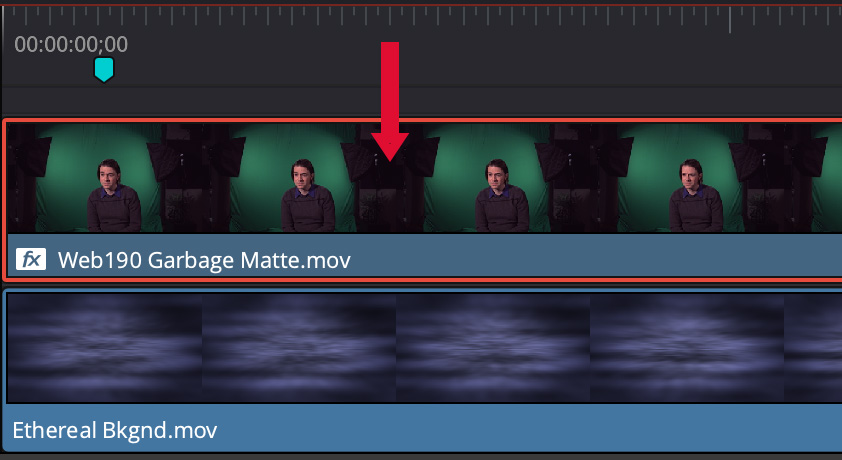
In the timeline, create a two layer effect, with the foreground (green-screen) on top and the background on the bottom.
NOTE: The marker is not necessary. I’m using it to find the same frame for my screen shots.
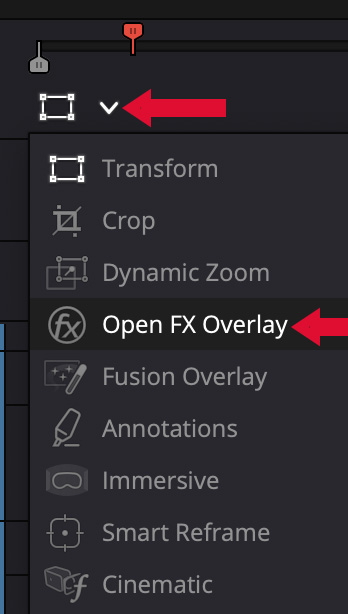
In the lower left corner of the Viewer, change the display to Open FX Overlay. This displays the onscreen controls for the key.
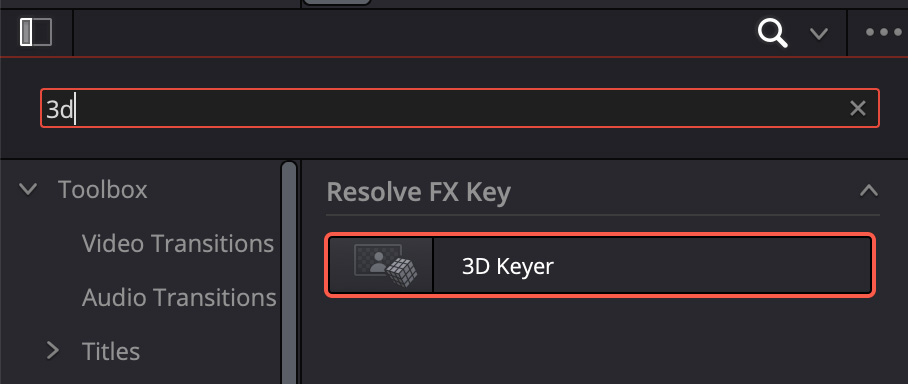
Open the Effects panel (top left side of the interface), click the Magnifying glass and search for 3D. Then, drag the 3D Keyer onto the clip in the top layer of the timeline.
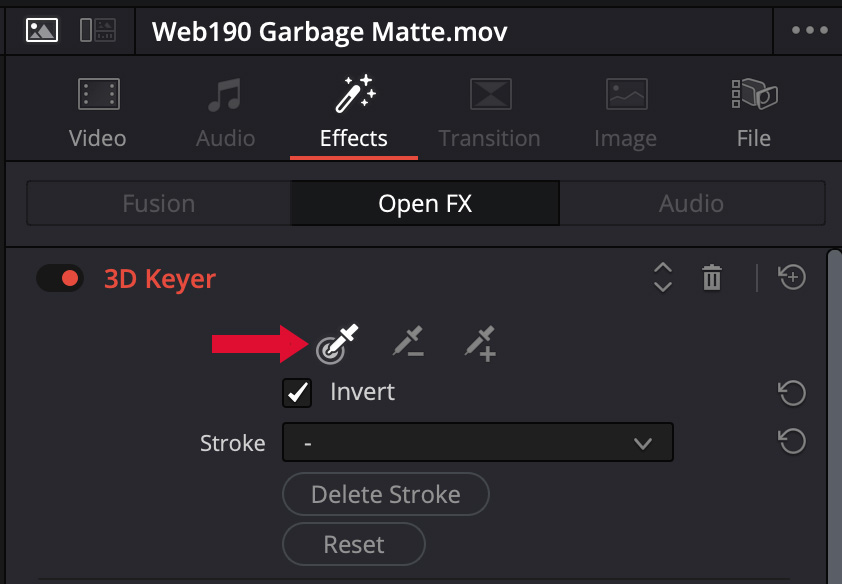
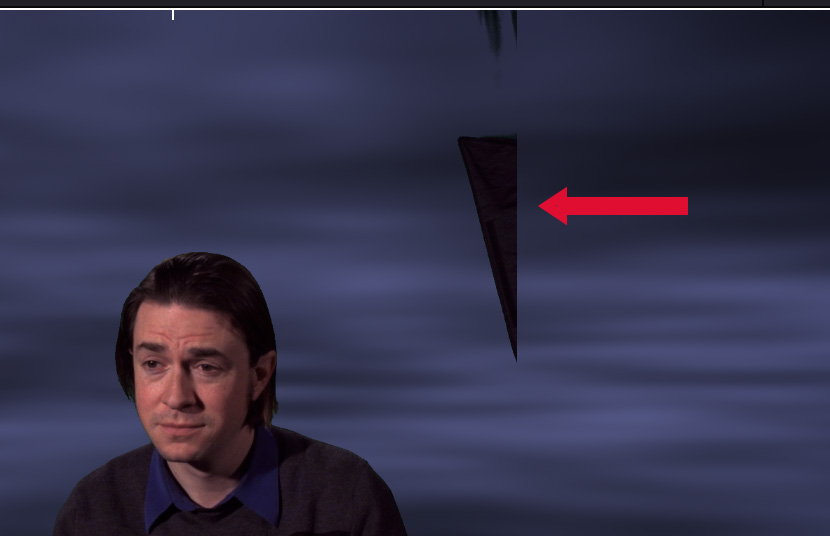
Check Invert, then drag the highlighted eye-dropper (red arrow)…
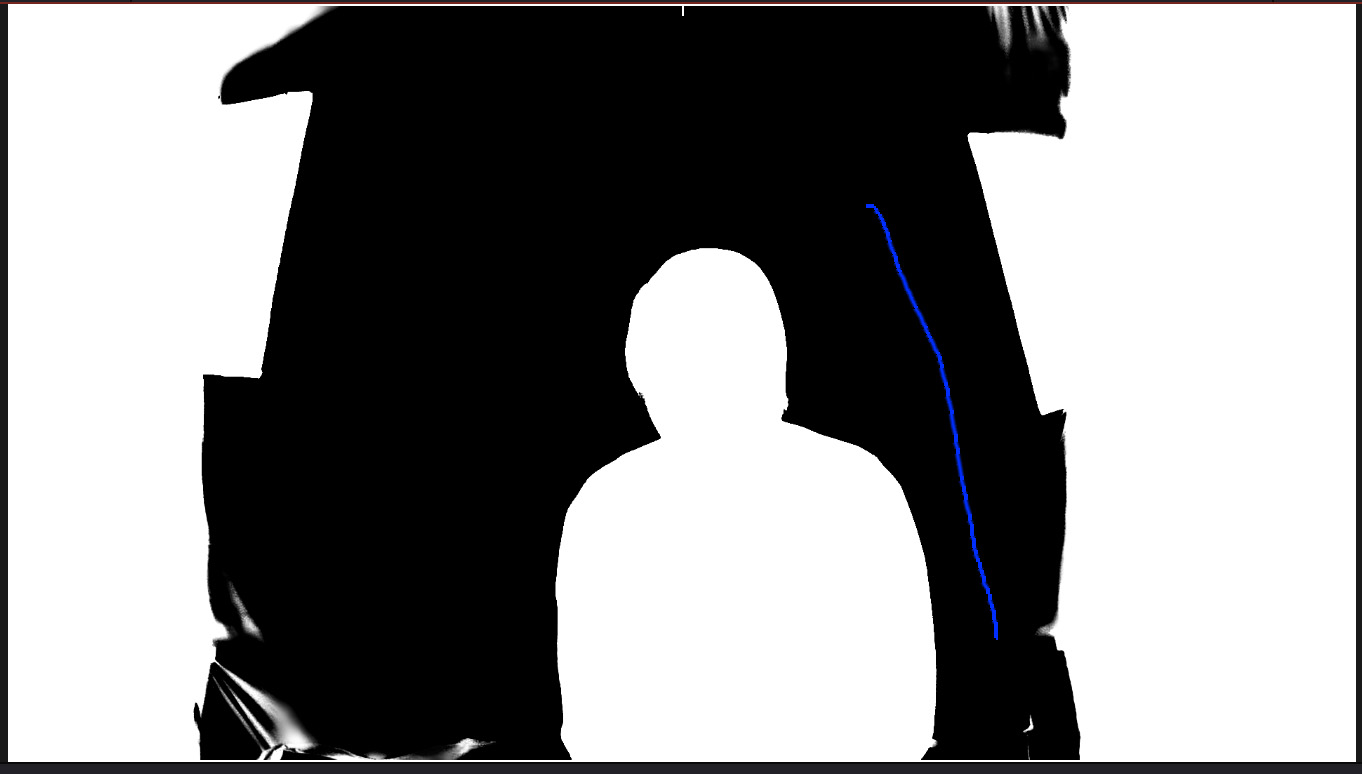
across the green background in the Viewer so that the foreground is solid white and the background is solid black.
NOTE: If you have problems with the edge around talent, my earlier article explains additional tweaks you can use.
TAKE OUT THE GARBAGE
We have a key, but there’s a lot of garbage in the frame. There are several ways to clean this up.
Trim with Crop Settings
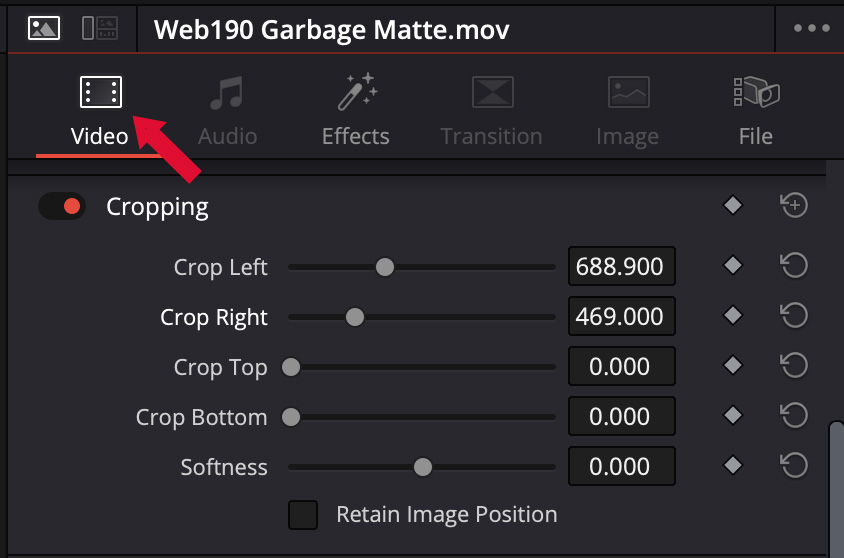
Select the top timeline clip, go to the Video Inspector and adjust Cropping settings to hide the left and right edges.
This works, provided there’s no overlap between the garbage and the edges of the talent.
In my example, trimming won’t work because the edge of a light stand leans over his shoulder, which means I can’t remove the garbage without also removing part of his shoulder. Not optimal.
Garbage Matte
Where simple full-frame trimming using the Cropping settings in the Video Inspector doesn’t work, the Garbage Matte settings which are a part of the 3D Keyer may be a better option.
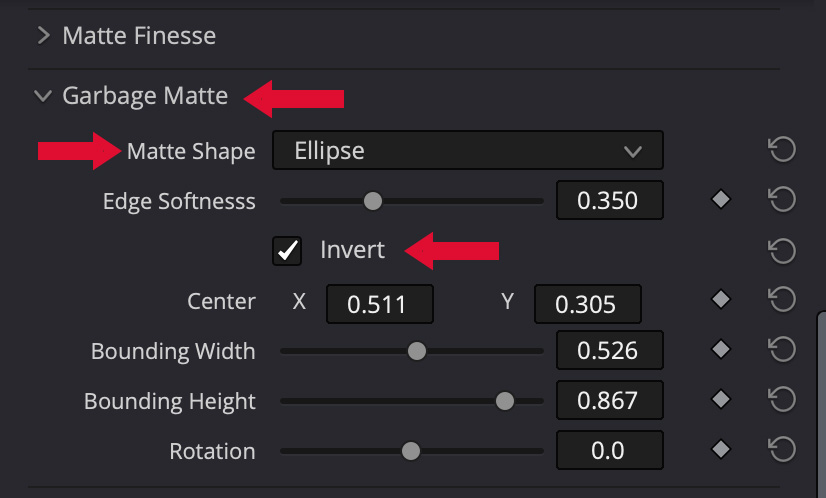
Scroll down inside the 3D Keyer menu and choose between a variable-sized rectangle or ellipse. For people, ellipses tend to work best. Be sure to check Invert to remove the background, not the talent.
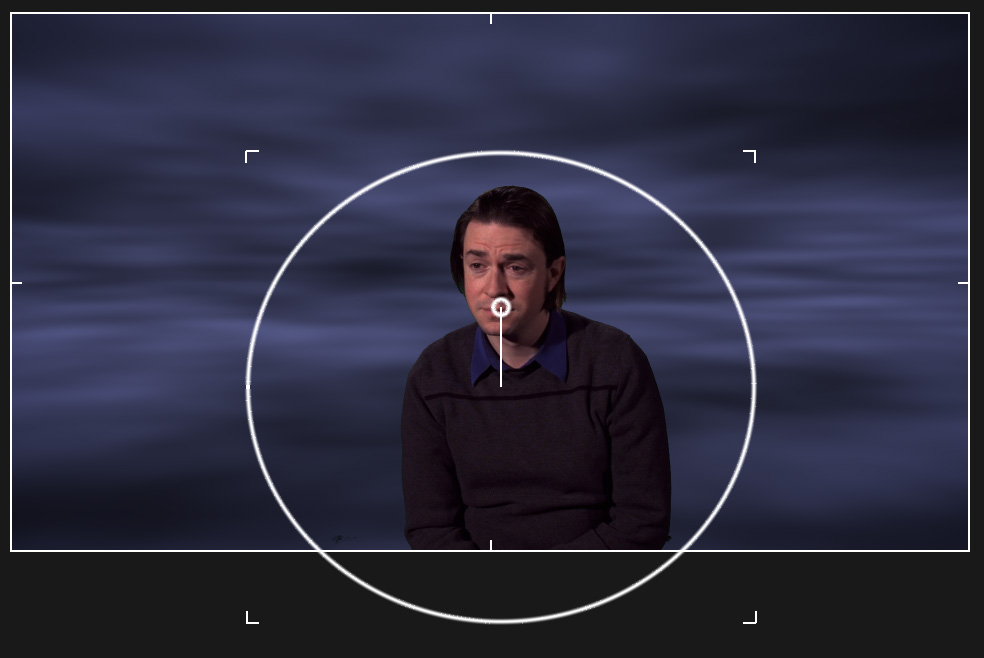
While you can adjust settings in the Inspector, it is much easier to use the on-screen controls to size and position this mask the way you want providng a very quick way to clean up a key.
Create Complex Masks on the Color Page
The most flexible – but trickiest – way to remove garbage from the frame is using Magic Mask on the Color Page.
Here’s our starting frame: light stands on the sides, severe lighting fade off, and his body filling the low center of the frame. An ellipse can work, but here’s a more flexible option.
With the two clips stacked in the timeline as illustrated above, select the top clip and switch to the Color page (shortcut: Shift + 6).
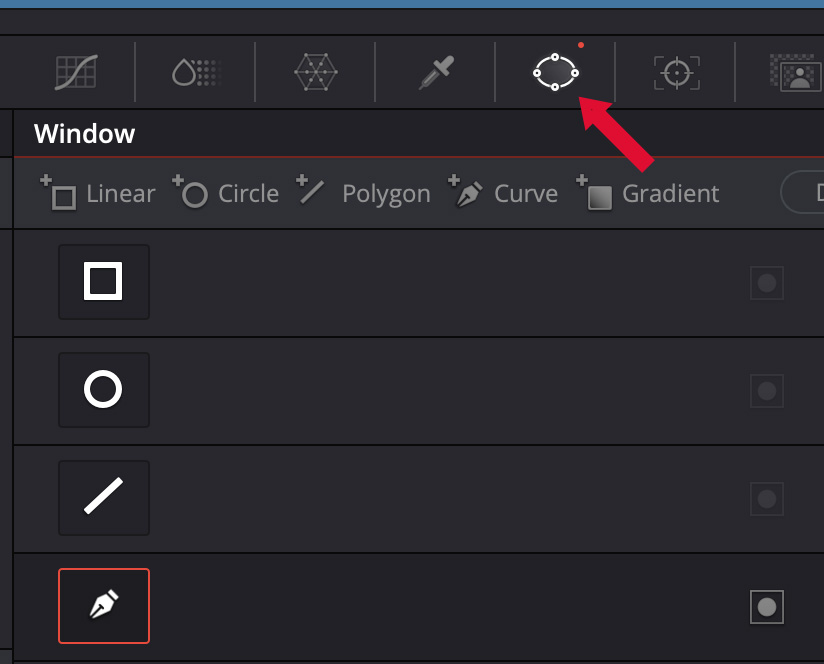
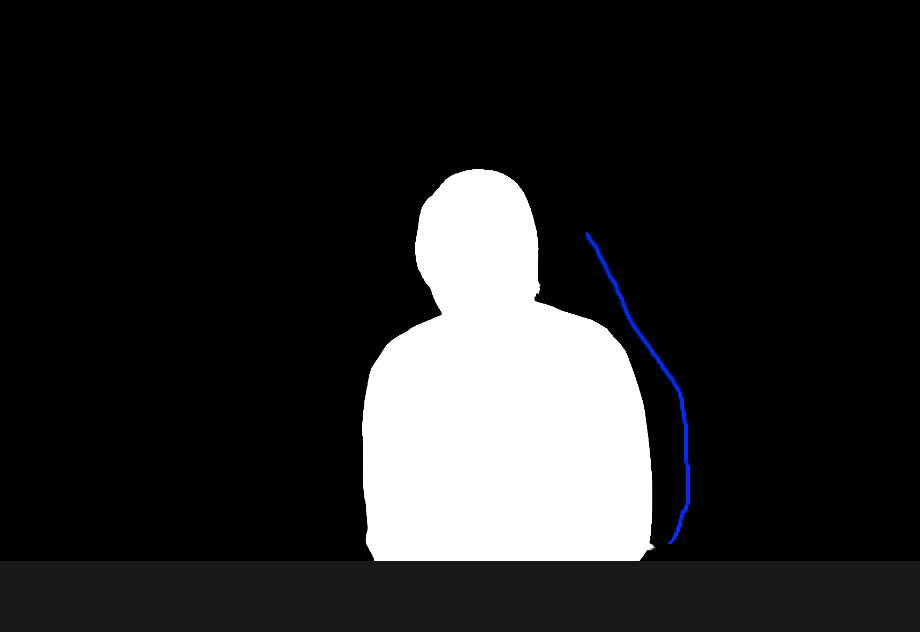
Select the Power Window icon (red arrow), then the Pen tool to draw a more complex mask. You can also use a geometric shape, but there are easier ways to use them, as discussed above.
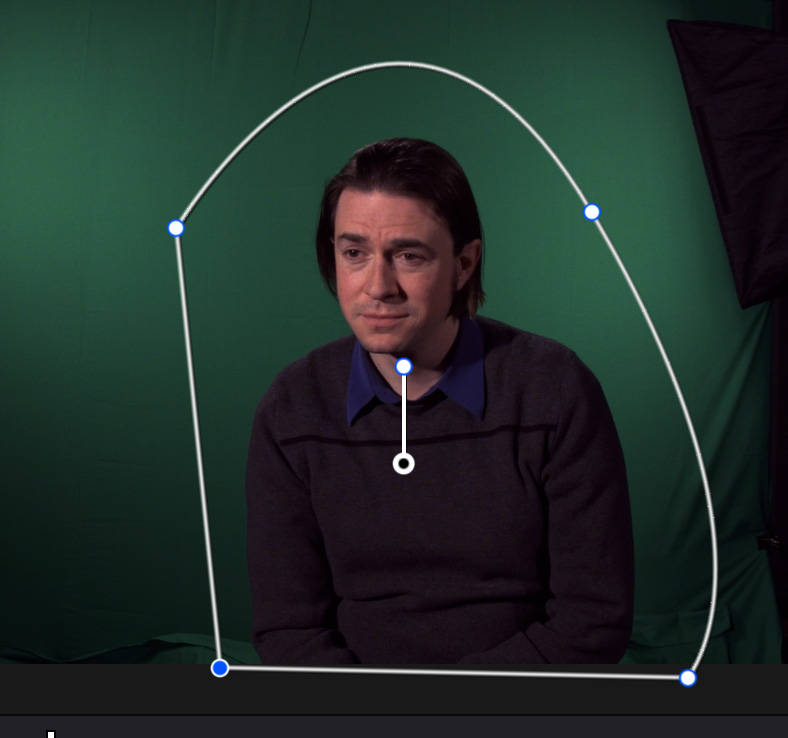
Click at the edge of the frame and either click to set corner points, or click and drag to create curves to surround the element(s) you want to keep. These points can be edited like any other curve….
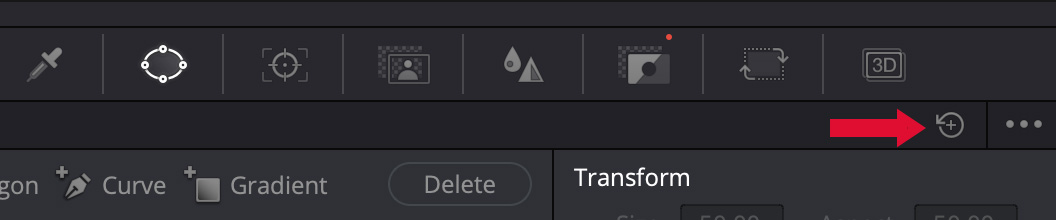
or just delete that Power Window by selecting it, clicking this icon (red arrow) and starting again.
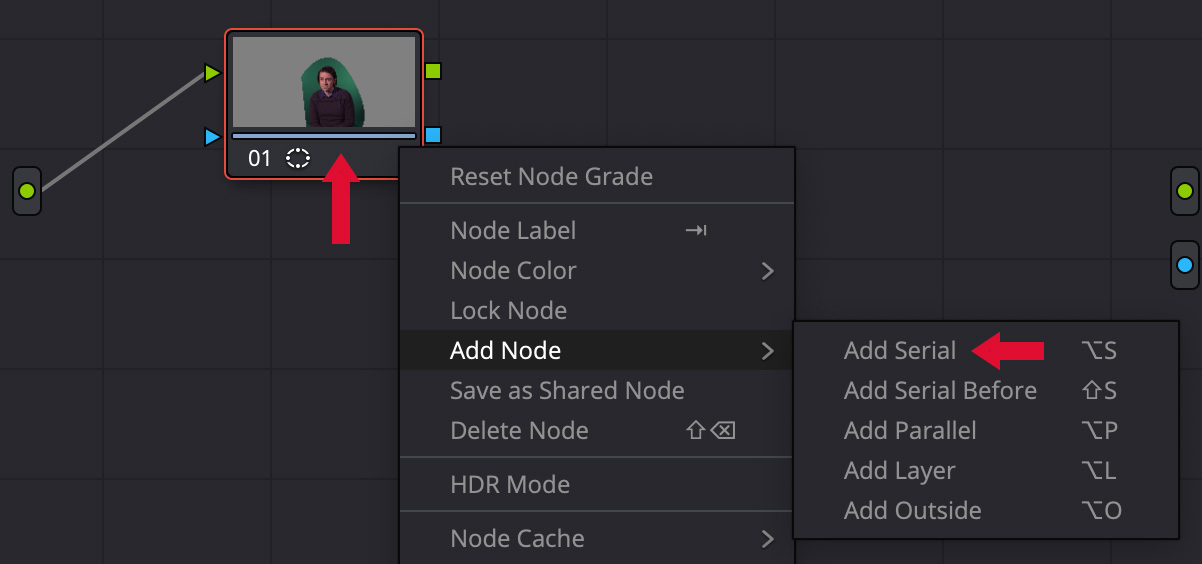
This first node in the Node panel shows your results so far – all the garbage is removed and the talent is isolated.
Right-click inside the node and choose Add Node > Add Serial.

Then, draw the following connections:
Green transfers visual information. Blue transfers alpha channel values.

With the second node selected (left red arrow), click Effects in the top right of the interface, click the Magnifying glass (far right red arrow) and search for 3D, then drag 3D Keyer on top of the second node.
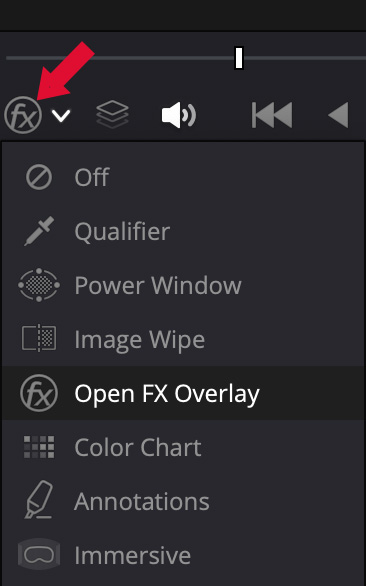
Change the menu in the lower left corner of the Viewer to Open FX Overlay to enable the onscreen Viewer controls.
With the second node still selected, make sure Invert is checked, then drag with the default eyedropper on the background you want to remove.
Done.
SUMMARY
Though nodes seem – and actually are – intimidating, if you follow these steps you’ll do fine. Still, most keys can easily be created either because no garbage exists (we should be so lucky) or it can be removed using one of the geometric shapes discussed earlier.
Either way, DaVinci Resolve 20 has a variety of ways to take out the garbage and make your keys look great.
Here’s my earlier article on how to create clean one or two color keys in the first place.
