
![]() There are two new effects in Apple Final Cut Pro which have a variety of uses: Callout & Picture-in-Picture.
There are two new effects in Apple Final Cut Pro which have a variety of uses: Callout & Picture-in-Picture.
NOTE: Call-out is a single-clip effect, while picture-in-picture requires two clips.
CALLOUT

Callout highlights a portion of the frame against the darkened background of the rest of the frame. (You’ll find it in Effects browser > Reframe, or simply search for “callout”.)
This effect starts full-screen, zooms a portion of the frame into the lower right corner, then, zooms that close-up back into the frame.
The duration of the effect is based upon the duration of the clip.
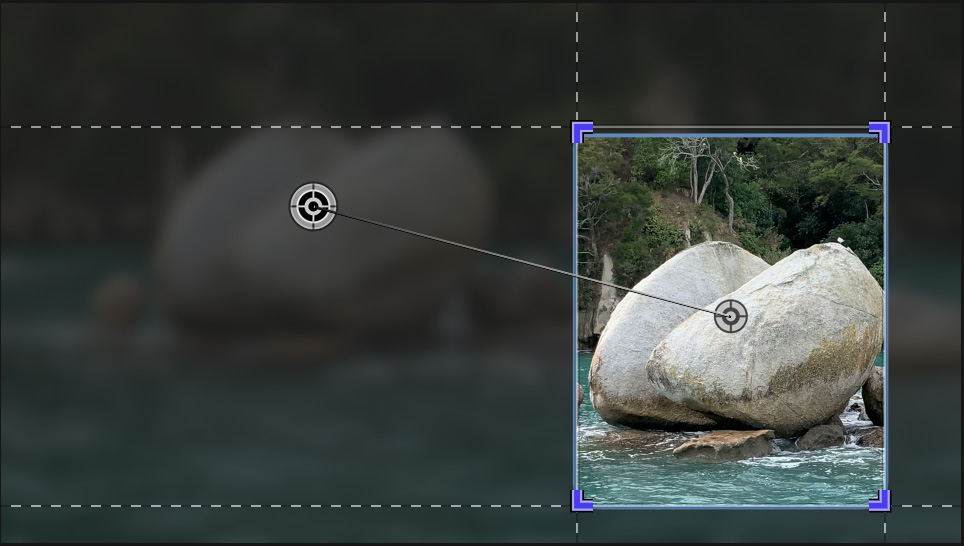
To change the portion of the frame that’s zoomed in, select the effect in the Video Inspector, then drag the onscreen controls.
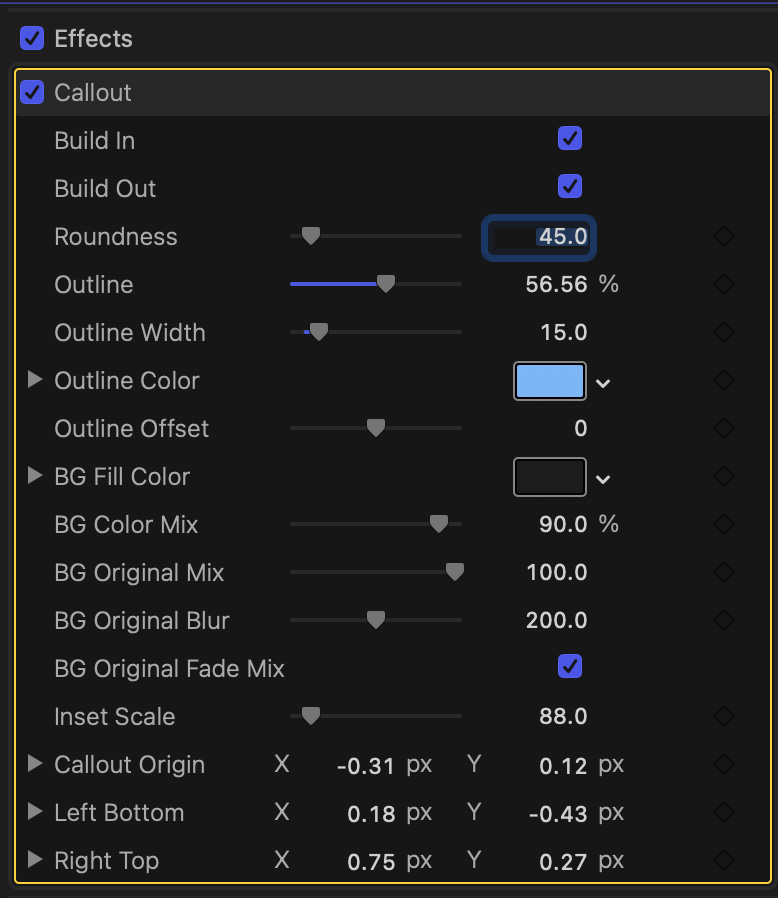
The Video Inspector provides a wealth of settings you can adjust for this effect. The best way to learn what they do is to change something and see what happens.
NOTE: If these effects are not visible, select the clip containing this effect in the timeline. To delete this effect, click the effect name in the Video Inspector. When a yellow box appears around it, press the delete key.
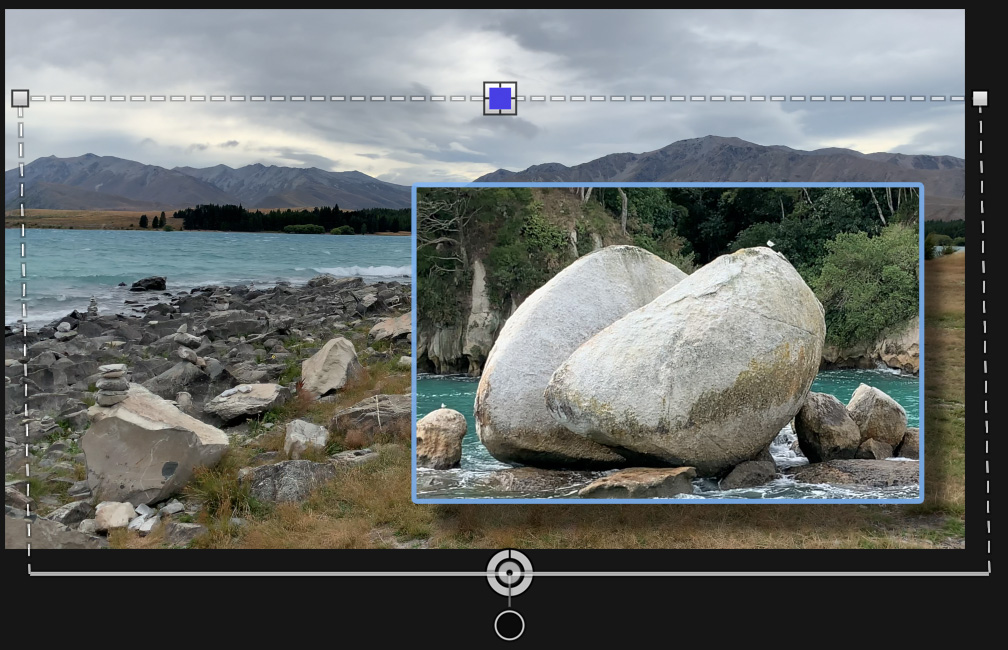
PICTURE-IN-PICTURE
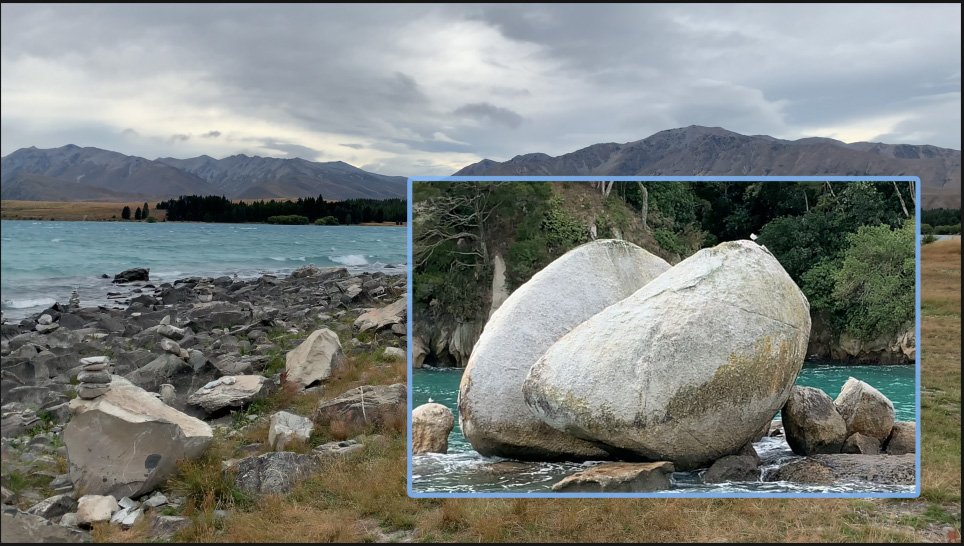
The Picture-in-Picture effect superimposes one image on top of another, different, image.
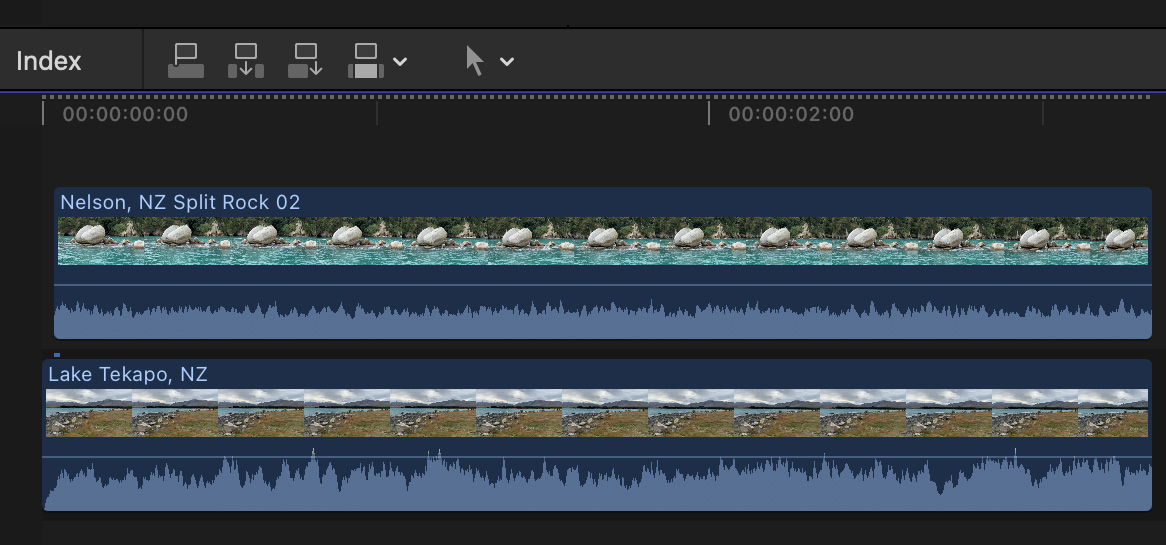
To create it, stack the foreground image above the background in the timeline. Apply Effects browser > Reframe > Picture in Picture (or simply search for “Picture”).
Once applied, it starts with the upper layer clip fullscreen, zooms into a selected highlight, then, at the end of the clip, zooms back to full screen of the upper layer clip.
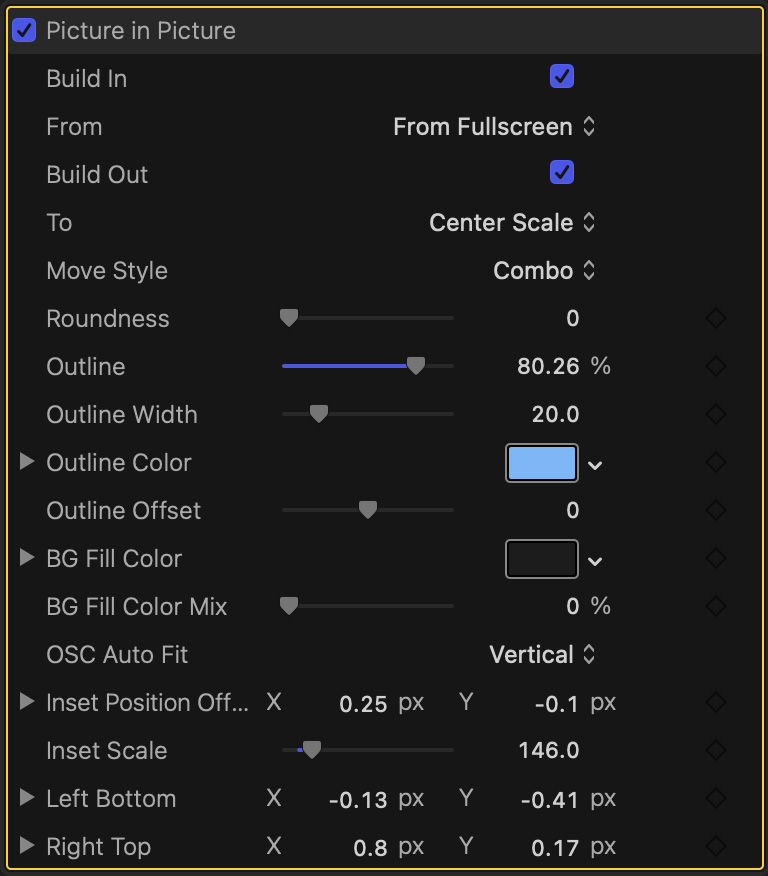
As with Callout, there are wide variety of settings that can be adjusted, including animation, framing, outline, background and scale.
To apply an adjustable drop shadow to the foreground clip, apply Effects browser > Stylize > Drop Shadow.
SUMMARY
Both these effects are easy to apply, with multiple adjustments, so that you can highlight key elements quickly and easily in your next project.
