 CREDIT: I am indebted to artist Christopher Campbell for providing the time-lapse images I’m using here. He also provided helpful feedback as I was creating this tutorial.
Learn more about Christopher Campbell’s art here. This also provides a link to the finished video and painting.
A time-lapse is a series of still images taken of the same subject from the same vantage point over time. It is designed to compress a long-term project into something easier for us to grasp. It is also a great way to illustrate how quickly the world changes when, to us in real-time, it seems to stand still.
A time-lapse is similar to, but different from, running a clip in fast-motion; say 2X or 4X or even 10X faster than normal. The key difference is the time-span. High-speed clips span durations measured in minutes. Time-lapse sequences span durations measured in days, weeks, even months.
The sequence in this tutorial spans three weeks in the summer of 2024, when Christopher was creating a large, seven-by-ten foot diptych (2-panel painting) at Lake Zumbra in Minnesota. He recorded one image every minute using a Sony FX3 camera. He then edited the images using Adobe Lightroom to apply a camera input profile and adjust for differences in brightness and white balance.
The camera recorded 2502 images, of which he selected 2289 for this project. These now need to be combined to create a finished, time-lapse video.
NOTE: For this tutorial, to save time, I’m using only 480 of his images and creating a time-lapse using Final Cut Pro. But the process is the same for Premiere and Resolve with the same results. Time-lapse videos in any of these three software can run to thousands of images.
GET READY
Before you start, make sure all clips are stored in the same folder and that all have similar names with a frame number. Clips will be edited into the timeline in numeric order.
Then, before you import, simplify your life by changing a preference setting.
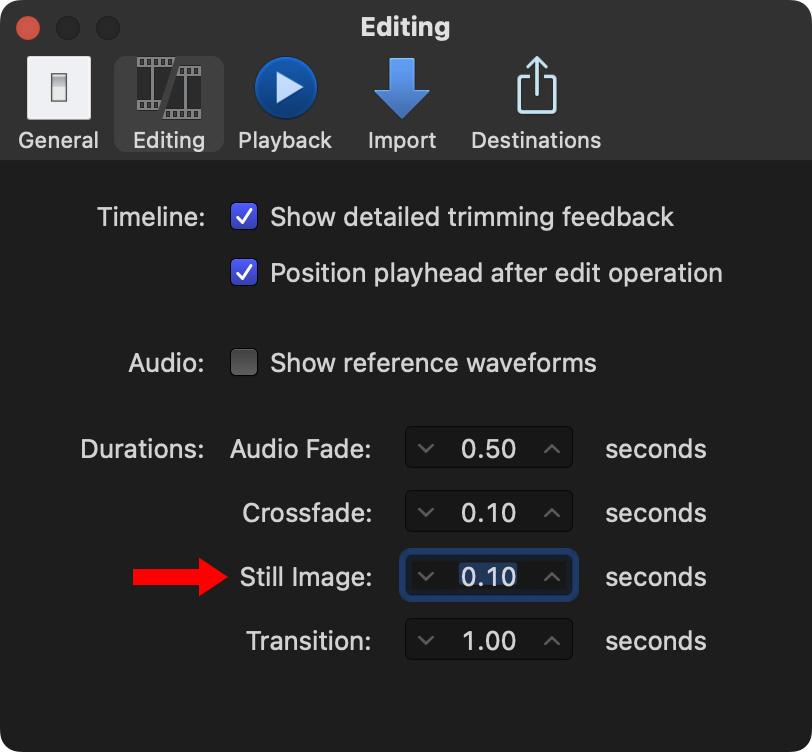
In Final Cut, open Final Cut > Settings > Editing and change the still image duration to 0.1. This means that every imported image will only last for a tenth of second. Ultimately, we’ll change this again in the timeline, but, for now, it means that your timeline won’t be excessively long.
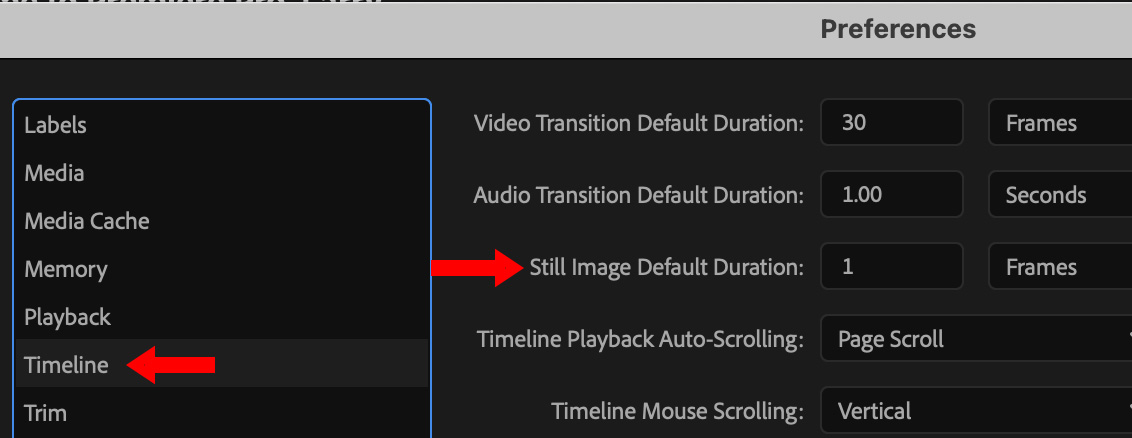
In Premiere, open Premiere > Settings > Timeline and change the still image duration to 1 frame.
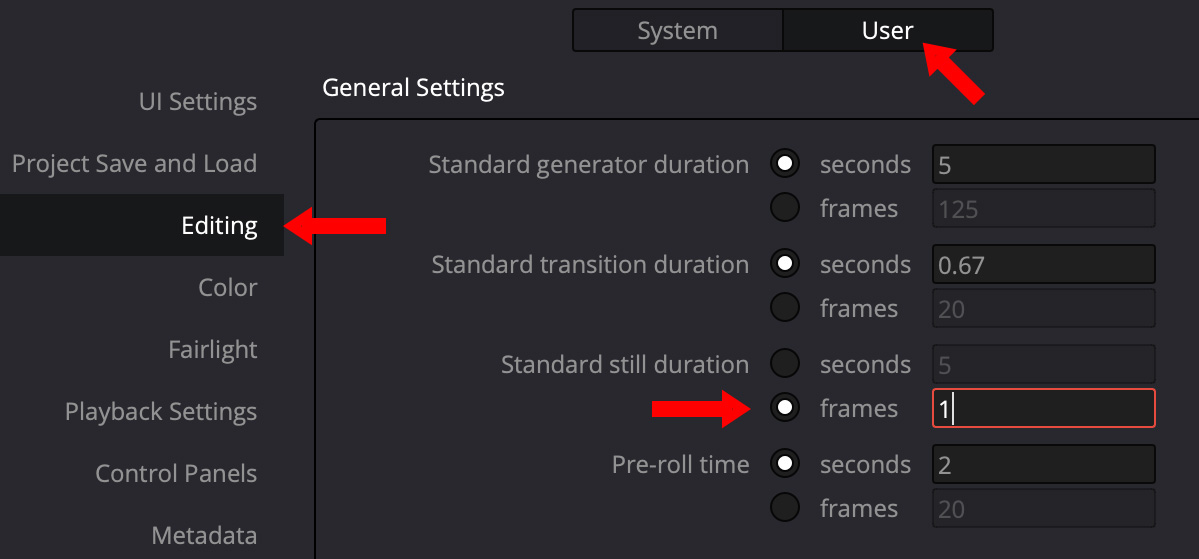
In Resolve, open Resolve > Preferences > User > Editing and set the Standard Still Duration to 1 frame.
NOTE: In the future, once you know what frame duration you prefer, you can set this preference to your preferred frame rate and save a few steps.
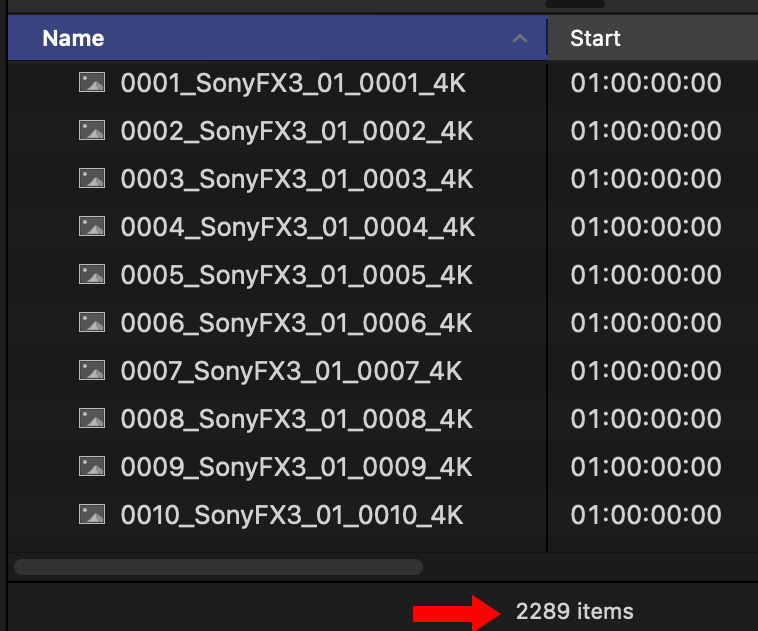
Now, import all your clips into a single event or bin.
CREATE THE TIME-LAPSE
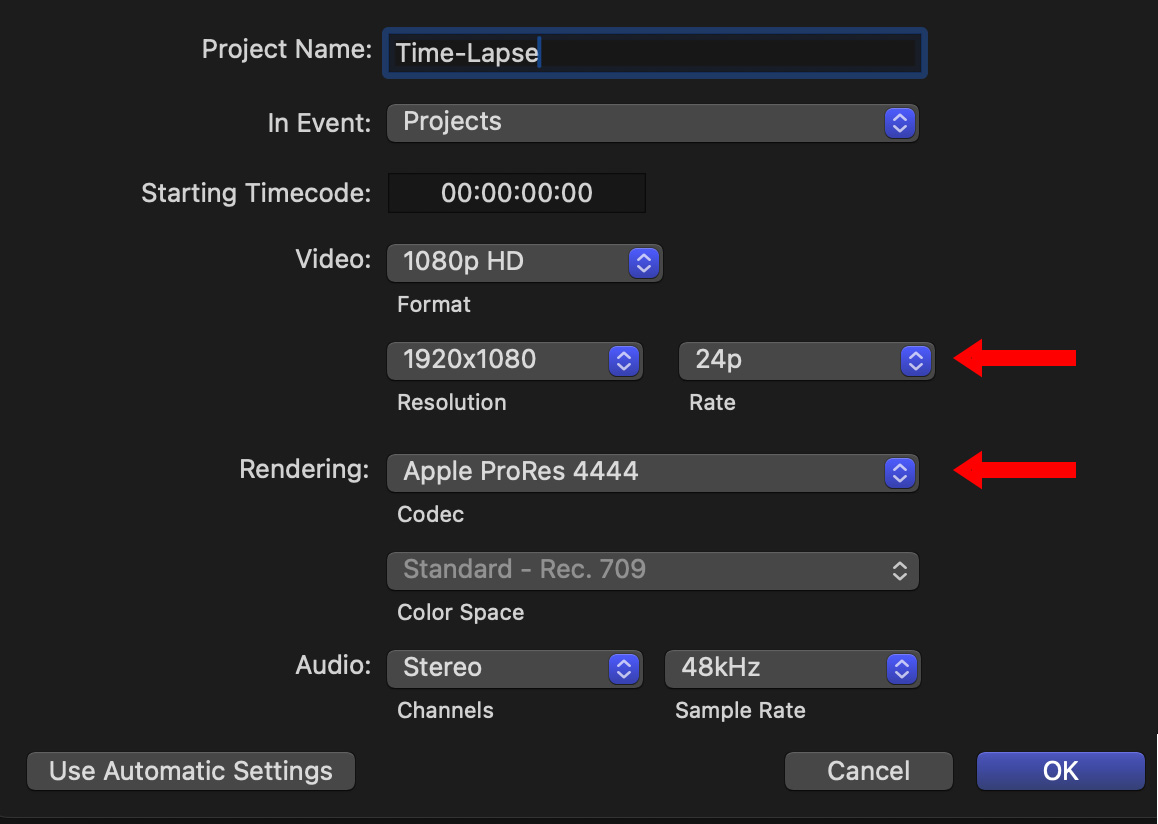
Create a new project/sequence/timeline. My recommendation is to use ProRes 4444 as the codec because it is the most color accurate. I also like 24 fps because it allows the images to linger a shade longer on the screen.
NOTE: You can modify the frame rate to anything you want, all you are adjusting is the duration of each frame in the timeline.

Select all your clips and edit them into the timeline.
Premiere and Resolve imported each image with a one-frame duration. But Final Cut did not. We need to change this, which requires some extra steps.
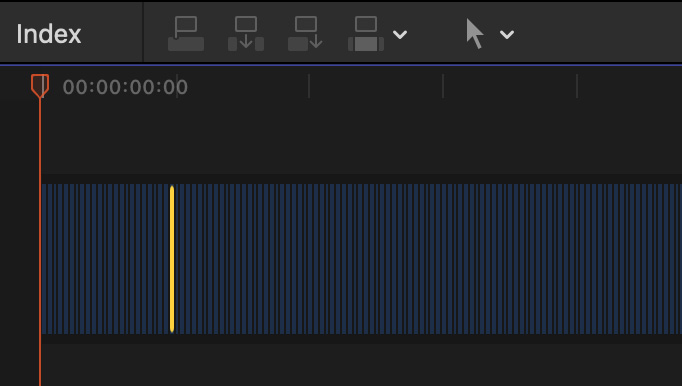
In the image above, I selected one clip to show just how short it really is.
Play the sequence and watch the action unfold.
NOTE: At the end of this article, I have links for the different versions we will create in this tutorial
NOW, MAKE IT PRETTY
The first time you see a time-lapse unfold is pretty amazing. But… well, it’s kinda stark. And, ah, short. We can make it better.
First, let’s experiment with frame duration.
NOTE: The keyboard shortcut to change the duration of a selected clip in Premiere is Cmd + R. In Resolve: Cmd + D.
Play the sequence. Images linger longer, allowing to you watch the action more easily.
Do the same thing again, this time expanding the duration to three frames. Now, the duration feels like it is getting in the way.
At this point, we can apply magic.
APPLY THE MAGIC

NOTE: In Premiere, create a nest containing all the clips. In Resolve, create a compound clip.
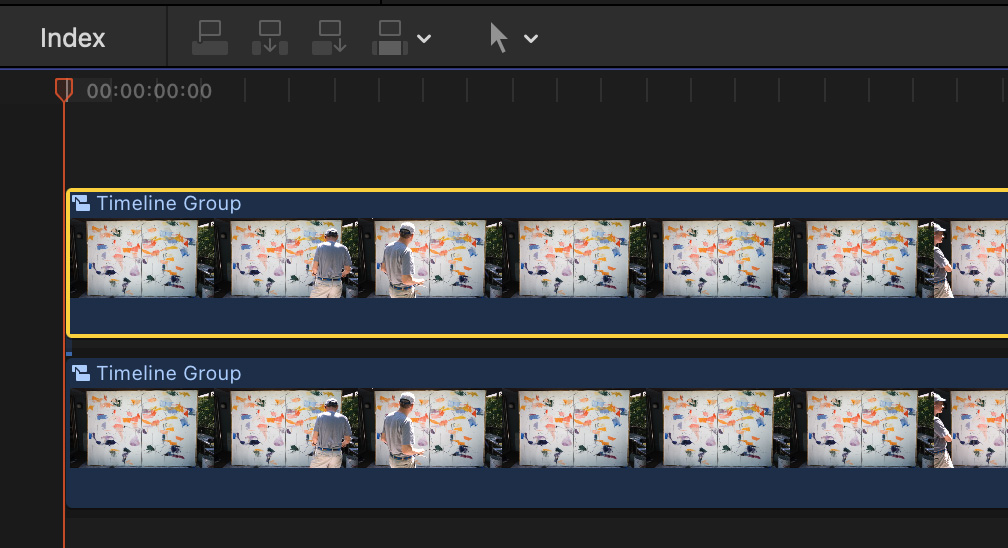
In Final Cut, press the Option key and drag the compound clip from the Primary Storyline up to make a copy.
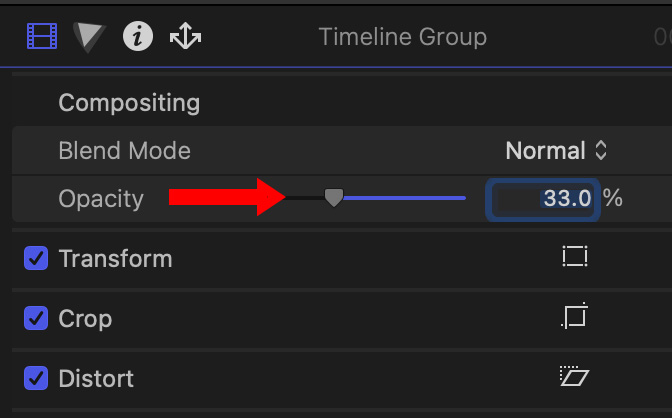
Select the compound clip in the top layer. In the Inspector, change the Opacity to 33%.
NOTE: The key point about opacity is that all layers above the bottom layer can’t be 100% opaque as that would block all the lower layers. Other than that, opacity can be whatever looks good to you – these numbers are simply a starting point.
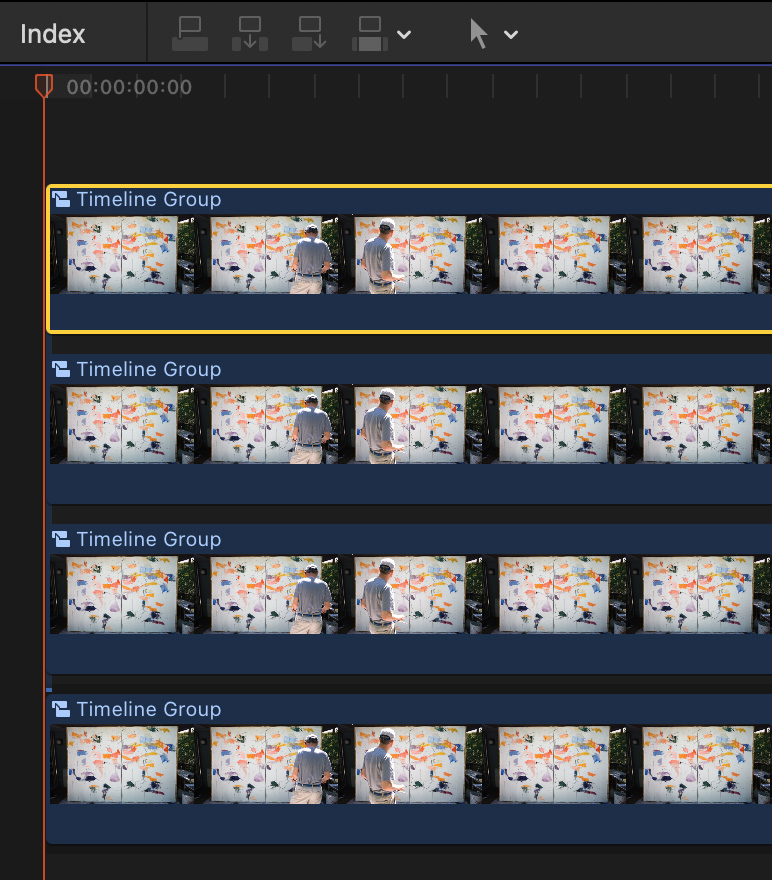
Again, Option-drag the top layer up to create two more copies.
Now play the sequence.
See how the moving foreground images seem to become more ethereal, while the background maintains its focus.
To me, stacking these layers creates a much more fluid and interesting time-lapse.
THINGS TO TWEAK
In creating your own time-lapses there are three key areas you can tweak to change the visual look of this effect:
SUMMARY
What makes this technique especially lovely is that, while you are manipulating thousands of images, these keyboard shortcuts make the changes effortless and, on Apple silicon systems, virtually instantaneous.
There’s no perfect setting for every time-lapse, but this technique allows you to find the one that works best for your project. For me, the more layers you add, the longer the image duration needs to be.
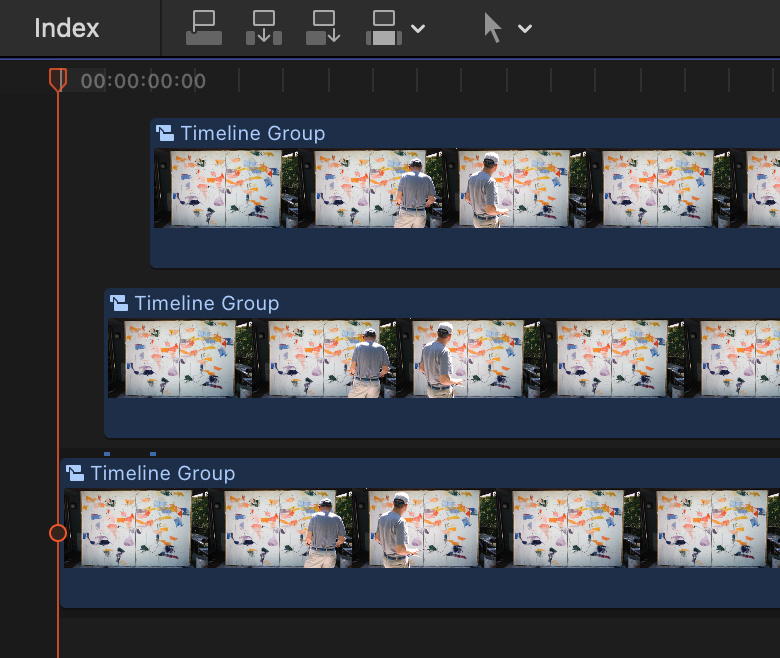
Personally for this project, I like images with a three-frame duration, a total of three layers with the upper layers at 30% opacity.
EXAMPLES
Here are several examples of different versions – all on a 24 fps timeline – to help you compare differences between settings.
6 Responses to Create Better Timelapse Videos in Any NLE
Wow! It’s amazing how adding a layer or three, shifted in time, and with partial opacity changes the feel dramatically. I have to admit that all of my previous time lapses were just straight 2-3 frame operations. I have learned something simple and yet can completely change the feel of the work. Now I have to go shoot a timelapse and try it out for myself! Thanks, Larry!
James:
Yeah. I was stunned at the difference myself.
Larry
Time lapses work really well and in my opinion better with a dragged shutter. The shutter duration would depend on the subject, but for your example a duration of around 0.5/sec might have worked. Creating still images for time lapses that have motion blur built in are more successful than those that don’t but agree your method of introducing an effect after the fact works well too.
Jim:
Would you describe a “dragged shutter”?
It’s a term I don’t know.
Larry
Hi Larry,
Sorry, dragged shutter, as in a long duration in order to capture an effect such as motion blur. Obviously the subject dictates what the shutter speed should be, for example a car driving past you at 50 miles/hour would need a shorter shutter speed (duration) to that of someone painting at a canvas. Since we expect some motion blur with moving images it stands to reason timelapses can benefit from some motion blur. I’ve seen some that have extreme motion blur that work really well too.
Thanks
Jason
Jim:
Thanks! In other words, slow the shutter speed to add motion blur to each still.
Good to know.
Larry