
 This was a fun project! I decided to compare how accurately Apple Final Cut Pro, Adobe Premiere Pro and DaVinci Resolve handle tracking shape masks used for color correction. I also included movies so you can judge the results for yourself.
NOTE: If the movies don’t play, try a different browser.
There are two types of tracking:
This tutorial focuses just on Option 1 – tracking inside the frame. To do this, I applied a color correction (Color Wheels in all three cases), added a shape make around an object, then removed all color (saturation) from everywhere else in the frame. I wanted to create something obvious so you could easily see the changes.
NOTE: All tracking started at the first frame and tracked forward. I provide links at the end of this article showing how to create these masks.
APPLE FINAL CUT PRO TRACKING
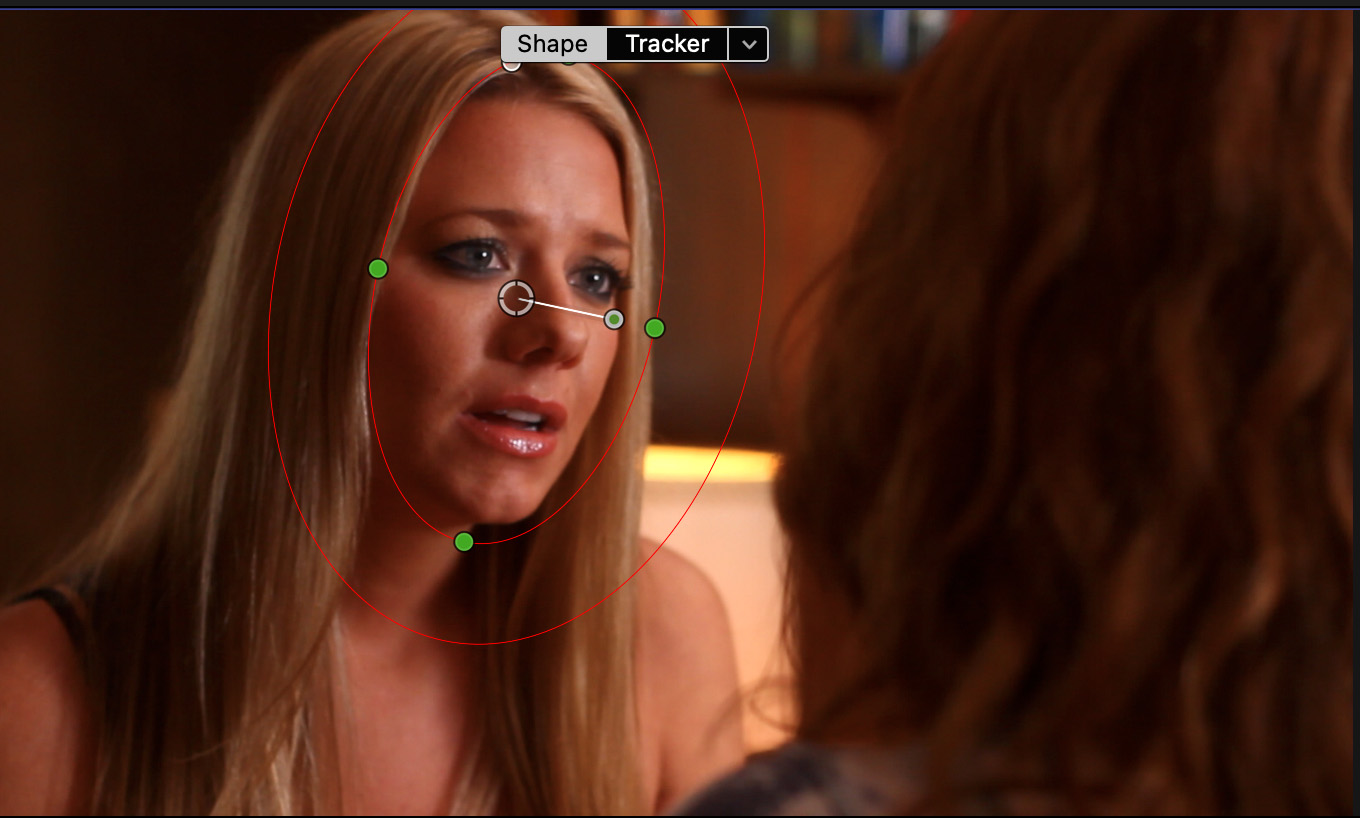
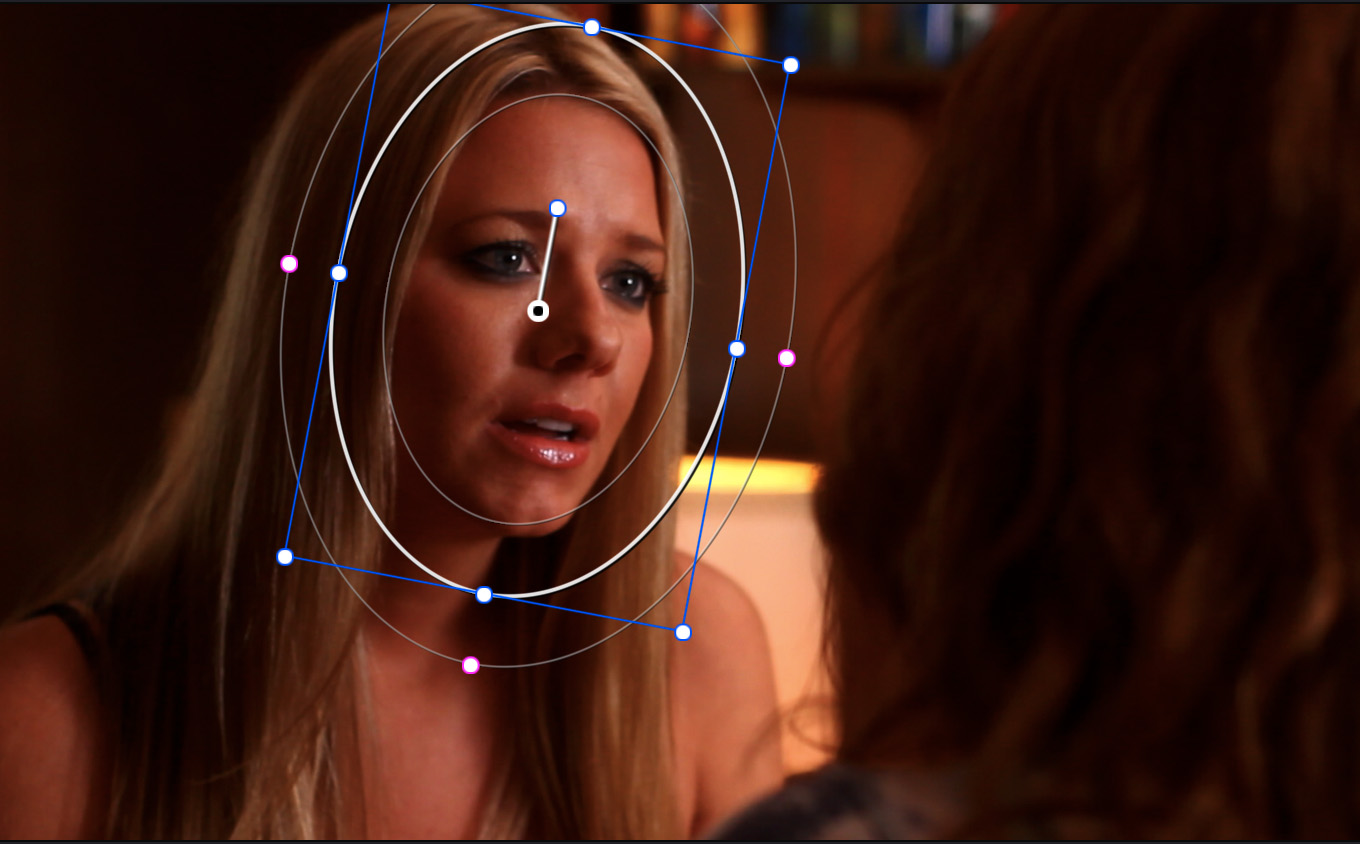
Here’s the first example: a close-up of a woman’s face. Movements are simple – to and from the camera and from side-to-side. I added the Color Wheel correction, applied a shape mask and tweaked the shape, feathering, rotation angle.
NOTE: In all three examples, the inner circle represents the tracking area. The outer circle shows feathering. The four points around the circle determine its shape.
Then, I switched to the Tracker and tracked forward from the first frame.
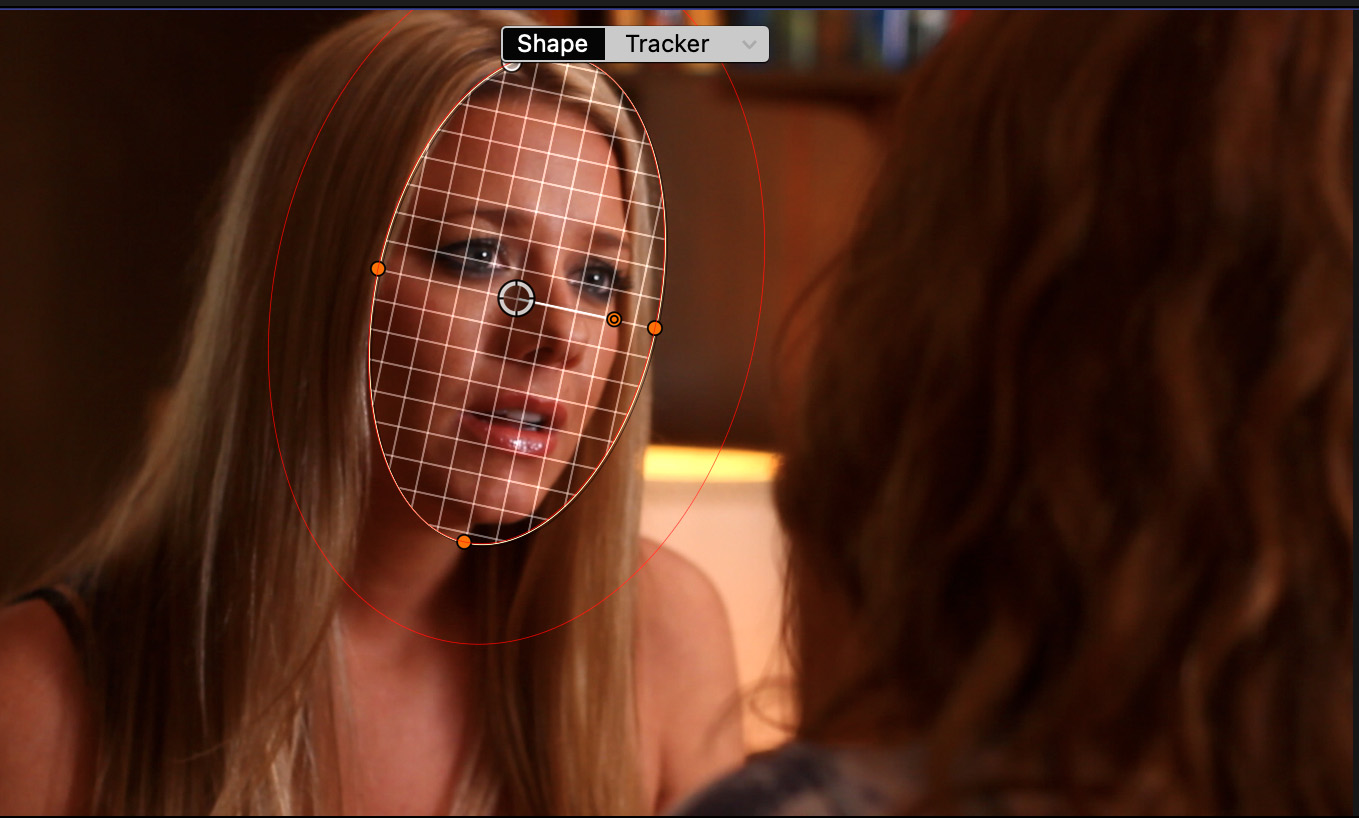
Here’s the movie of this first example in Final Cut. In order to see the track shape, I needed to drag the playhead through the clip. While this resulted in somewhat jerky playback, it allows us to see how the shape mask changes through the duration of the clip.
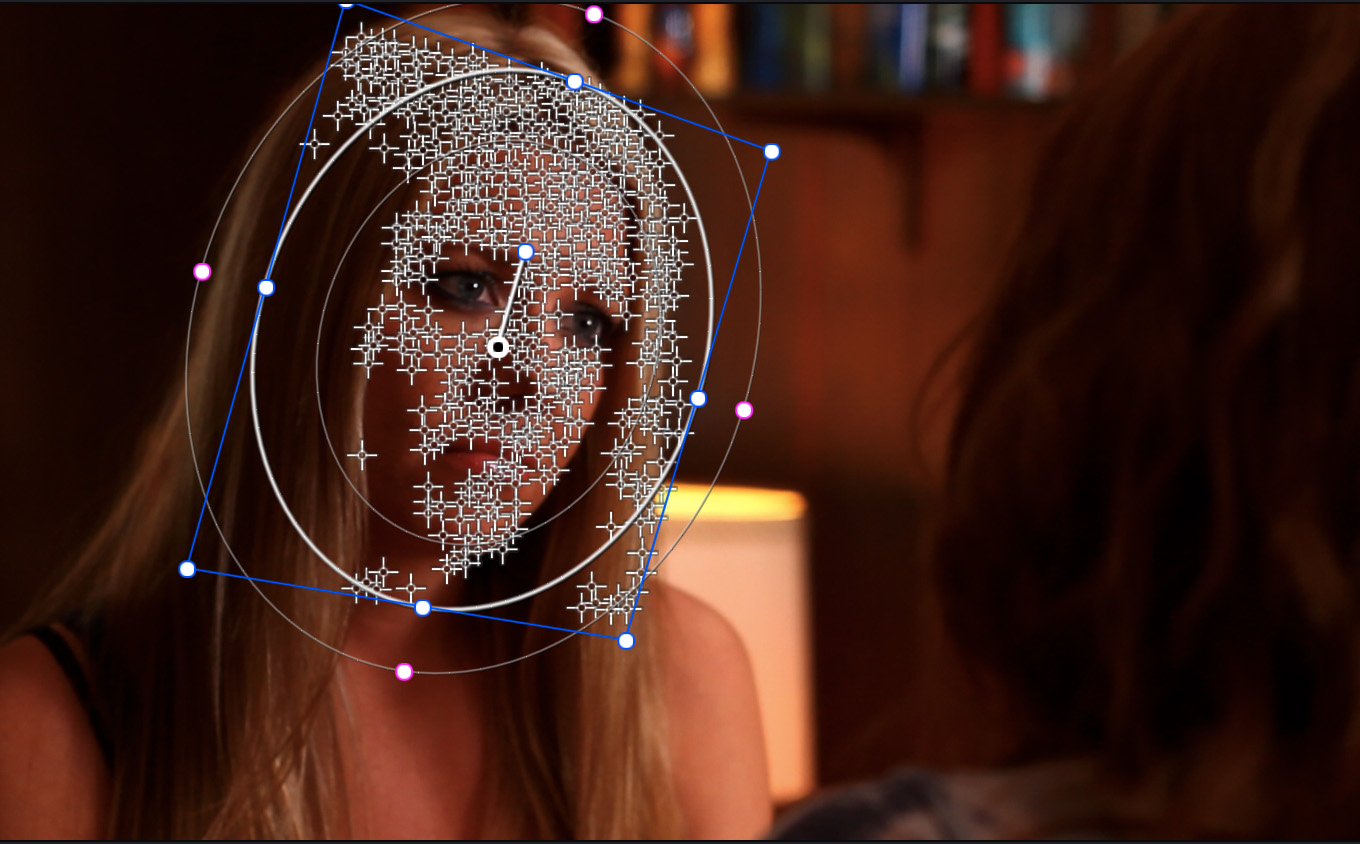
NOTE: To view this in more detail, stop playback and drag the playhead through the clip. Watch how the tracking keeps the grid properly positioned over her eyes and the tip of her nose. This first track is darn near perfect.
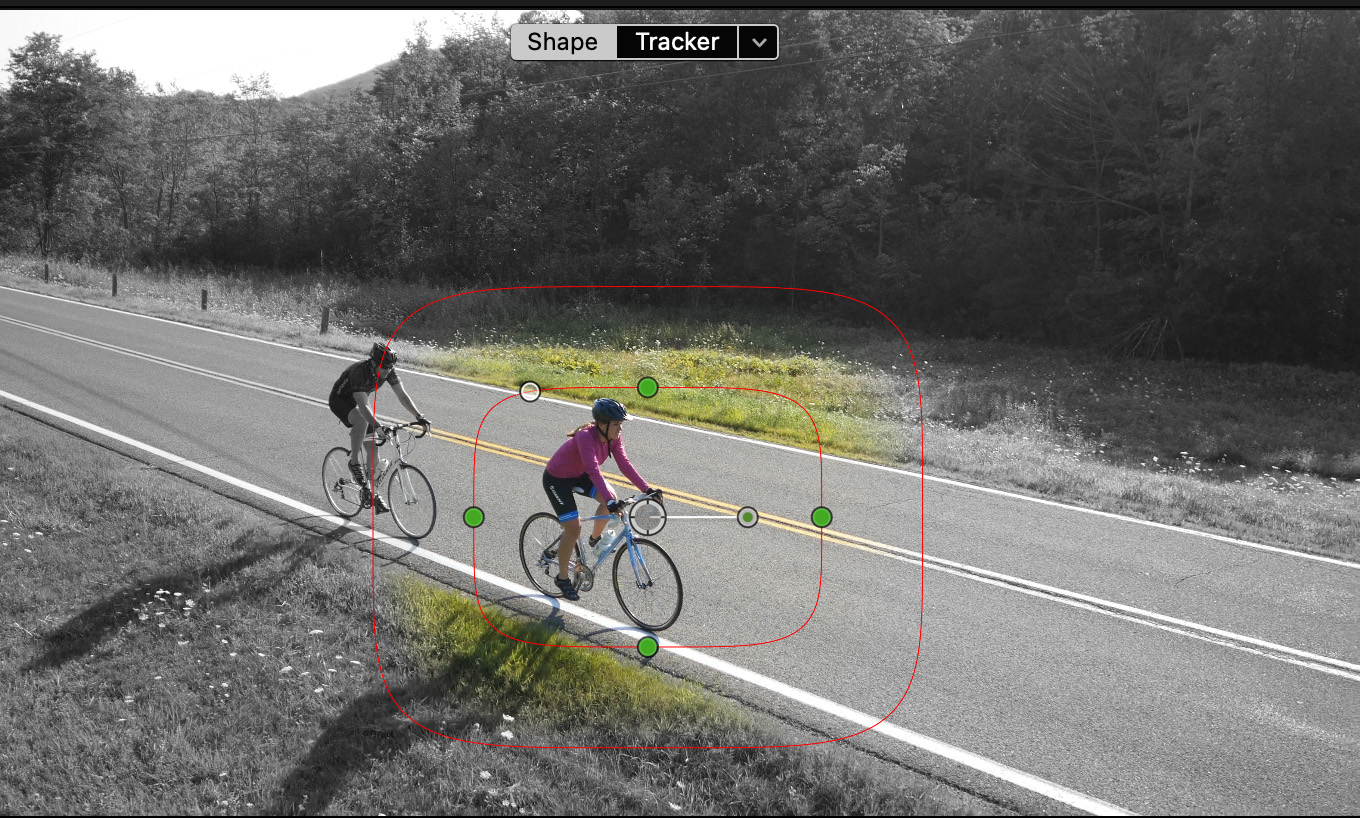
Here’s a second test: a bicyclist traveling down the road. This is a much more complex movement because the size, shape, angle and height of the rider change significantly during the shot. Also, this track is made more complex by strong shadows cast from the telephone pole and a moving car in the background.
Here’s the movie of this second example in Final Cut. Again, I needed to drag through the clip in order to see the changes in the shape mask.
While the first track followed her movement exceedingly well, the second track had problems deciding the proper size and shape. It ultimately got it right, but there was a lot of variation in the middle. That variation would shows as abrupt changes in the color grade.
ADOBE PREMIERE PRO TRACKING
This is the same scene and the same changes made to the track. However, there is no visual indicator in the Program Monitor that a track exists, which is why I only have one screen shot.
Here’s the movie of this first example in Premiere. Like Final Cut, I needed to drag through the timeline while recording this in order to see the changes in the shape mask during the track.
Here, Premiere had problems tracking her face. The mask kept drifting to the left. While the shape started by perfectly framing her face, by the time it was done, that alignment was off.
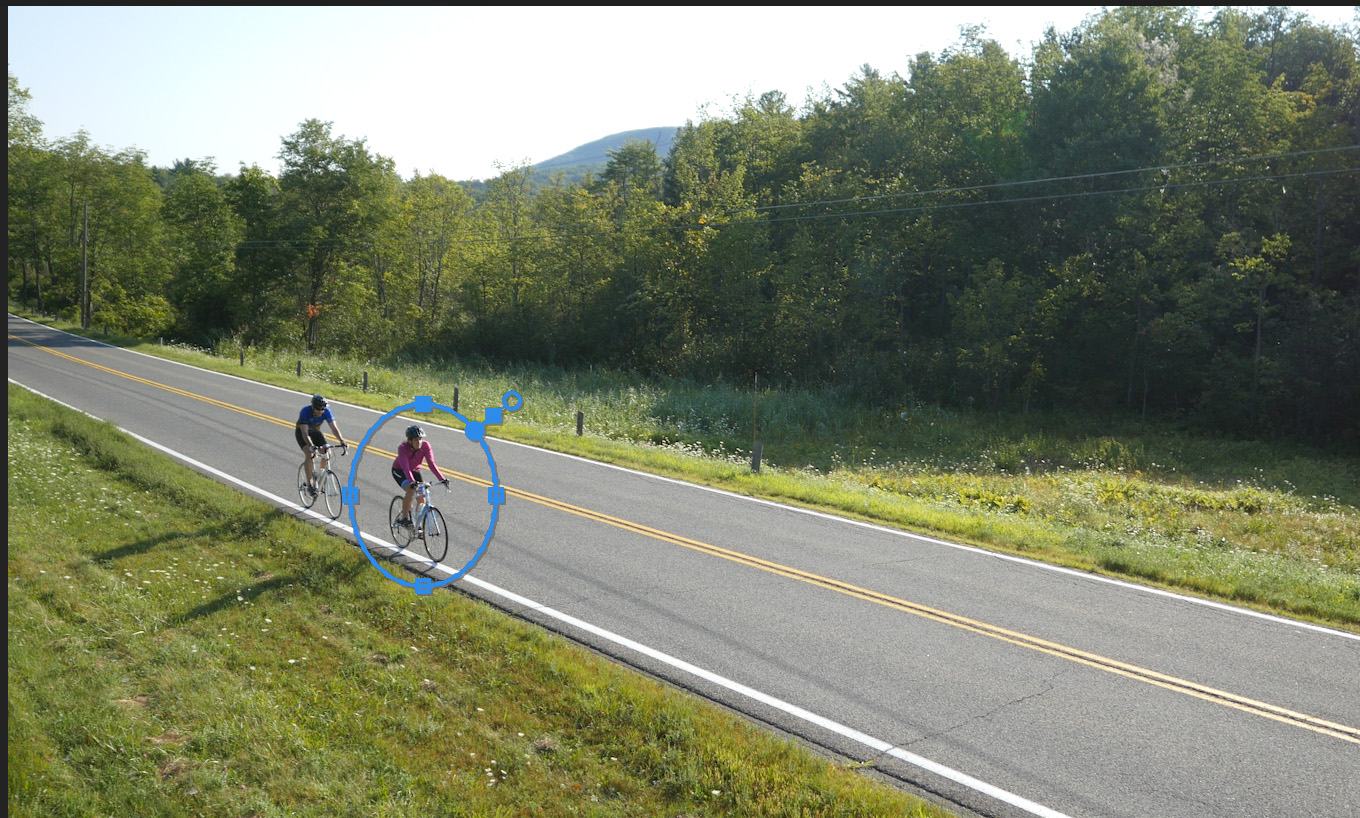
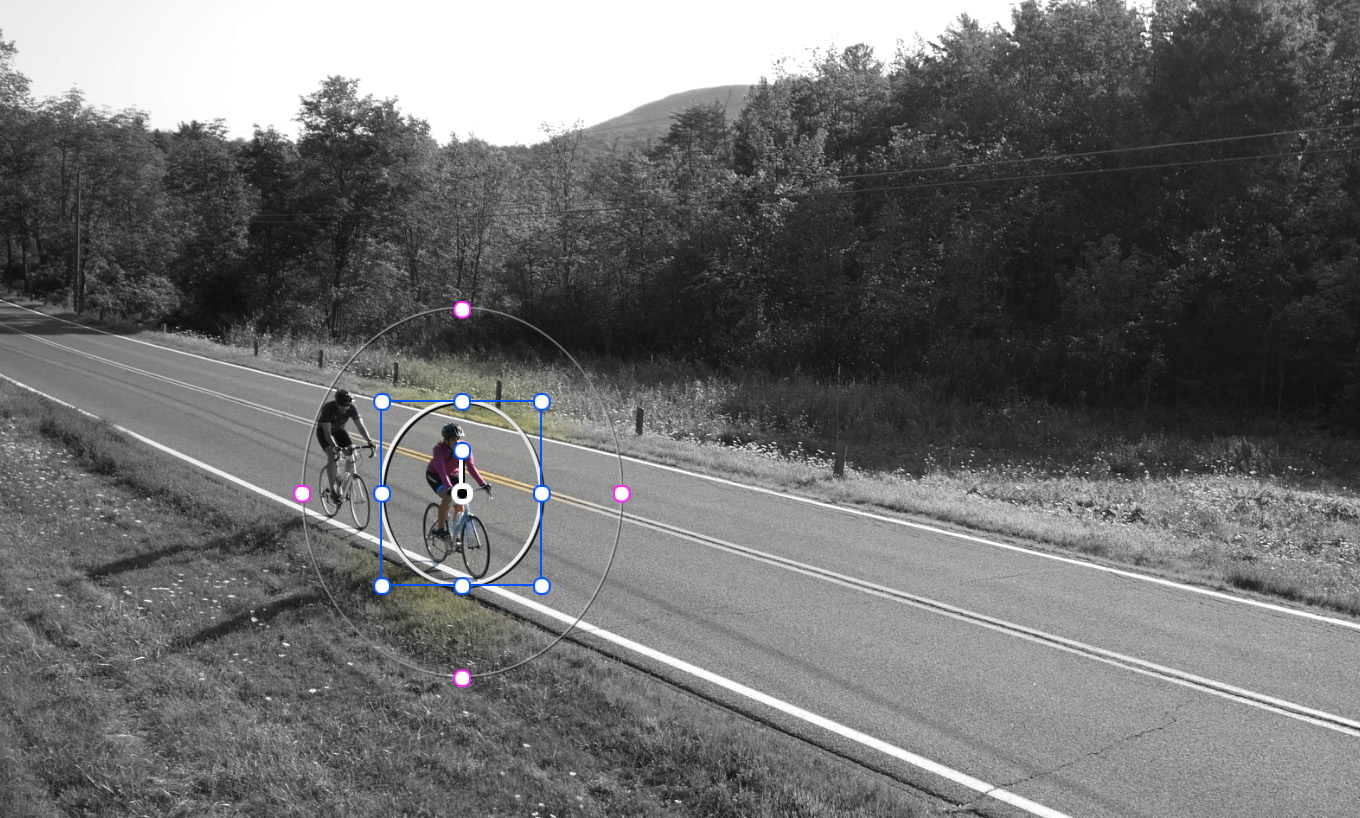
Here’s the second example. Again, note that the shape mask is small and centered on the first rider.
Here’s the movie of the second example in Premiere.
Unlike Final Cut, Premiere did a much better job tracking the size, shape and position of the shape mask. As well, the mask did a much smoother job changing size as the subject’s size changed.
NOTE: I should mention that both FCP and Premiere created all tracks perfectly on the first try.
DAVINCI RESOLVE TRACKING
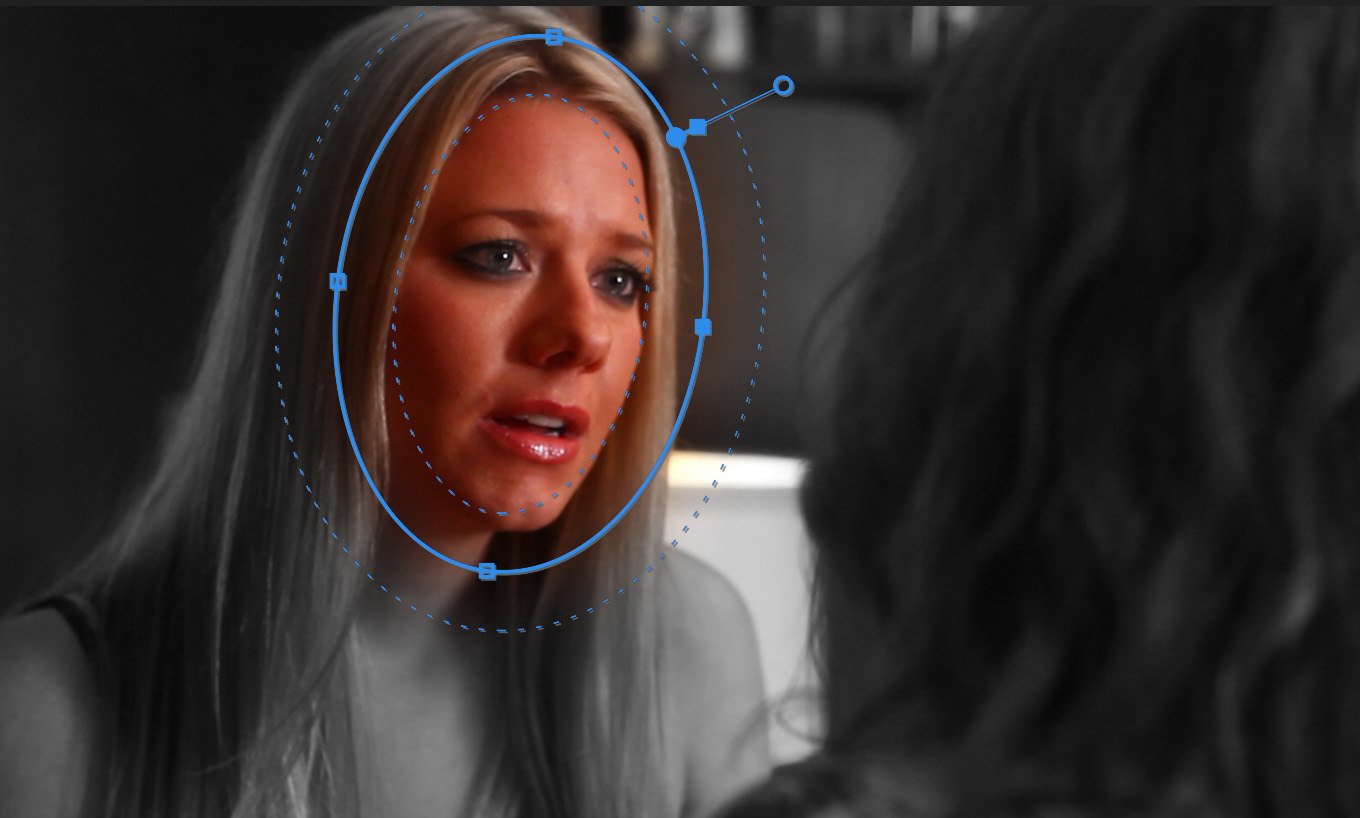
Here’s the first example in Resolve. This track was created in the Color page. Note how tightly the inner circle conforms to the shape of her face.
Unlike Premiere, and with more detail than FCP, Resolve shows tracking data throughout the track.
Here’s the movie of the first track. Unlike FCP and Premiere, I can play the clip in real time while still watching the shape mask.
Here’s the second example. I made the same changes here as I did to FCP and Premiere.
However, in order to create a complete track, I needed to turn off two tracking parameters in Resolve: Rotate and 3D. Otherwise, the track failed consistently in the middle of the move.
Here’s the movie of the second example.
Again, remember this track was created on the Color page. I did not use Fusion. The tracking for both examples closely followed the subject, even as the angle of the shot moved radically from its opening position. However, Premiere did a better job expanding the size of the mask during the shot. Resolve kept cropping this a bit too close.
It took more tweaks to get a complete track in Resolve. But once the track was complete, it followed the subject changes in the frame very well.
SUMMARY
None of these trackers is perfect. Each had a problem with one of the two examples. Keep in mind that for both Premiere and FCP I needed to manually drag through the timeline in order to display the mask shapes during the recording. Playback would look smoother if I was able to simply play the timeline.
I was impressed with how easily Final Cut and Premiere created the track. Resolve did an excellent job, but needed more adjustments to keep the track from failing.
It was reassuring to see that none of these tracks were bad. If I had to pick, once tracks were created, I would probably pick Resolve first, FCP second and Premiere third. But all do a very solid job.
EXTRA CREDIT
Here’s where to learn how to create shape masks:
NOTE: For best results, keep the shape mask area small and centered on the key subject. Once the track is complete you can change the shape and/or position of the mask.
