 As I was writing about using Auditions in Final Cut Pro to compare different audio clips, I wondered whether we could use auditions to compare different visual effects.
The answer is: yes, we can, but the process is not intuitive. Here’s how this works.
NOTE: Here’s a link to the Using Auditions in Audio tutorial.
WHAT IS AN AUDITION?
An “audition” is a container in FCP that holds one or more clips allowing you to instantly compare them.
While not required, it is good practice to “finalize,” or disconnect, the clips in an Audition. This allows projects to be transferred to other NLEs, as well as improve system performance by not loading all the clips in an audition into RAM each time a project containing auditions is opened.
HOW TO CREATE AN AUDITION FOR VISUAL EFFECTS

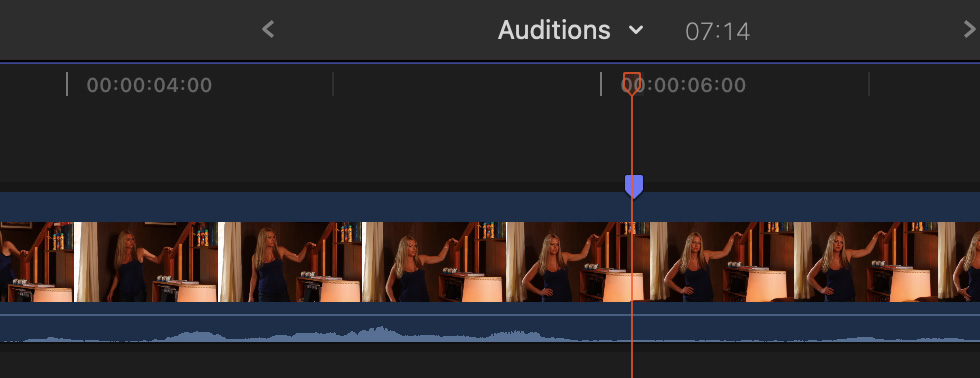
Edit the clip you want to compare effects for into the timeline. If you did not set an In or Out in the source clip, select the timeline clip. then type Shift + F to create a match frame version of that clip in the Browser.

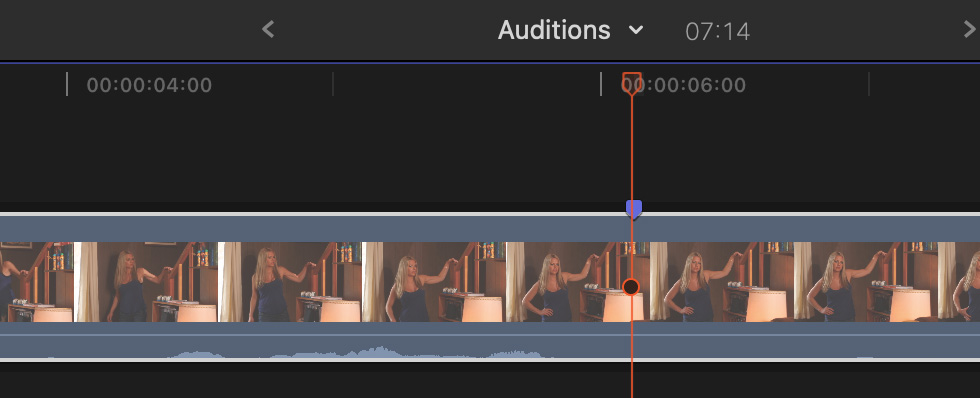
Drag the marked, or match-framed, source clip in the Browser on top of the same clip in the Timeline – so that the timeline clip turns white…

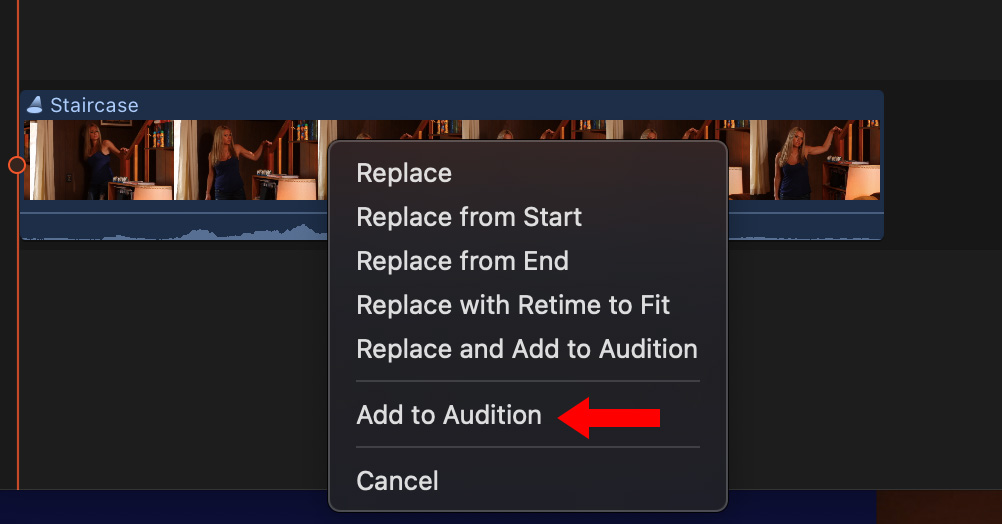
…then select Add to Audition in the popup menu that appears when you let go of the mouse button.
Repeat this process as many times as you have effects you want to compare. (I’ll use four clips in this example.)

Continue cycling through all the clips stored in that Audition and adding effects until each clip has the effects you want to test applied to it.
NOTE: To tweak an effect, stop playback, navigate in the Preview panel to the clip you want to display in the timeline, select the clip, then adjust its effects – just like a normal clip – in the Inspector.
Once effects are applied to all clips, restart the Preview process, this time watching each clip and the effects you applied to see which version looks the best in your project. Auditions simply the process of comparing clips.
FINALIZE AN AUDITION

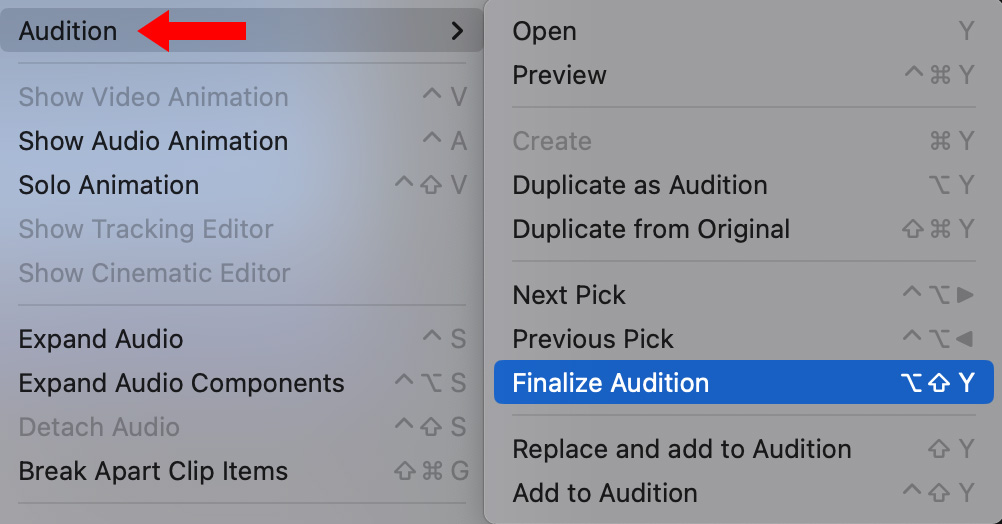
Once you find the effect you like display it in the timeline then choose Clip > Audition > Finalize Audition (shortcut: Option + Shift + Y) to release all clips from the Audition except the currently selected clip. This step is not required, but it does decrease the load on your system.
NOTE: If there’s a chance you might want to reconsider your choice, don’t Finalize the audition. That allows you to go back and reedit it anytime you want. Most modern systems won’t show any appreciable slowdown when playing auditions.
SUMMARY
Setting up an audition to compare effects takes a couple more steps than simply stacking clips ini the timeline. But, what I like about it is that previewing different clips is blindingly fast and there’s never the risk of leaving the wrong clip active in the timeline because you forgot to turn it off.