 Bill Rabkin asked an interesting question:
I’m starting to edit a multicam project with 2 sources: (1) A video recorded on Zoom, and (2) A matching video recorded on my camcorder. FCP syncs the two when I created a multicam clip. However in the Zoom recording the video and audio are noticeably out of sync.
When I have this problem with Zoom recordings in a non-multicam project, I detach the audio from the video and move the audio a frame at a time until it syncs with the video.
In my current project, in the Angle Editor I selected the Zoom clip to detach its audio so that I can adjust it. However, the “Break Apart Clip Items” and “Detach Audio” menu selections are both disabled (grayed-out) in the Clips menu.
Any suggestions about how I can sync the Zoom recording for this multicam project?
Bill, there isn’t a “one-button solution,” but it can be done. The short answer is that we need to detach the audio outside of the multicam clip, add it to the multicam clip, then sync the clips manually.
Here’s how.
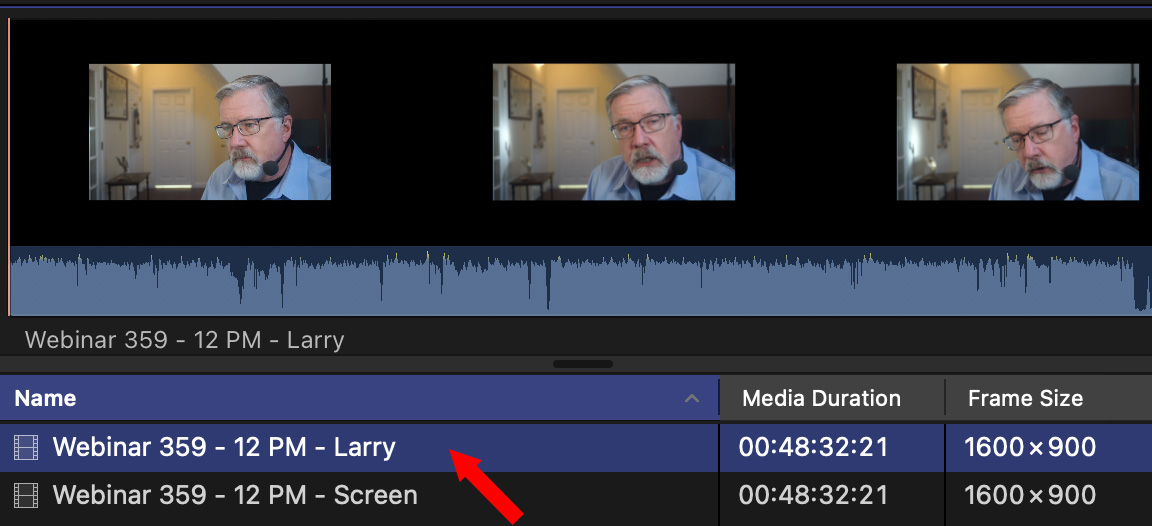
In my weekly webinars, I record two video streams:
The problem is that the video is always three frames out of sync with the screen recording.
NOTE: In the case of my webinars, while I need to manually sync the clips, I don’t use a multicam edit because I want to see both images on screen at once. A multicam only allows one image to display at a time.
GET READY
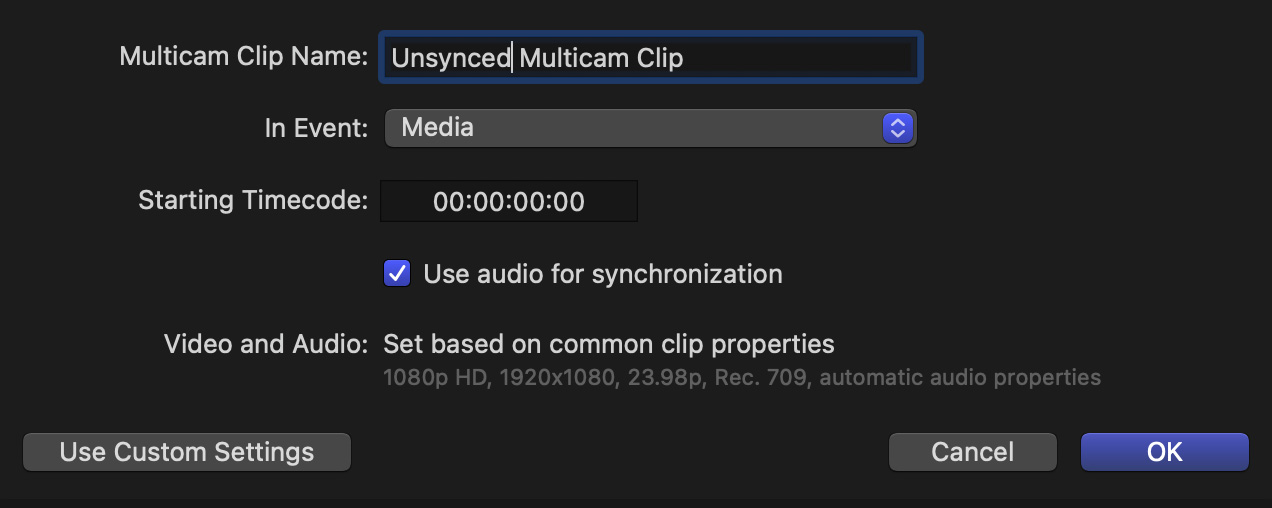
Select the clips you want to use in the multicam in the Browser, then choose File > New > Multicam Clip. Keep things simple and sync using audio, we will adjust this later.
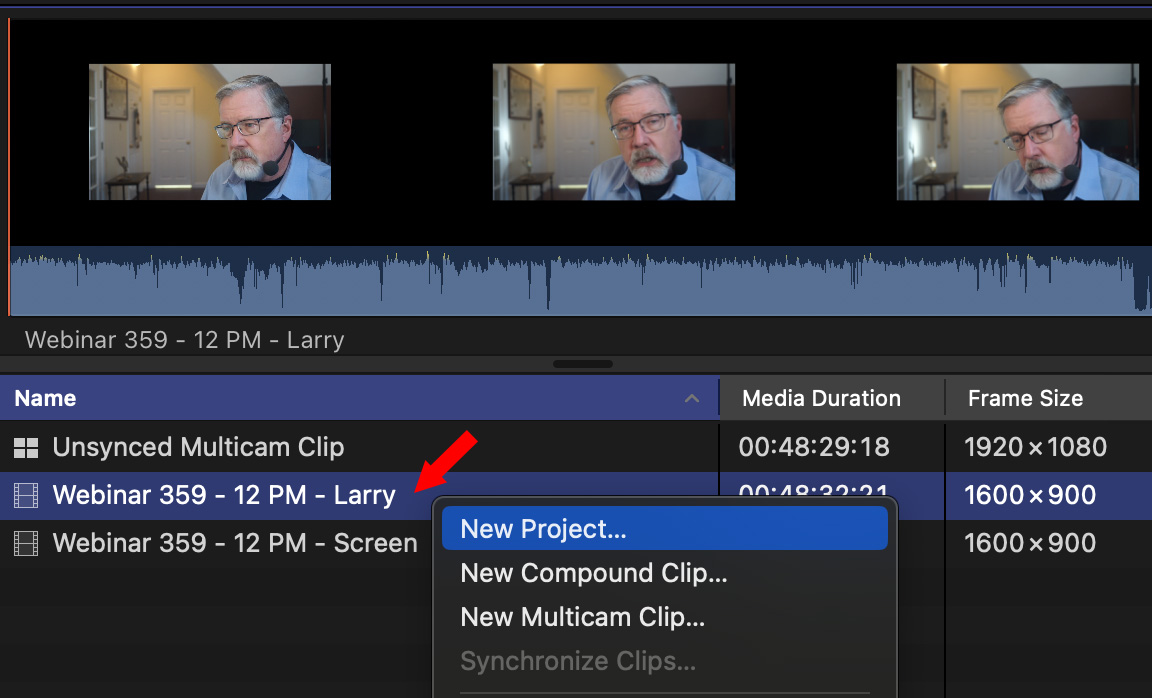
Next, right-click the clip that is out of sync in the Browser and choose New Project.
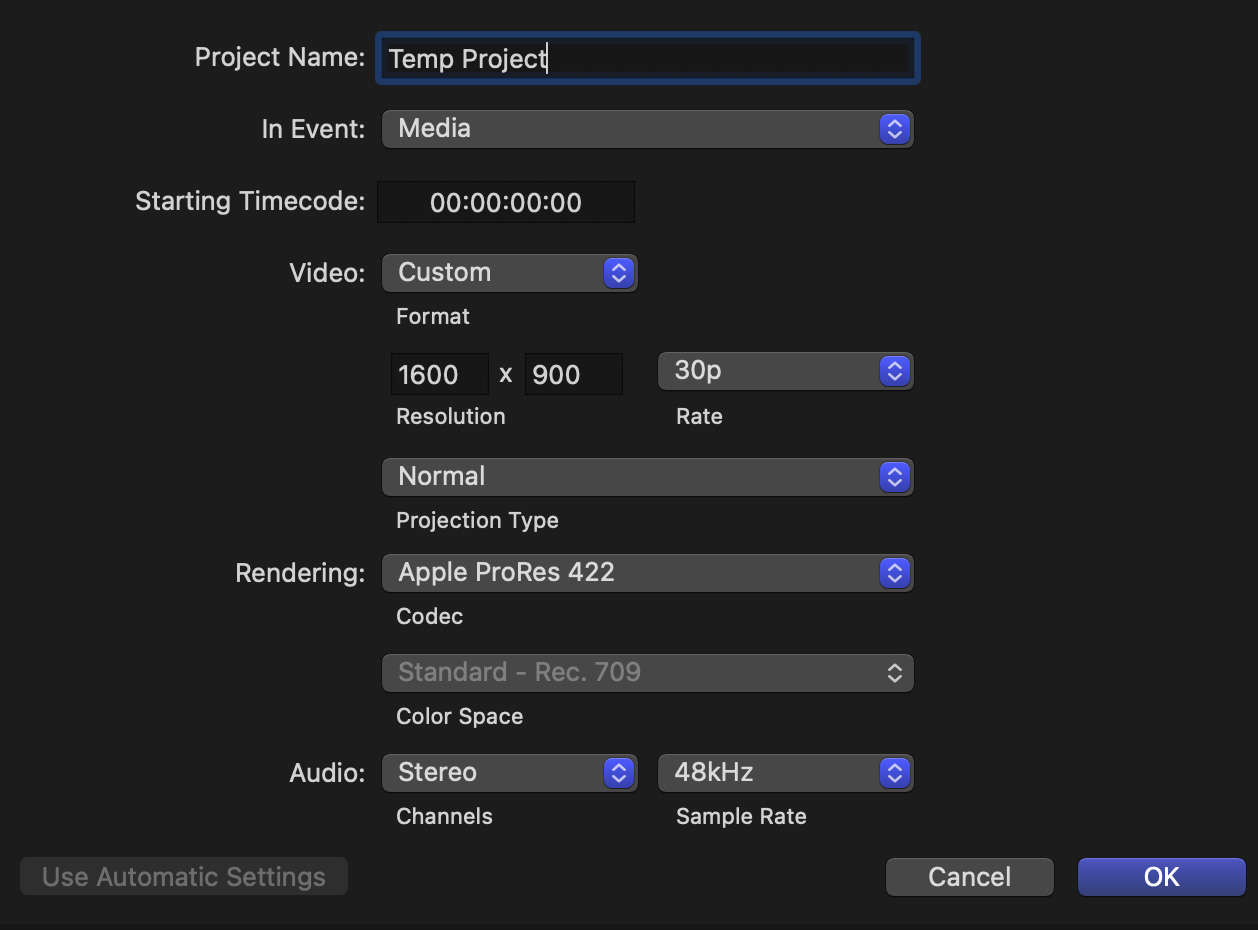
In the resulting dialog, configure this as you would any other project.
NOTE: I’m using a non-standard frame size, but frame size isn’t relevant for this technique.
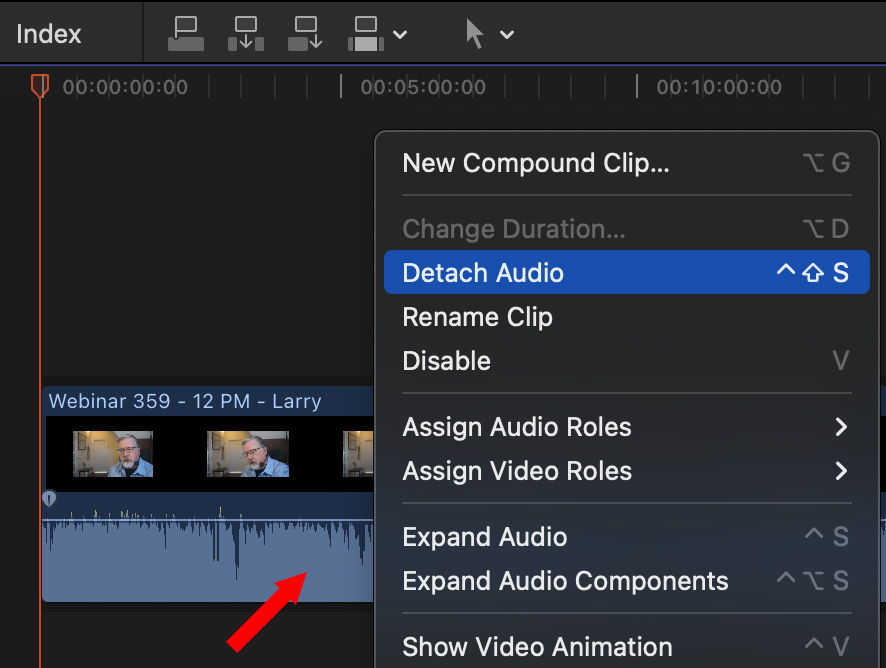
In the Timeline, right-click the out-of-sync clip and choose Detach Audio. Then, select the audio and copy it to the clipboard.
SYNC THE MULTICAM CLIP
Double-click the Multicam clip in the Browser to open it in the Angle Editor.
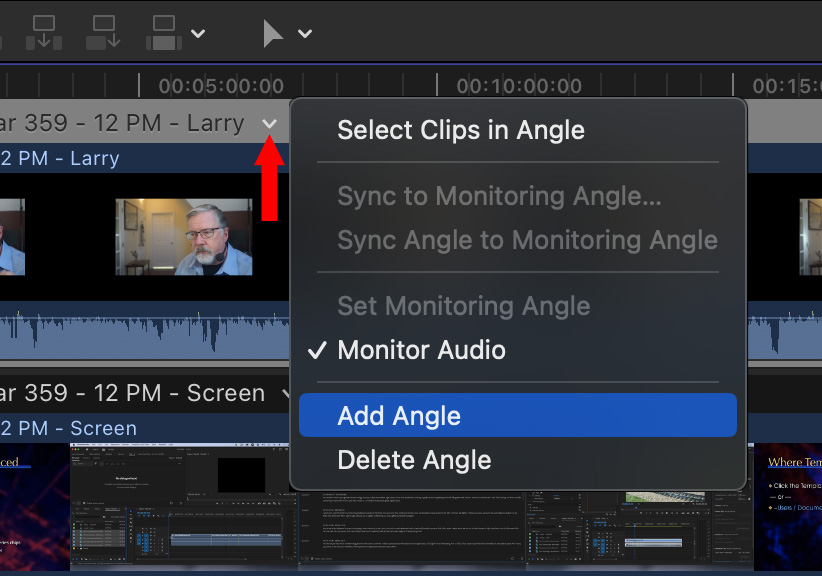
Click the small downward-pointing arrow (red arrow) for the layer that has the out-of-sync clip and choose Add Angle.
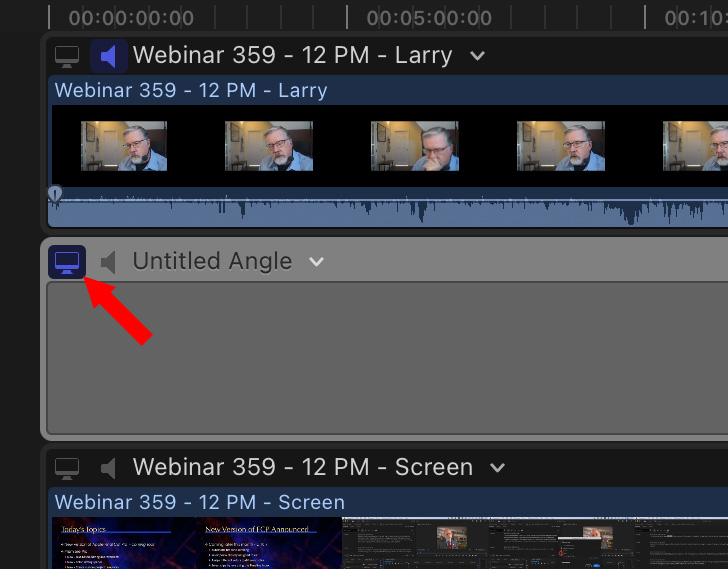
This puts an empty layer immediately underneath the out-of-sync clip.
Click the small video monitor icon (red arrow) to select that layer. Move the playhead to the beginning of the timeline. Then choose Edit > Paste (Shortcut: Cmd + V).
The audio file now is in its own layer in the multicam clip.
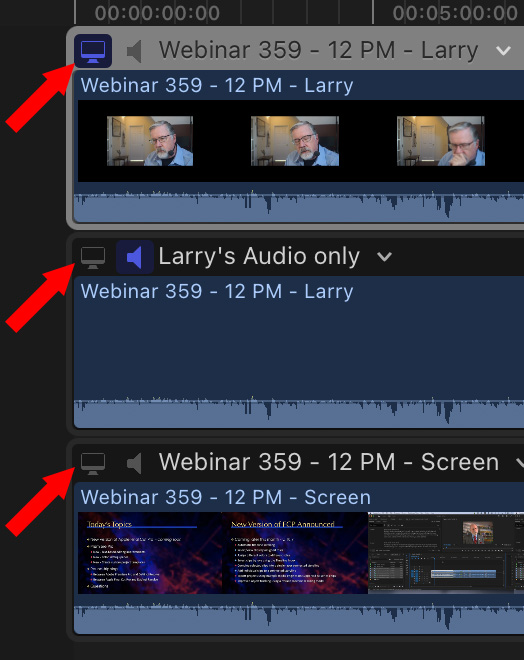
Then, set the following monitor settings:
This displays the video of the top clip with the audio of the second clip and disables all other clips so you can see and hear sync.
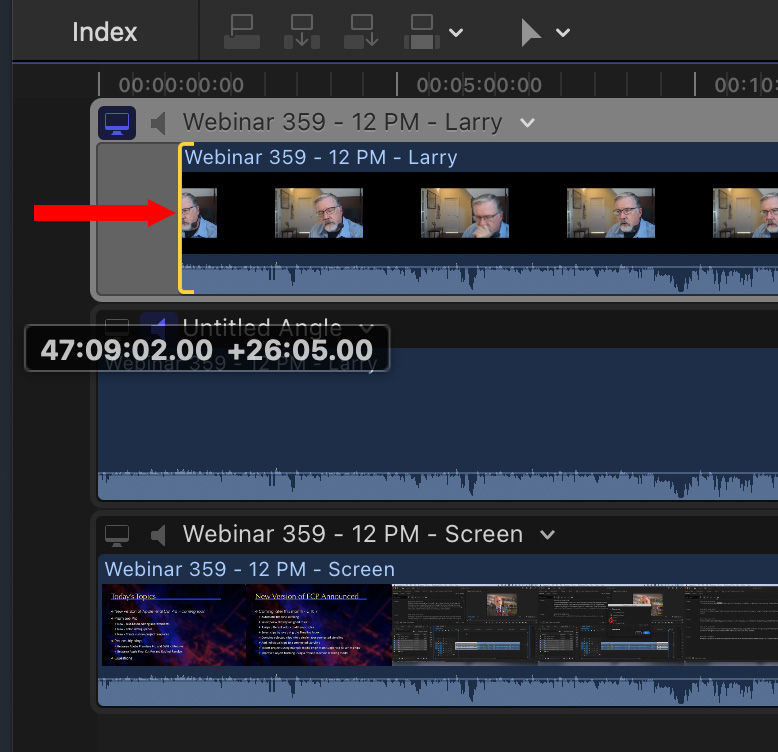
Finally, trim the In of the out-of-sync video clip to the right to provide room to move the clip.
Select the out-of-sync video clip begin playback and, using the left and right keyboard arrows, move it frame by frame until it is in sync with the audio.
NOTE: A very effective way to spot sync is to look for any word that begins with “p”. The sound of the “p” begins at the same instant the lips open.
Once you have the clips in sync, trim the start of the video back to the beginning of the layer and enable the video and audio monitors as you prefer.
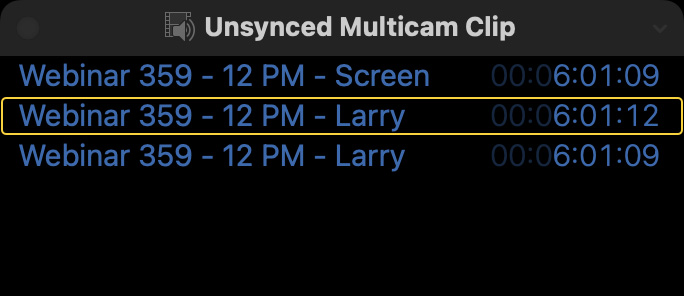
You can monitor the shift in timecode using Window > Source Timecode.
To exit the Angle Editor, open any other project in your Library.
SUMMARY
This sounds like a lot of steps, but, once you do it, you can set up and adjust any out-of-sync multicam clip in just a minute or two. After that, you edit the multicam as you would any other clip, switching audio and video as necessary.
2 Responses to How to Manually Sync a Multicam Clip in Apple Final Cut Pro
Why can’t you ‘open’ the clip, fix the sync, THEN make the multicam?
Greta:
That is a great option.
Thanks.
Larry