 One of the features in Final Cut that I have long dismissed are placeholders. That is, until today when I discovered a very interesting way to use them.
I’m helping a group of video novices visualize what a scene might look like before we move into production. This is exactly what storyboards are designed for.
There is a wide variety of storyboarding tools, from specific apps to web-based tools but, as creating storyboards is something I almost never need to do, I don’t use any of them.
NOTE: If you have a favorite tool, please share it in the comments. I’d like to learn what you like.
In this case, I wanted to show what two actors – who have not yet been cast – would look like in a specific location. Placeholders solved the problem; but not the way you’d expect.
CREATE A PLACEHOLDER
Open Final Cut and create a new project. (You can use an existing project, but we won’t need to retain the placeholder we create.)
Select Edit > Insert Generator > Placeholder (shortcut: Option + Cmd + W).
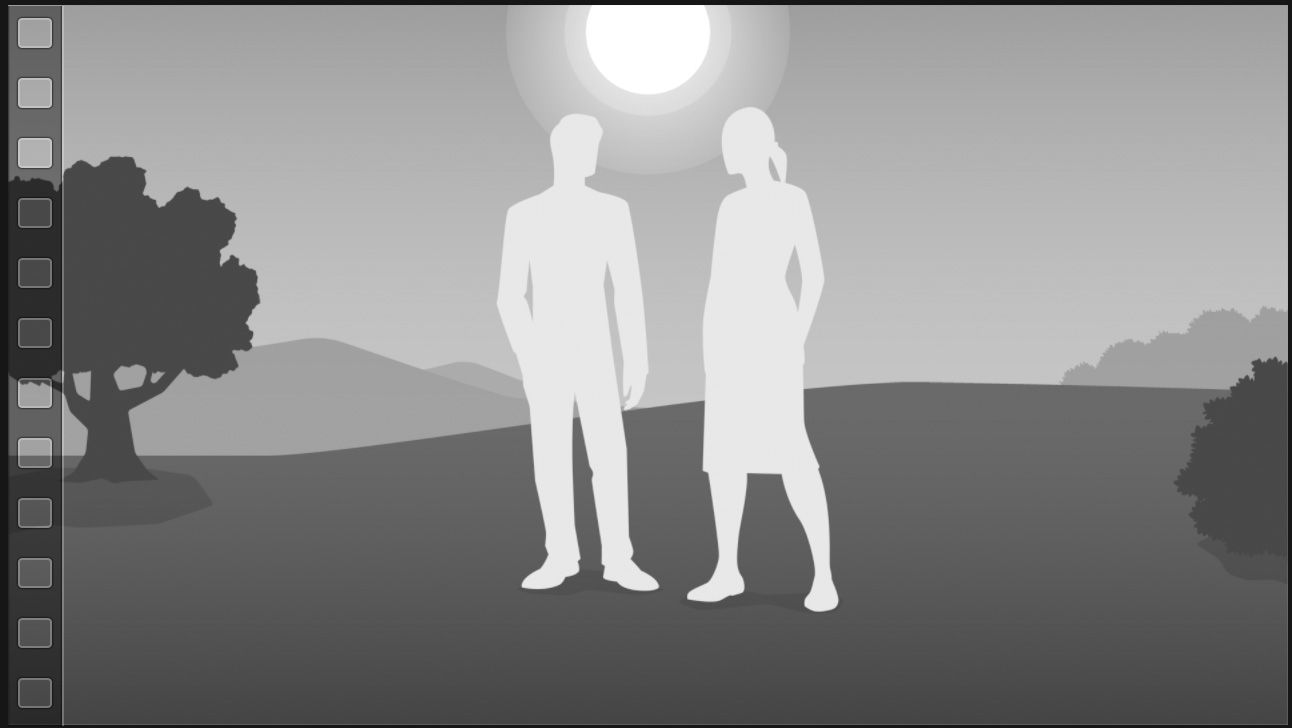
The generic placeholder appears in the timeline: a wide shot of a couple standing in a field.
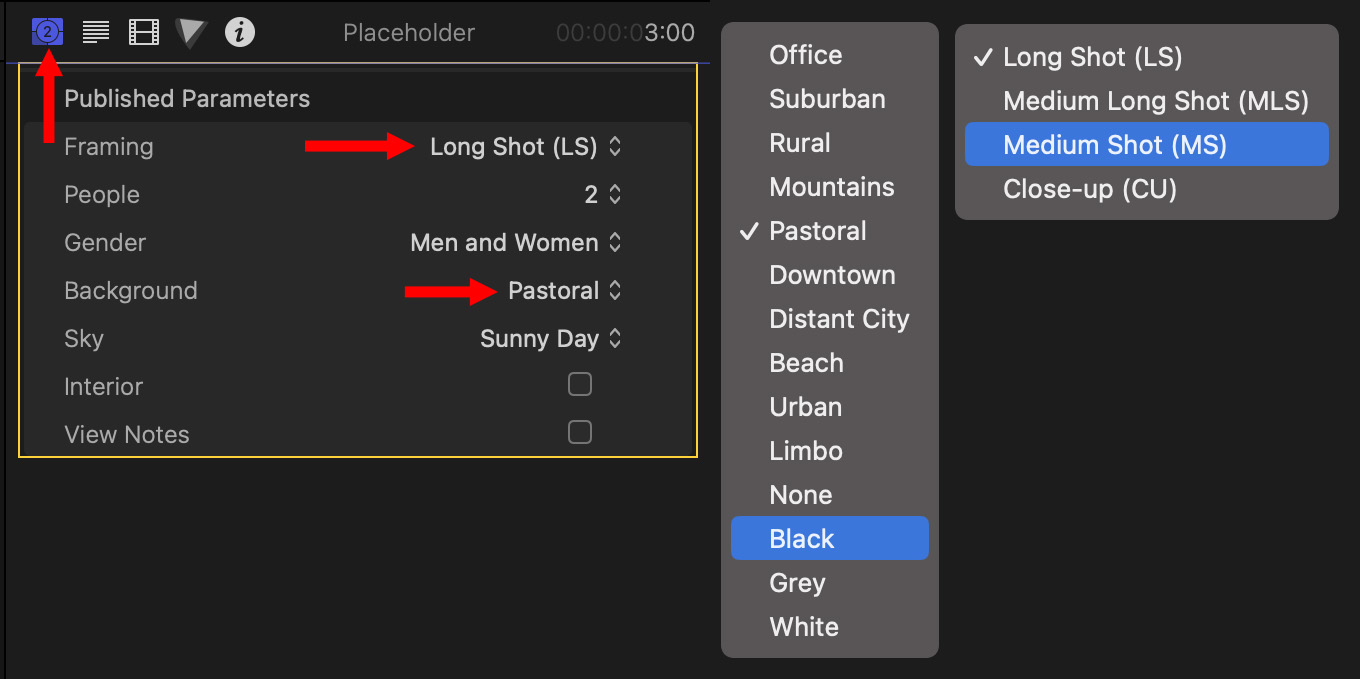
(A composite of the Generator Inspector (left), Background and Framing menus.)
Select the placeholder clip, then, using the Generator Inspector (left red arrow), experiment with different settings for framing, people, and background.
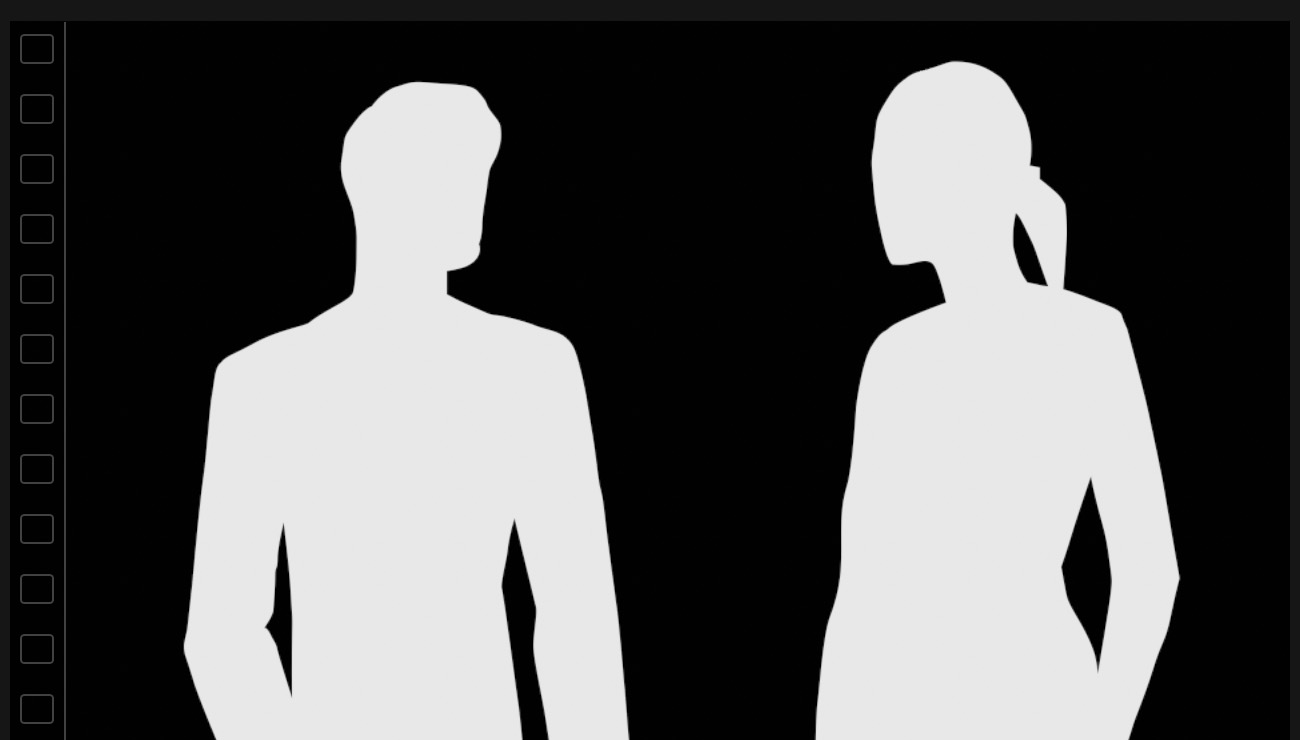
For this example, I chose a medium shot with two people – a man and a woman. One IMPORTANT setting is to set the Background to black. Why? Because we need a background that we can easily remove in the next section.
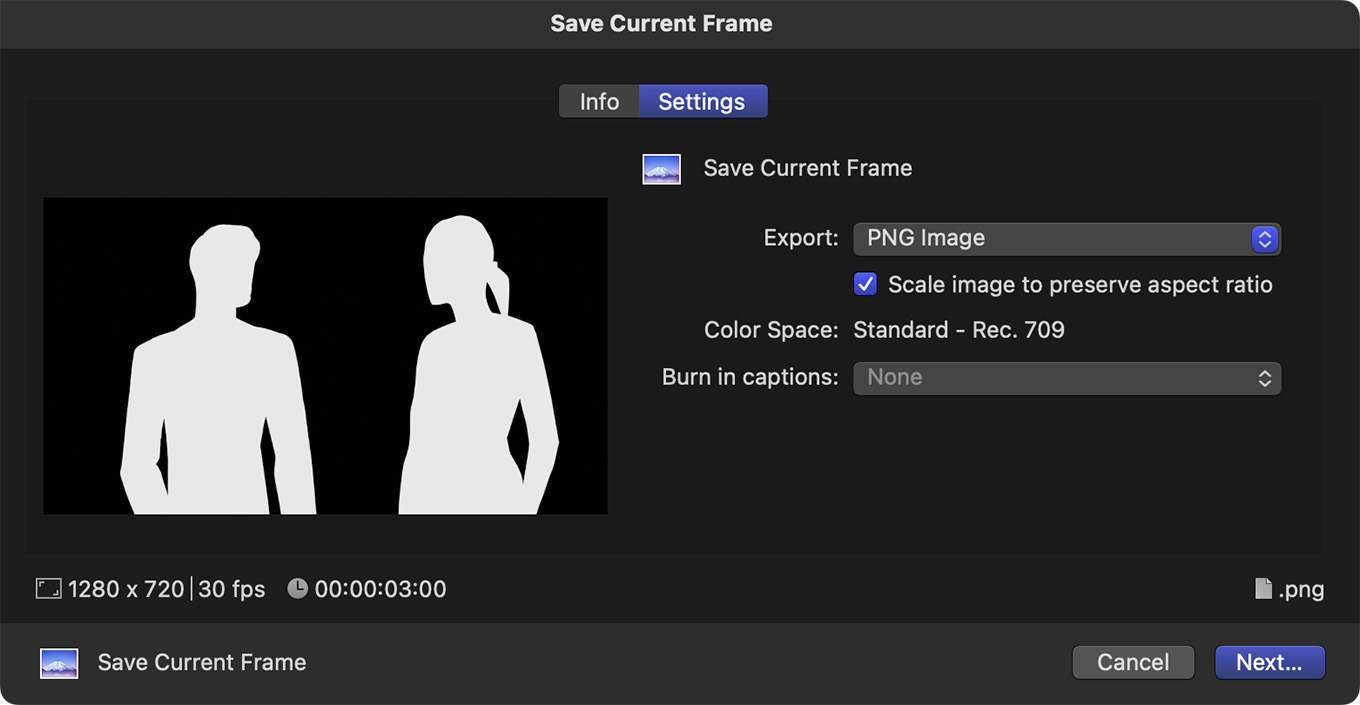
Finally, choose File > Share > Save Current Frame and export a PNG still frame of this shot. (I named it “People Placeholder,” but you can call it whatever you want.)
We are now done with Final Cut. You can quit the app.
ISOLATE THE PEOPLE
Open the placeholder image in Photoshop, or the image editing application of your choice. However, before we can use this for storyboards, we need to get rid of the black background and isolate the two people.
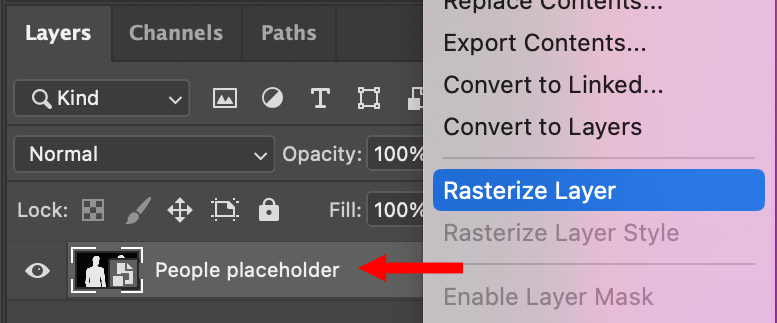
First, right-click the People Placeholder layer in the Layer panel and choose Rasterize Layer from the menu. This converts the image into a bitmap, which makes it possible to remove the background.
There are multiple ways to select the foreground actors – the Quick Selection tool comes instantly to mind – but the fastest is to select the Placeholder layer, then choose Select > Subject.
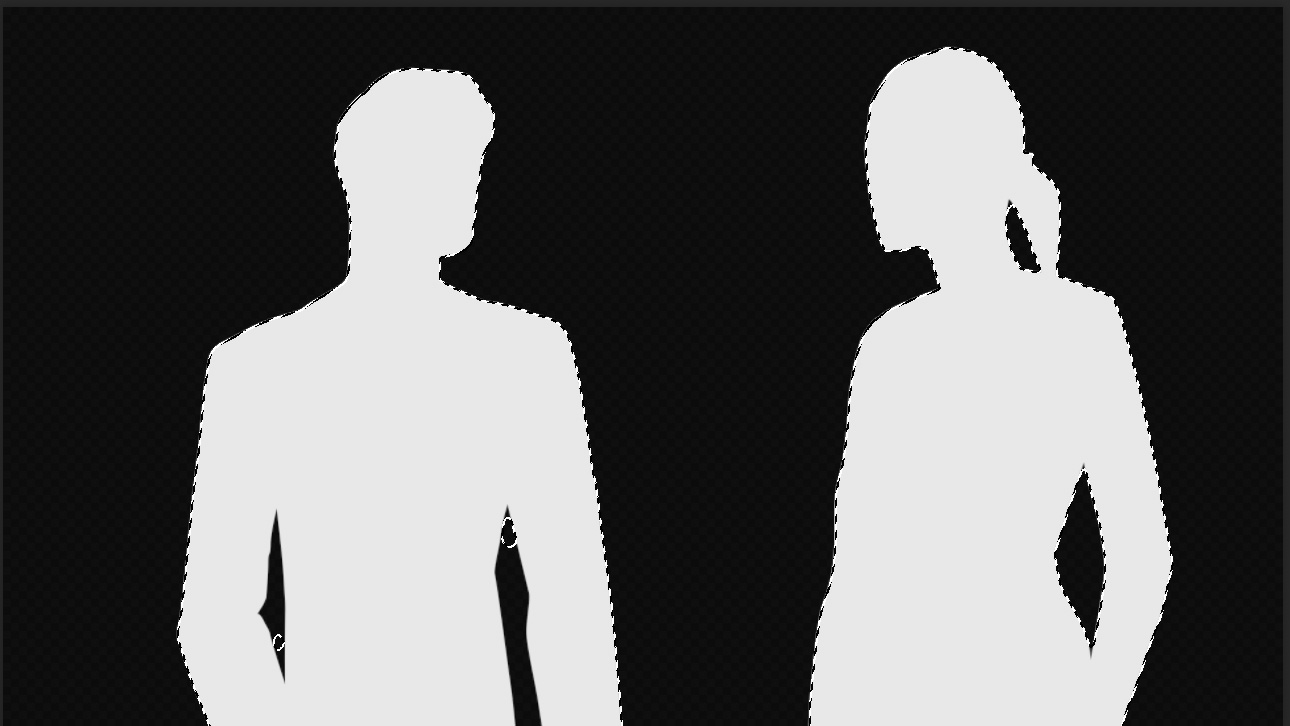
Instantly, “marching ants” appear around the edges of both people.
Type Shift + Cmd + I to select the inverse – that is, everything that isn’t people – then press Delete.
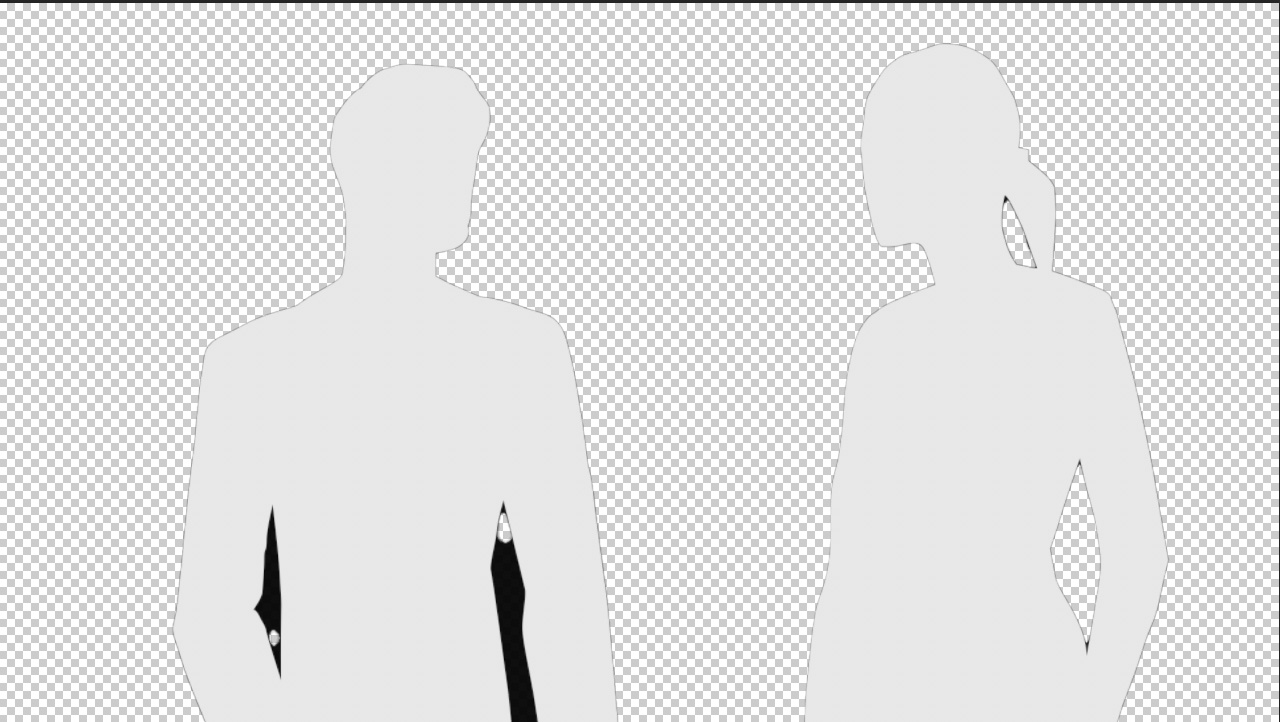
The black background becomes transparent.
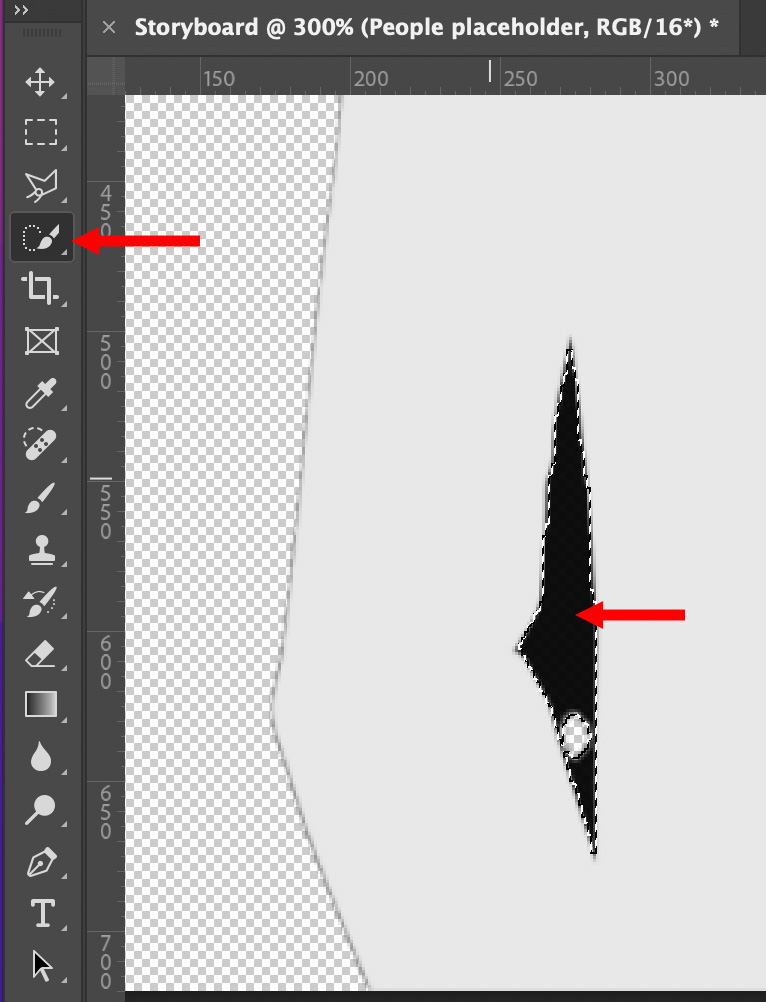
NOTE: You may need to use the Quick Selection tool (left arrow) to remove residual black areas.
CREATE THE SCENE
Now the fun part starts – inserting different backgrounds to see how they look.
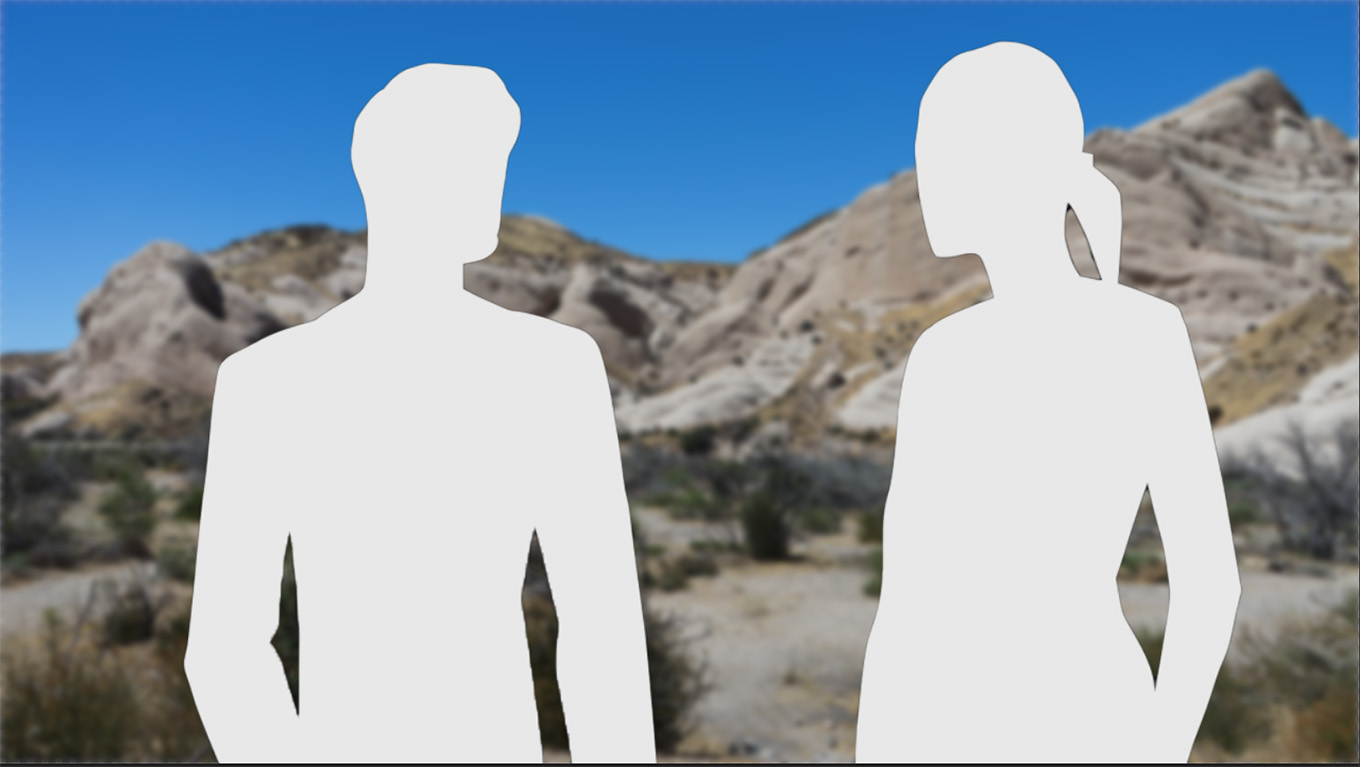
Here, I added a background of the Mojave desert. Make sure the People Placeholder layer is above the background image in the Layers panel.
NOTE: I also blurred this background slightly. You’ll learn how to do that shortly.
To make this more flexible, select the male actor and choose Edit > Cut to remove it from the same layer as the woman. Then, create a new layer and paste the man into it (Edit > Paste).
Because the man and woman are now on separate layers, you can position them independently.
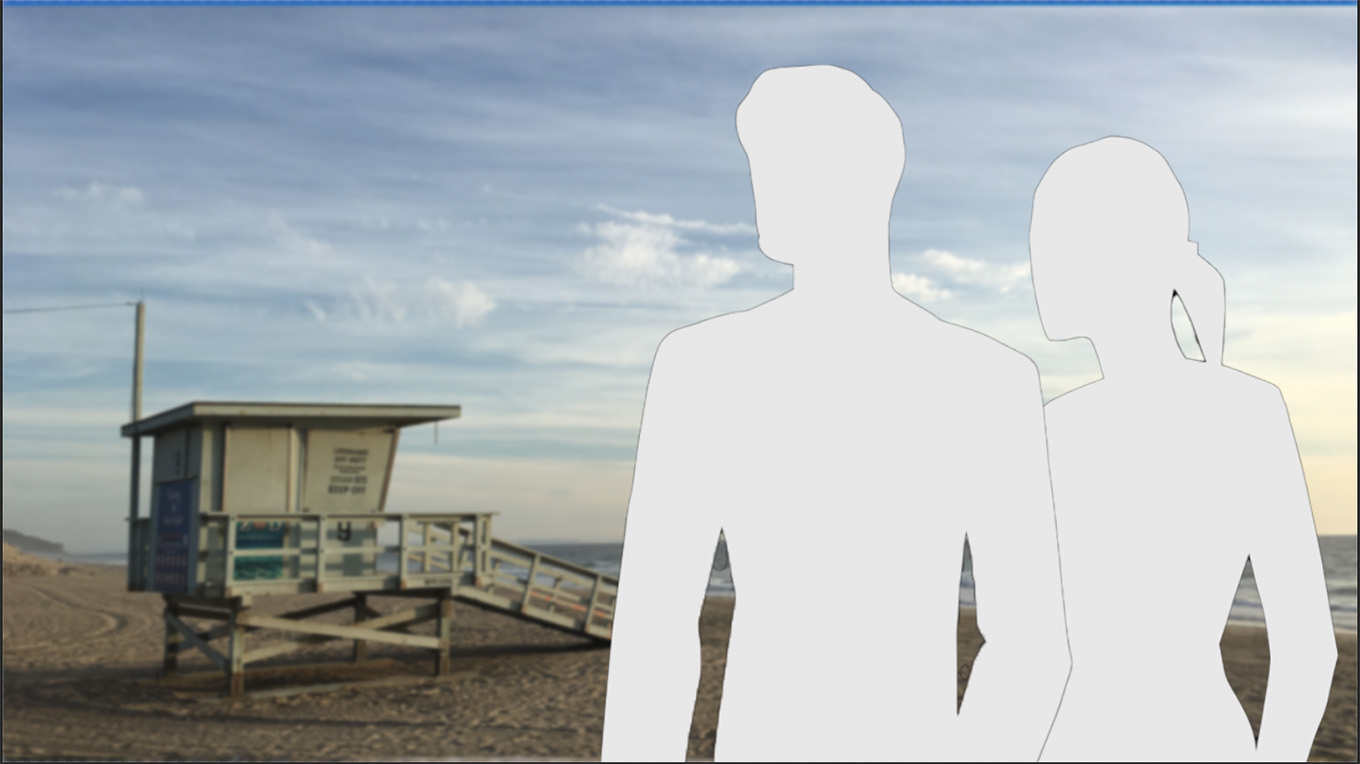
Select a character, then choose Edit > Transform > Flip Horizontally to change screen direction, as I did here with the man.
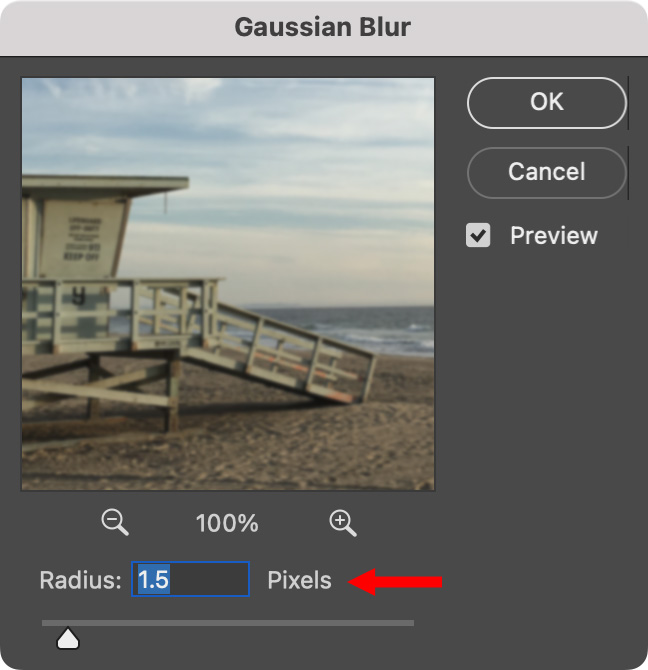
Finally, to provide depth of field, select the background, then choose Filter > Blur > Gaussian Blur and use a setting between 1.5 and 2.0.
EXTRA CREDIT
Because the man and woman are now on their own layer, we can resize, reposition and flip each character to experiment with different blocking and backgrounds.
Storyboards are a great way to help you think about a shot before getting on set.
2 Responses to Use Final Cut Pro Placeholders to Create Useful Storyboards
Hi Larry,
Since I don’t have Photoshop, I was able to achieve the same effect with FCP.
I used the Keyer to get rid of the black background, created two placeholder layers, flipped the male and cropped and repoed it in relation to the female.
Philip
Phillip:
Very cool. Thanks for the alternate approach.
Larry