![]() Recently, a reader requested help in creating a video with burned-in timecode so he could send dailies to a client for review.
Recently, a reader requested help in creating a video with burned-in timecode so he could send dailies to a client for review.
NOTE: “Burned-in” means that the timecode for a video clip is permanently displayed in the video. This is frequently used for producers and clients to review clips prior to editing or projects during editing.
Final Cut has supported this feature for a long time, but, recently Apple changed the process. Here’s what you need to know.
TO START
This requires applying an effect to clip(s) in the timeline. You can’t add effects to clips in the Browser.
NOTE: If you want to add timecode to a batch of clips, use Compressor. This tutorial describes how.

In the timeline, open the Effects Browser and apply Basics > Timecode to the clips you want to display timecode.
NOTE: A fast way to do this to multiple clips is to use an Adjustment layer. While these are not shipped with Final Cut, they are easy to create. Here’s a tutorial that describes how.
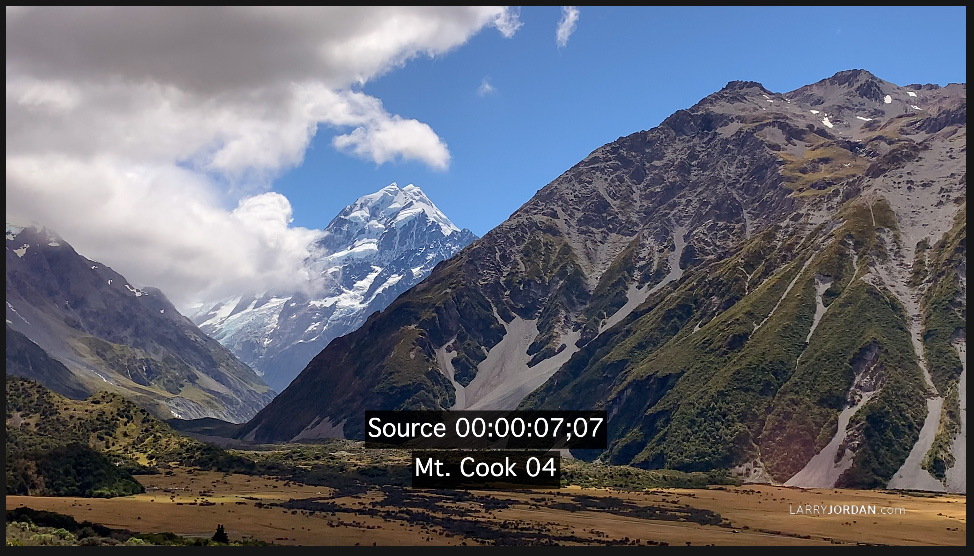
As soon as you apply the effect, the timecode of the source clip is displayed in the Viewer.
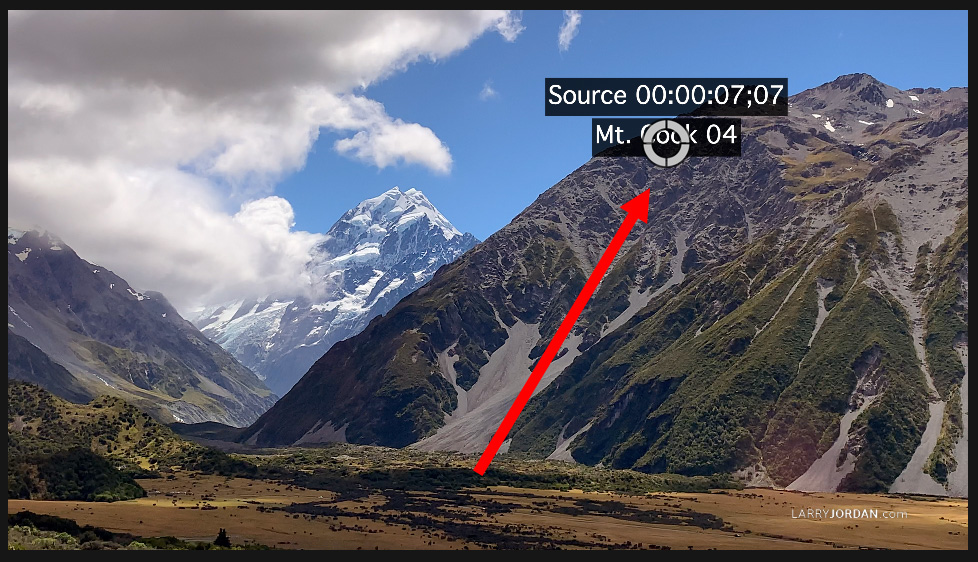
To change its position, select the timeline clip and drag the white ring where you want it.
TO CHANGE SETTINGS
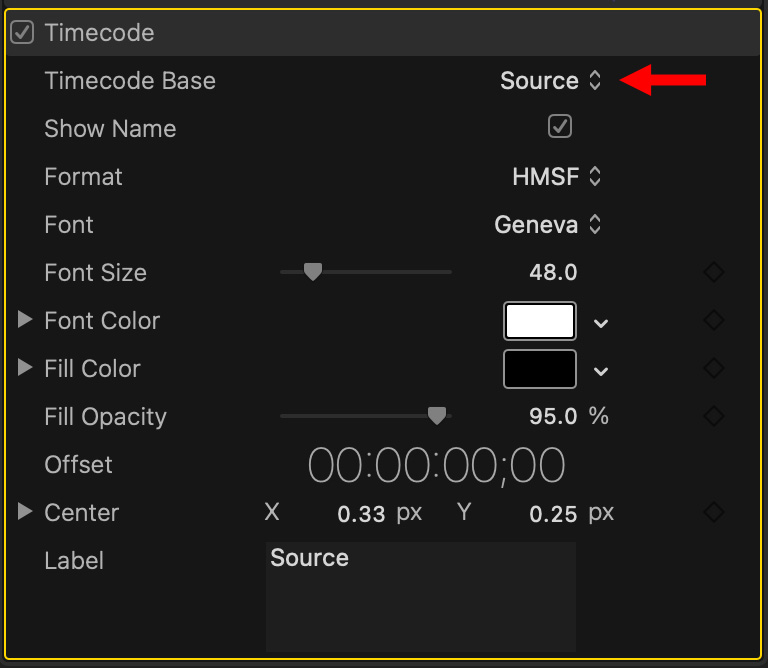
To change the display settings, select the clip, then in the Video Inspector change:
TO OUTPUT TIMECODE
To burn-in, that is, permanently display the timecode, choose File > Share > Export file.
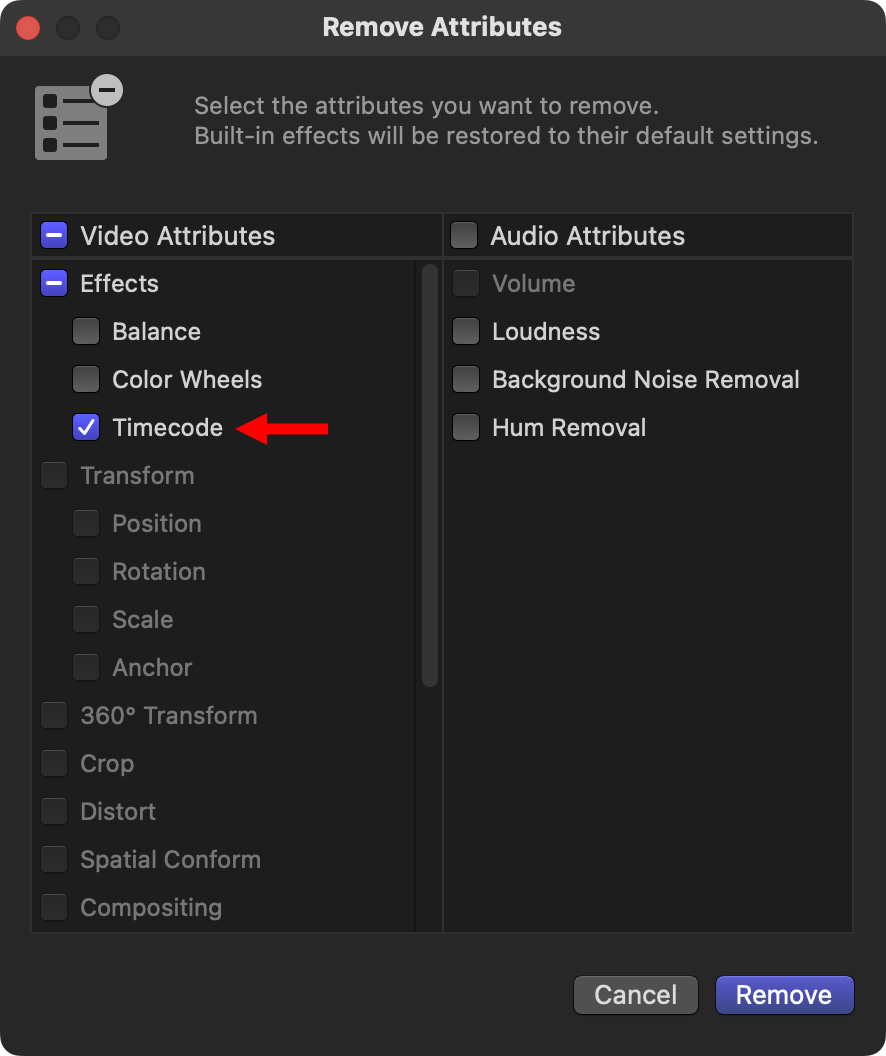
TO REMOVE THIS EFFECT