 This tutorial creates a 3D text template in Apple Motion that allows Apple Final Cut Pro to put moving video inside adjustable, textured 3D text. This template allows:
This is a very cool effect!

However, there are two major problems we need to solve:

Normally, I would use the Stencil Alpha blend mode to fill 2D text with an image. However, when we use Stencil Alpha, we get the amorphous mess shown in this screen shot. All the 3D aspect of the text is lost.
Nope, that won’t work. Time to do something different.
CREATE THE TEXT

Open Motion and select Final Cut Generator. Adjust the settings on the right to reflect a typical project. Because this is a template, it can stretch to any duration or scale to any frame size.

Select the 3D text tool in the toolbar at the bottom and type some text.
I’m using “Spring” because 3D text looks the best if the words on screen are short in length and large in size.

Select the text, open Inspector > Text and format the text. For 3D, I like heavy (black) faces: Cooper Black, Impact, Arial Black… something thick to show off the 3D.
In this example, I’m using 500 point Cooper Black and I opened the tracking by 10% to allow the letters to better show off their 3D textures.

In the toolbar, select the 3D tool (shortcut: Q).

Click the left small circle in the center of the text (red arrow) and drag to adjust the Y-axis rotation. Then, position the word so it looks centered in the frame.
NOTE: You can also adjust this in Inspector > Properties > Rotation and set Y = 45°

In Inspector > Text > Appearance:

The text is now ready to texture.
TEXTURE THE TEXT

Texturing is a lot of fun, because you have so many options. Feel free to play! To save time, here are my settings.
Finally, and this is the “Special Sauce” for this effect, select the rectangle tool in the tool bar and draw a rectangle so that it fills the entire frame. This will make the entire frame behind the text opaque, otherwise everything that isn’t text would be transparent.

Select the rectangle in the Layers pane and drag it below the text but in the same group.
With the rectangle still selected in the Layers pane, change its Fill color to black using Inspector > Shape > Fill.

The text is formatted and ready for Final Cut.
SAVE TEMPLATE

Choose File > Save.
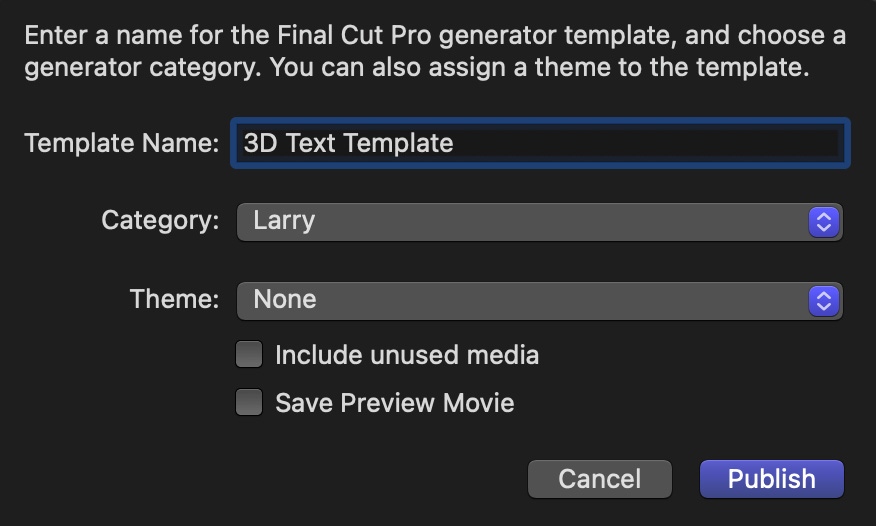
Give the template a name and storage location. I keep all my custom templates in a folder called “Larry.” You can store yours wherever you want.
Click Publish.
That’s it. The template is created and ready for your next Final Cut project.
FINISH IN FINAL CUT PRO

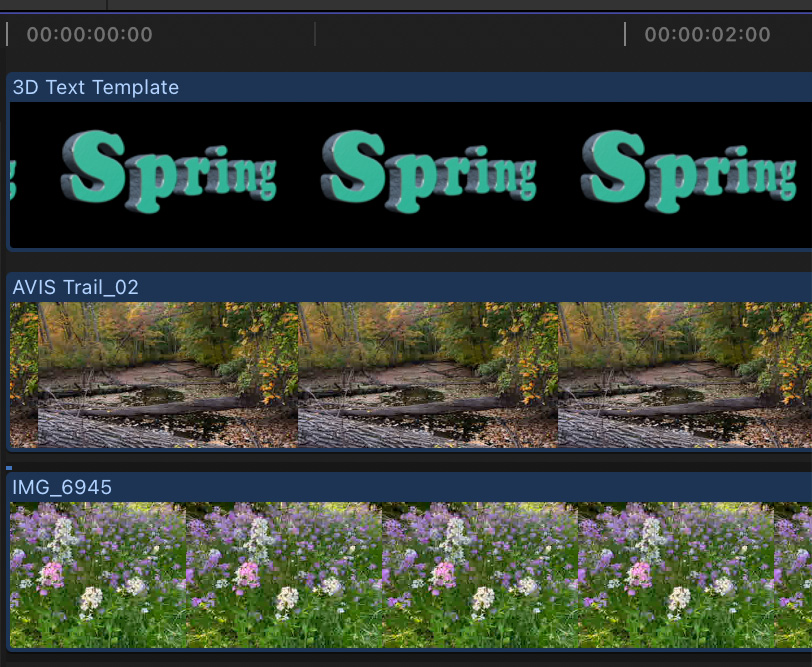
In any Final Cut project, add the clip you want to insert into the text into the timeline. I’m using a lovely image of phlox that I took recently.
From the Generators browser, drag the 3D Text Template (or whatever you named your template) to the layer above the image (see screen shot above).

Here’s the other “secret step.” Select the 3D Text generator in the timeline and apply Effects > Keying > Keyer.
The green color on the face of the text is instantly keyed out and the flowers show through. If you used the green latex color, you won’t need to make any adjustments to the Keyer settings.
Adjust the size and position of the background clip to get the look you want.
EXTRA CREDIT

Because this is a Motion template, you can change the text, rotation angle, position and size directly in Final Cut. The only thing you can’t change in Final Cut is the text texture; that requires moving the template back into Motion.

To put different images inside each letter, stack the images in the timeline. Then, crop them so each image fits inside the appropriate letter or group of letters.

Here is “Seasons,” with a spring image in the left three letters and a fall image in the right three.
Play and see what you can do with this. This is a really flexible template.
3 Responses to Put Video Inside 3D Text: A Final Cut Pro Template
Nice and easy! I think it’s a pity that the 3D rotations can not be keyframed.
Hello Larry, I wanted to have more control over the background. Not just black. So I ‘published’ the parameters of the rectangle. (in ‘Inspector/Shape/Style’). That goes well for a solid color background, but the Gradient parameters seem not want to be published! What am I doing wrong?
Jan:
This can be done – I just did it.
Apply a gradient to your project in Motion, then display the Fill settings in the Inspector.
Twirl down the Gradient to reveal the color boxes.
Select a color box, then, on the extreme right of the Inspector, twirl down the chevron and select Publish.
You need to publish EACH color box, not the gradient in general.
When, loaded into Final Cut, these settings make the gradient colors fully adjustable.
Larry