 [ Please read my Product Review Disclosure Statement here. ]
Last week, I reviewed the iRig Pre 2 microphone pre-amp which connects professional mics to computers and other analog gear. (Read it here.)
I really liked it. But, it couldn’t connect to iPhones, iPads or other mobile devices because it didn’t have the right cord. As well, the iRig Pre 2 uses an analog output. The iRig Pre HD solves these problems, plus a couple of others. The folks at IK Multimedia sent me a unit for a couple of weeks to review. Here are my thoughts.
EXECUTIVE SUMMARY
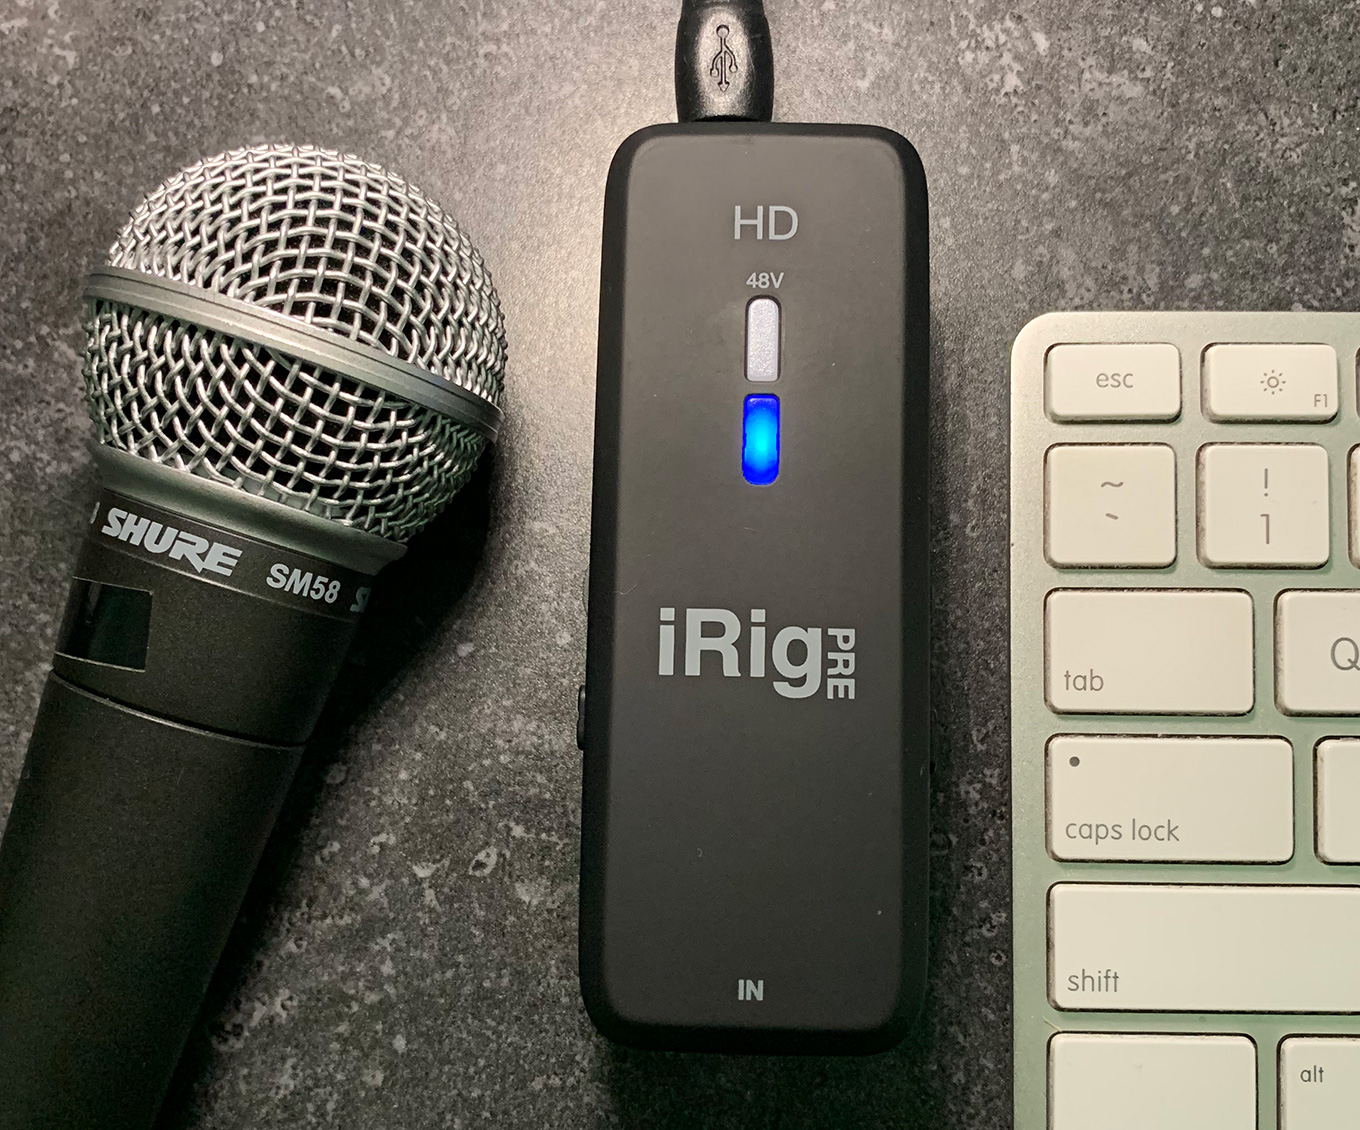
The iRig Pre HD is a microphone preamp designed for portability and reasonably high quality. It converts any professional microphone using an XLR connection into a digital signal then outputs it via a USB A or Lightning cable. The USB cable can plug into most computers while the Lightning cable connects to all current iDevices.
The significant benefit to the iRig Pre HD is that it digitizes your audio inside the unit, rather than outputting a potentially noisy analog signal. Plus, the dual output options of USB A and Lightning increase the number of digital devices it can connect with.
NOTE: This unit is an audio “converter,” you would still need to supply a microphone, mic cable and digital device – like an iPhone or computer – to complete the system.
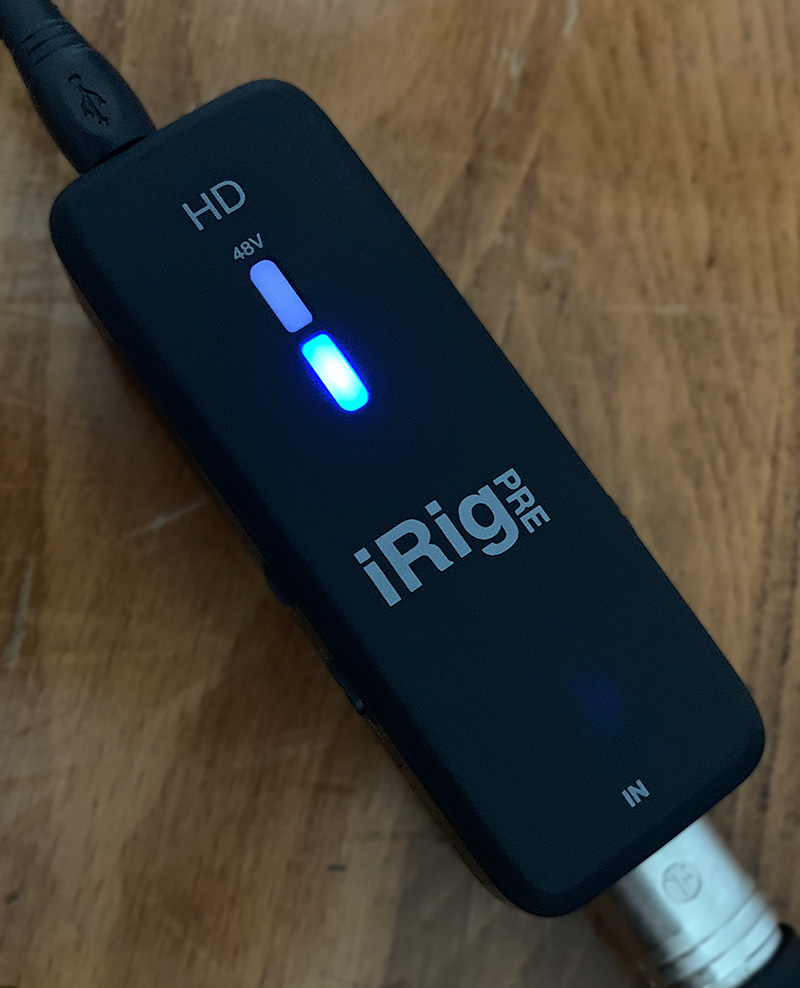
The iRig Pre HD, powered by two AA batteries included with the unit, is a microphone pre-amp for professional mics using XLR connectors. It handles both dynamic and condenser mics, and can supply 48 volt phantom power if needed.
NOTE: IK Multimedia tells me that batteries are only needed when connecting to mobile devices. The computer powers the iRig when connected.
It has one XLR microphone input and a Micro USB output port. It even comes with a velcro strap so you can quickly attach this to a tripod or camera. Controls include:
Two LED lights indicate power, phantom power and audio level status. The IK Multimedia website says that phantom power from fresh batteries should last about 7 hours. Without phantom power, batteries should last for about 20 hours.
Connecting to an iPhone could not be easier: plug it in and start recording. The iPhone recognizes the device without requiring any software to be downloaded. Connecting to a computer is equally easy using the included USB cable.
One of the concerns I had about the iRig Pre 2 was that if the unit was bumped during recording, that knock would appear in the audio recording. The iRig Pre HD seems more impervious to this type of abuse. However, like the iRig Pre 2, this is a fairly “noisy” preamp, not appropriate for studio work, but perfectly fine for outdoors or location work.
The iRig series of preamps are designed to fit a specific niche: low-budget filmmaking and audio recording. They are highly portable, record with excellent quality and don’t require a detailed manual to use – though a simple user guide explaining lights and levels would be helpful for people who already know something about audio.
The iRig Pre HD costs twice as much as the iRig Pre 2. While both are preamps, the HD also digitizes the audio, plus connects to all current computers and iDevices, requires no configuration, and has more intelligent power management. It works exactly as you’d expect. Perfectly.
Manufacturer: IK Multimedia
Website: https://www.ikmultimedia.com/products/irigprehd/
Product: iRig Pre HD
Price: $99.99
SETUP
The iRig Pre HD comes nicely packaged in cardboard. Inside the box is:
NOTE: I didn’t test the free software, I was more concerned about using the iRig Pre HD as a mic preamp and digital converter.
OPERATION
IK Multimedia has done some smart thinking about this device. There’s no power switch. When you connect it to a device, the iRig powers on. If the device goes to sleep, the iRig powers down.
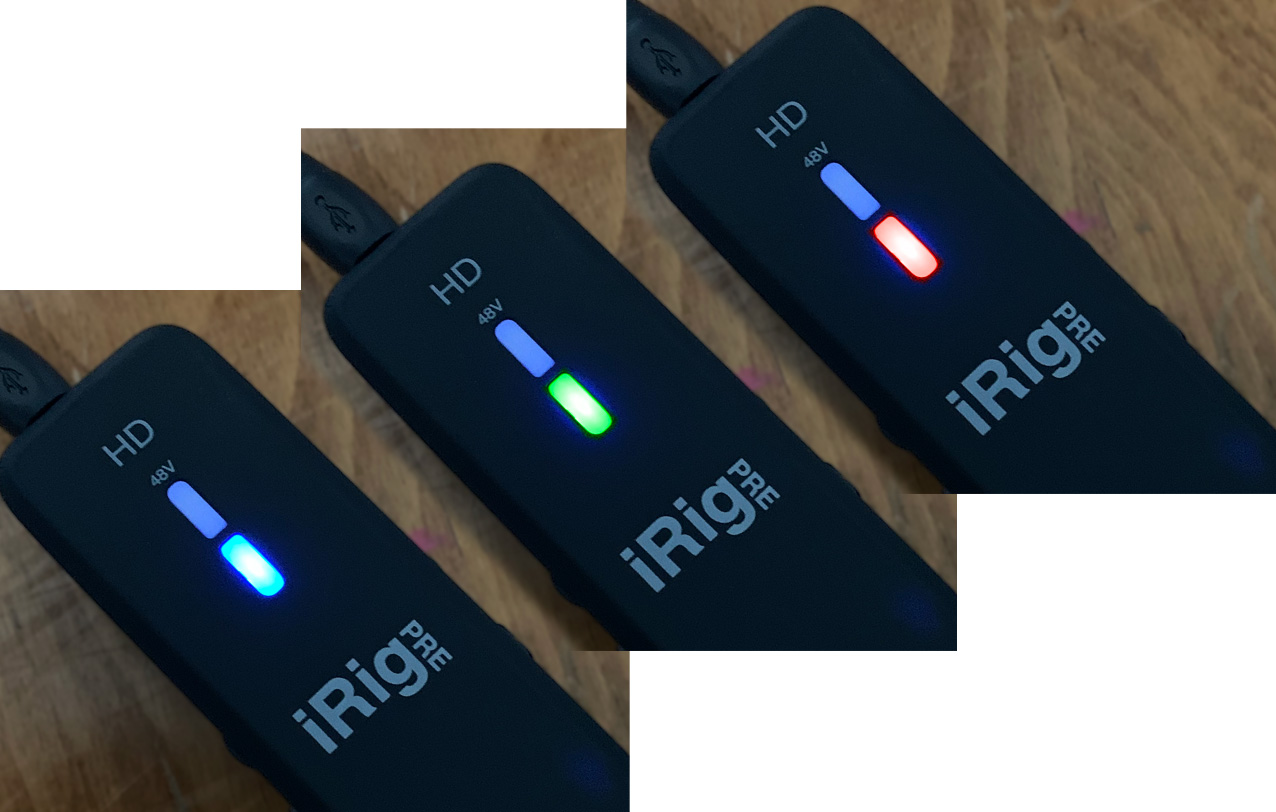
Power is indicated by a glowing blue light on the front of the unit. When the iRig is in stand-by mode, the top light is dim blue. When the device is active and ready to record, the top light glows bright blue. The phantom power light (also the top of the two lights) glows red when phantom power is turned on.
When recording, the iRig flashes green when levels are “safe,” and “red” when levels start getting too loud. But, what are “safe” and “too loud,” in actual levels?
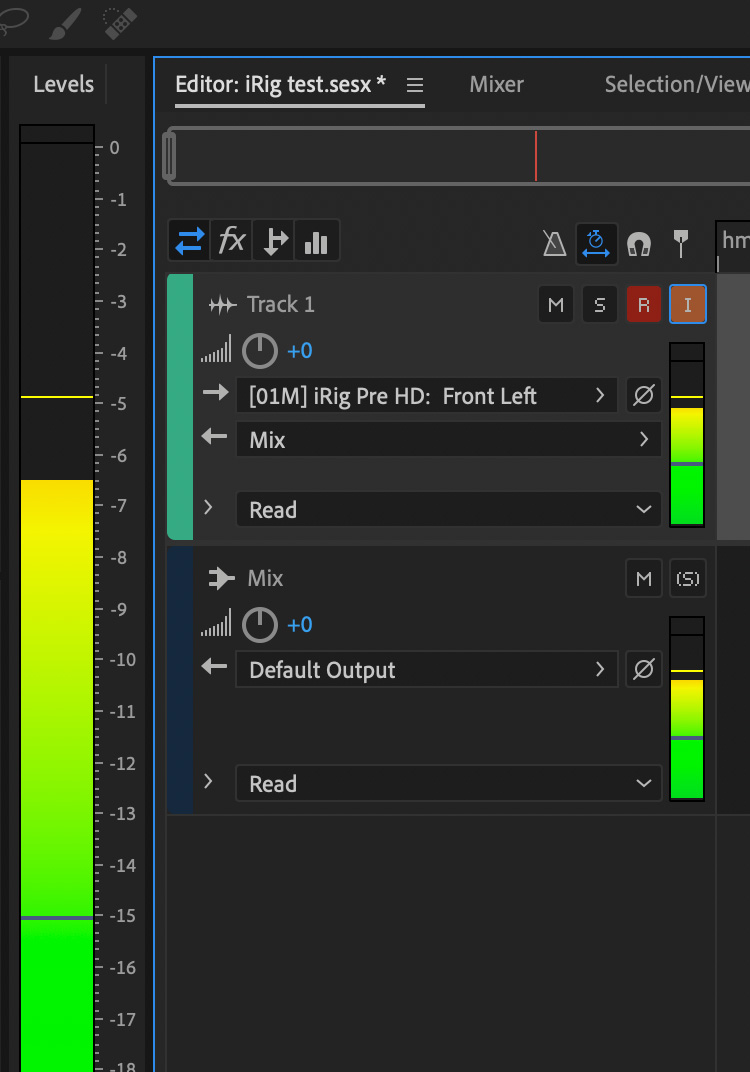
I plugged in the USB cable, fired up Adobe Audition, connected the iRig Pre HD to my iMac and started measuring. The audio level wheel on the iRig spans from 0 to 10.
This is a fairly noisy preamp. When no mic is connected:
This noise level is the same whether phantom power is turned on or off.
IMPORTANT NOTE: I need to point out that a Gain of 0 on the iRig Pre HD is not the same as turning the microphone off. This level control does not mute the mic.
Connecting a Shure SM58 hand mic, which is dynamic and requires no phantom power:
Switching to a TRAM TR-50 lavaliere mic, which does require phantom power:
In the cases of both mics, we have plenty of gain to work with. Summarizing the levels:
I agree with how the level light is adjusted to display audio levels. For me, an ideal recording level is around -12 dB. (Professional audio recordists may prefer -18 dB.) Keep in mind that this preamp is fairly noisy, louder voice levels – as long as they don’t distort – will minimize background noise.
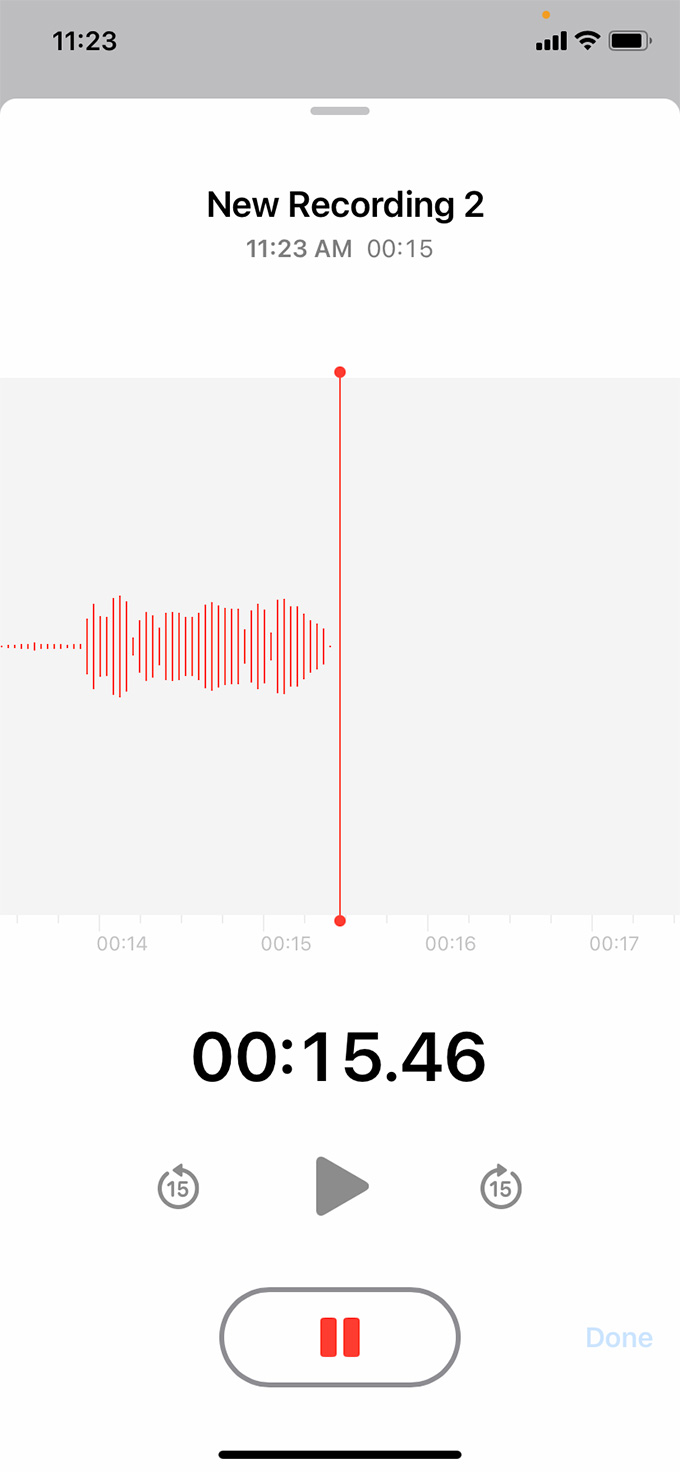
Now that I have a sense of how the iRig sets levels, I swapped cords and plugged this into an iPhone XR, running iOS 14.5. While there are a number of high-quality audio apps available, I used Voice Memos because it was already installed.
The iPhone recognized the iRig instantly. Use the Gain knob to get the green light flashing and start recording on your external device.
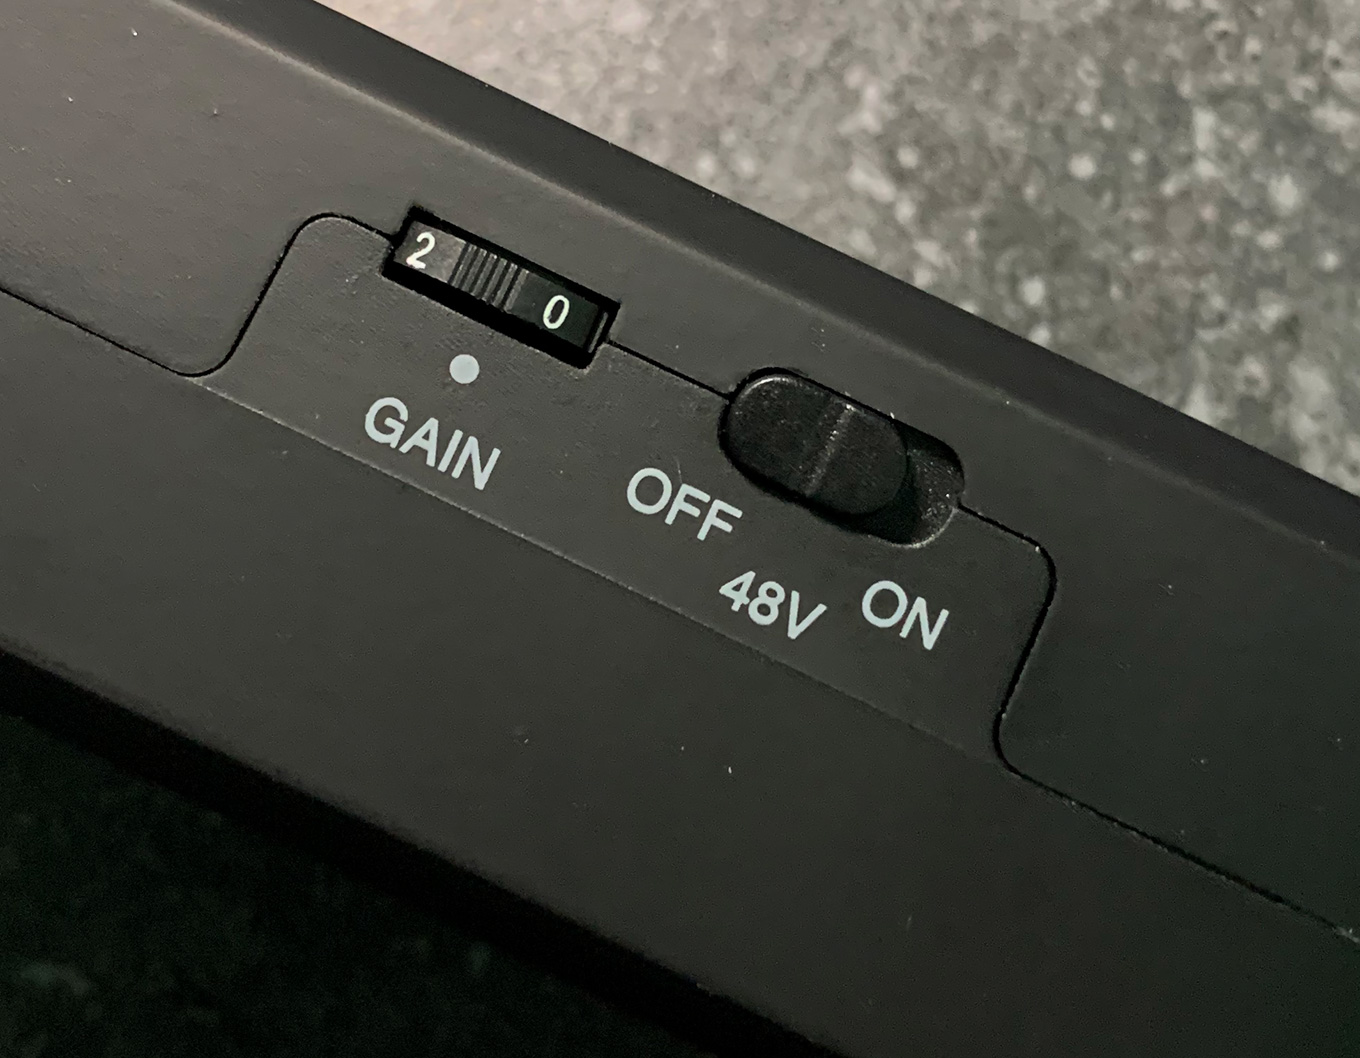
Here, the benefit of knowing how the iRig Pre HD displays levels was helpful. I increased Gain until I got only occasional flashes of red and started recording. With 12 dB of headroom, I knew that a few flashes of red would not, generally, cause distortion, while still recording the voice at a nice level.
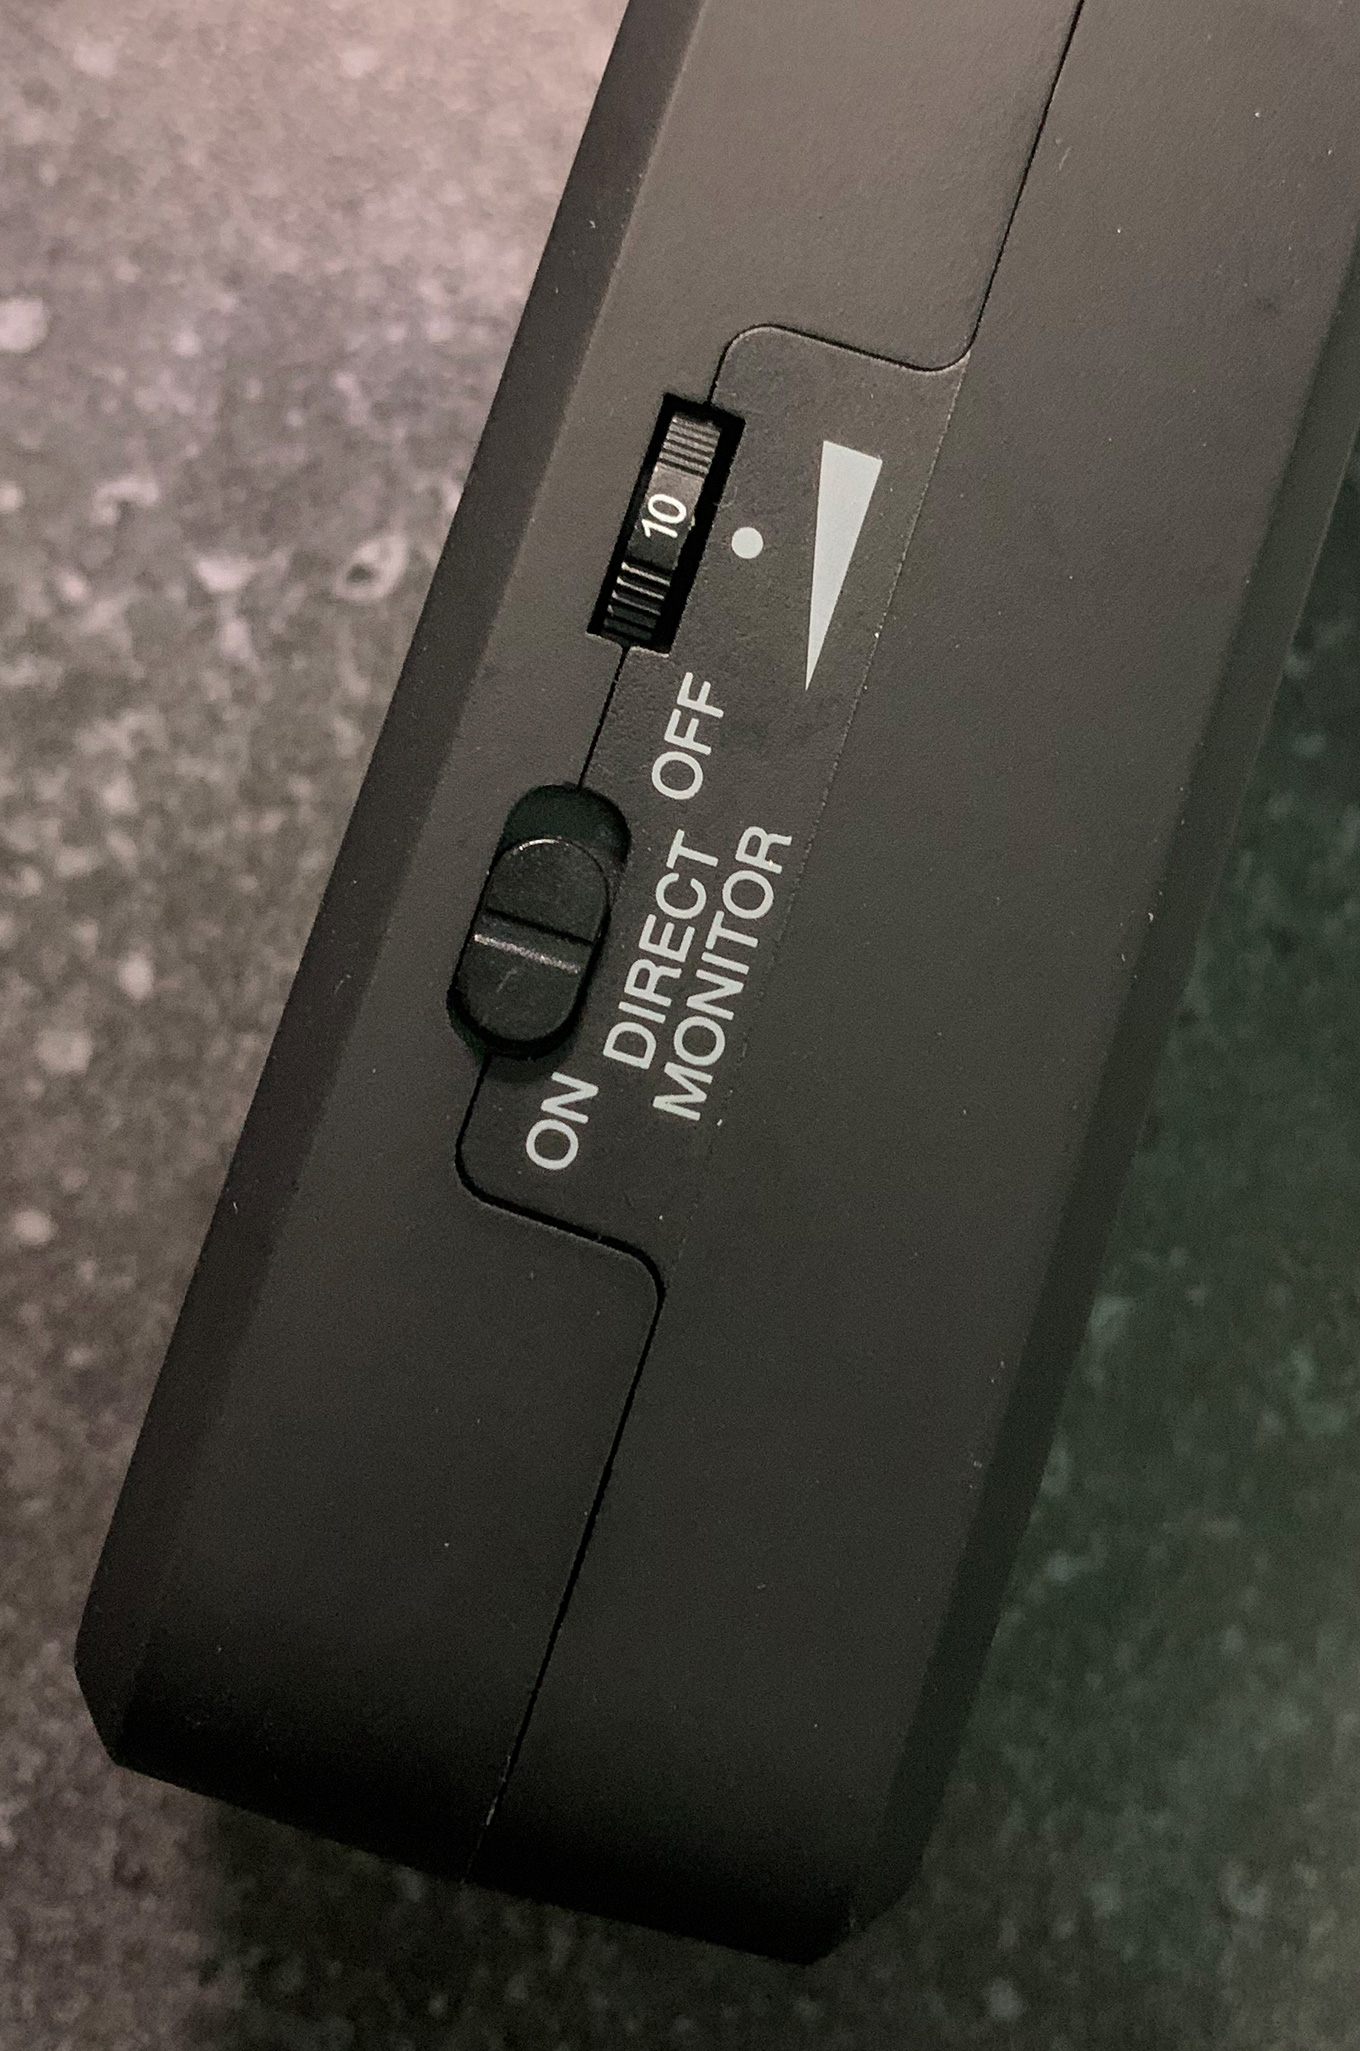
Plug a headset into the monitor jack (stereo) at the top and listen to the audio coming back from the recording device. For me, I had to turn the headset level up to 10 to get good levels, but, then again, my ears are no longer young.
FREE STUFF
IK Multimedia makes a variety of free microphone emulators and other effects available for iPhones/iPads once you register your product. This screen shot displays the options.
SUMMARY
When I first started reviewing both these iRigs, I didn’t think I’d like them. I’ve been working with audio for a long time and these seemed too simplistic to do good quality work.
I’ve changed my mind.
Yes, the iRig Pre HD is “noisy,” but you’d never use this in a studio environment in the first place. This is designed for portability, to take a high quality mic on location and get recordings far superior to anything your mobile device can record using its own mic.
Or, use it for dual-system audio recording with a wireless lav or a boom feeding the iPhone you have in your pocket using a 3rd-party audio app.
Or, use it to pick up ambient room tone/exterior noise for integrating into your mix later.
NOTE: A noise floor of -90 dB is irrelevant if you are recording talent at a football game, or a concert, or even walking through crisp fall leaves. The sound of the environment is far louder than the noise. No, I wouldn’t use these in a studio, but anywhere outside is far noisier than these units and you’ll never notice.
Portability is the magic of these iRigs. I like how the level indicators work, now that I know what settings they represent. Phantom power means that the iRig supports both dynamic and condenser mics; which is just about every mic used today. And I really like that it bundles both USB A and Lightning cables in the box.
Plus, the quality of the audio recording itself is excellent.
The iRig Pre HD means you can travel wherever you want, with whatever mics you want and record them on whatever device you have handy and get high quality results.
6 Responses to Product Review: iRig Pre HD
QUESTION: Can I use the iRig Pre HD to use a XLR mic to make a phone call?
George:
To the best of my knowledge, no. However, you might ask the folks at iRig.
Larry
Is it required that you use some sort of video app for this to work? Can I just plug it into my tablet and hit record and it will replace the built in microphone? Thank you
Cory:
No, you don’t need a video app. And it would be more accurate to say that, once you launch an app that can record audio, you can choose between using the internal mic or the iRig.
Larry
Thank you so much Larry! I just bought this and I am trying to figure it out. Your help is greatly appreciated!
Cory:
I like iRig a lot! The key is to use audio software that allows you to monitor and, ideally, control input gain on the iRig.
There are several to choose from. Contact iRig Support to see if they have a preferred application.
Larry