 Philippe N. recently asked:
Larry, what’s a good Final Cut workflow/template on how best to organize and sync these items to film?
For organization, I put all my audio effects in the same event. File names are whatever make sense to you, depending upon the size of your project.
When it comes to syncing, though, there’s no template, because every sound and video project are different. But here are the techniques I use. Feel free to suggest your own favorites in the comments.
Foley and most audio effects are called “wild sound” because they are not recorded in sync with any video. Instead, we need to sync them manually.
What’s important in this process is not where the audio clip starts or ends, but what’s in the middle. In other words, we need to look at the waveform in order to match it to the video.
NOTE: While I’m illustrating these ideas using Final Cut Pro X, the thinking is the same for Premiere; only the interface is different.
THE NUMBER ONE RULE
The Number One rule when using sound effects: Sound effects are used to make video look believable.
If someone says: “Wow! Great sound effects!,” you’ve screwed up. If someone says: “Wow! Great video!,” your sound effects are perfect. Sad, but true.
WORKING WITH AMBIENCE

(Footage courtesy: EditStock (editstock.com))
If you have an ambience, such as crickets, traffic noise, or other “steady state” noise, meaning that the levels are essentially constant while the content is amorphous, simply drag the audio clip where you need the sounds to start and stop.

If desired, drag the fade dot at the In or the Out to add a +3 dB fade in to the beginning or end of the clip. There are no “rules” regarding fades, whatever sounds good to you that’s in keeping with your story is, in fact, good. (Um, provided your audio meter levels are below 0 dB.)
NOTE: In general, I prefer fast fade ins and slow fade outs. Most of the time, I only add fades to the end of a clip.

An important point is that you may need to change the shape of the fade. By default, audio fades in FCP X are +3 dB. This is a great choice when cross-fading between audio clips. However, if you are fading to or from black, the fade may sound better if you change the shape to Linear. This is due to the logarithmic nature of audio and requires more time to explain than I have in this article.

To adjust the overall audio level – and most sound effects need to be lowered from their recorded volume – drag the light blue volume line down (to decrease the volume) or up (to increase it).
NOTE: When you are dragging the line, its color changes to a light yellow.

If you need more precision, Option – click the volume line to add a keyframe. (Keyframes create a change in a setting during playback.) You’ll need to set three keyframes:
As with everything in audio, adjust the position of the keyframe, both horizontally for timing and vertically for volume, until the effect sounds the way you want.
WORKING WITH SPOT EFFECTS
A “spot” sound effect is one that’s used to emphasize something on screen. As Philippe wrote, a door slam, gun shot, tomato hitting a wall… an effect that has a clear beginning, middle and an end.
Let’s take a look at spotting a door slam.

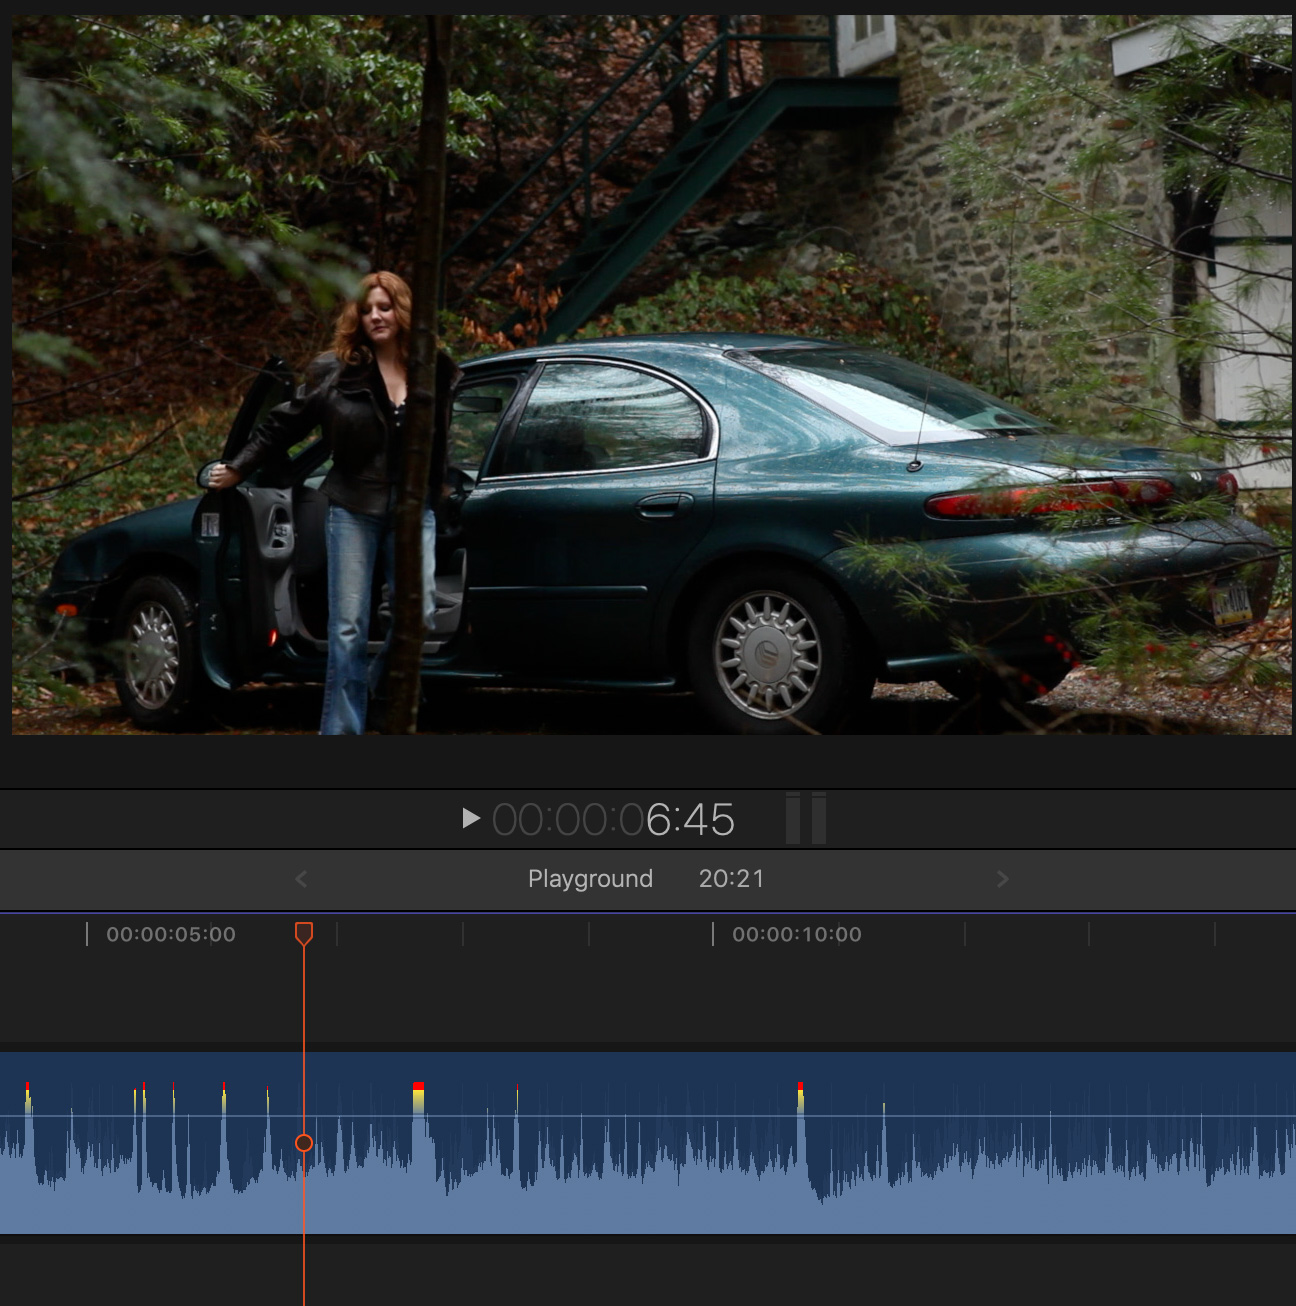
(Footage courtesy: John Putch “Route 30, Too!” (www.route30trilogy.com))
In this scene, an actor gets out of a car and slams the door. Most of the time, shots like this are shot with no audio or with on-set audio that the director expects to replace.
The location is in the country, near a woods, and raining. So we might add steady-state sound effects of rain, light wind noise through the trees and, perhaps, some light splashing to clearly establish the exterior location.
These all run under the entire scene.
However, effects like the door slam, the crunch of her feet on the gravel, the knock on the door of house – these all require specific locating (called “spotting”) in the timeline to match the video.
NOTE: If we can’t see an actor’s feet, we have a bit more flexibility on when we place footsteps, but we still need to add them pretty close to sync. The sound effects of her feet on gravel – even when we can’t see them – improve the believability of her action.

Here, I added a marker indicating the start of the door slam. As you can see, the actual sound takes a few frames; it isn’t instant. (I moved the playhead out of the way so you can see the marker.)

NOTE: To adjust the height of the tracks, and to allow us to focus on the audio, click the Track icon in the top left corner of the Timeline, then click the far left icon to hide the video layer, finally drag the lower slider to adjust the height of all layers.

Next, I added the car door slam. However, the sound effect clip doesn’t start at the marker. The SOUND does, but not the CLIP.

Instead, slide the clip so that the peak of the effect starts when the door slam begins.
The key is to match the impact of the sound with the visual impact of the door closing. If you don’t have any on-set audio to use as a guide, I start the effect one frame before the door hits.
SUMMARY
When you look at waveforms, matching audio is fairly easy. Keep in mind, however, that your audience is not watching the waveforms. They are watching your story. So, even if the waveforms match perfectly, if it doesn’t sound right, you’ll need to tweak.
Tweaking is a normal state-of-affairs with audio.