
304: Introduction to Apple Motion 5.5
304: Introduction to Apple Motion 5.5
$19.97
You don't need to be an incredible artist – or a programmer – to create interesting and useful effects using Apple Motion. Larry Jordan creates four simple projects to showcase the key features of Motion. (Project files included.)
Presented: Jan. 28, 2021
Several times each month, Larry Jordan presents a live, on-line webinar presenting software related to video editing and post-production. For a list of upcoming webinars, click here.
Duration: 56:48
Download file size: 783 MB (ZIP file)
Project file size: 48 KB (ZIP file)
Format: QuickTime movie (HD: 1280 x 720)
DOWNLOAD NOTE: After you complete the store checkout process, you will see a Download Link on the Order Confirmation page. This link allows you to download the product to your computer. You are given four attempts over ten days to download the file. Since this title is downloaded as a QuickTime movie, a CD/DVD will not be shipped.
(Click to view a larger image.)
NOTE: This purchase includes the Motion projects used in this training as a separate file.
SESSION DESCRIPTION
This is the first of four sessions covering Apple Motion 5.5:
- Introduction to Apple Motion 5.5
- Advanced Techniques of Apple Motion 5.5
- Lighting Techniques of Apple Motion 5.5
- Cameras, Sets & Drop Zones in Apple Motion 5.5
You don’t need to be an incredible artist – or a programmer – to create interesting and useful effects using Apple Motion. Fundamentally, all motion graphics are simply videos that move – the movement makes them special.
For this session, Larry Jordan takes a different approach to teaching Motion. Rather than showcase features, Larry creates four different projects – from start to finish – that illustrate key features in Motion.
- Project 1: Animated Text
- Project 2: Animated Infographic
- Project 3: Custom “Quad Split” Effect
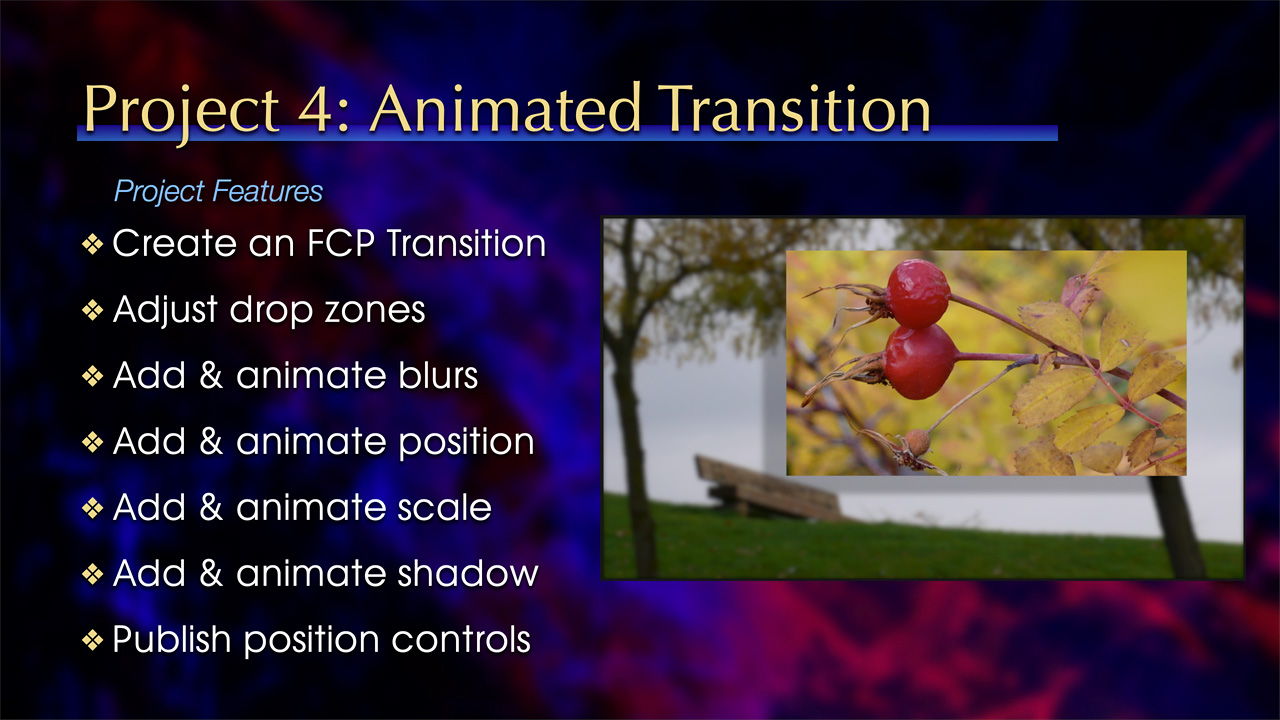
- Project 4: Animated Custom Transition
SPECIAL NOTE: The Motion projects Larry created during this training are included with this download as a separate ZIP file.
If you are new to motion graphics – or thought you needed to be an artist to do anything useful in Motion – this session is for you.
AUDIENCE LEVEL
This is beginning-level session, no knowledge of Motion is required for this training. You don’t need to own Motion to watch this training.
CHAPTER MARKERS
To help you quickly find the information you need, we include chapter markers in the QuickTime download to simplify navigation. Click here to learn how to display them in your download.
CONTENT OUTLINE
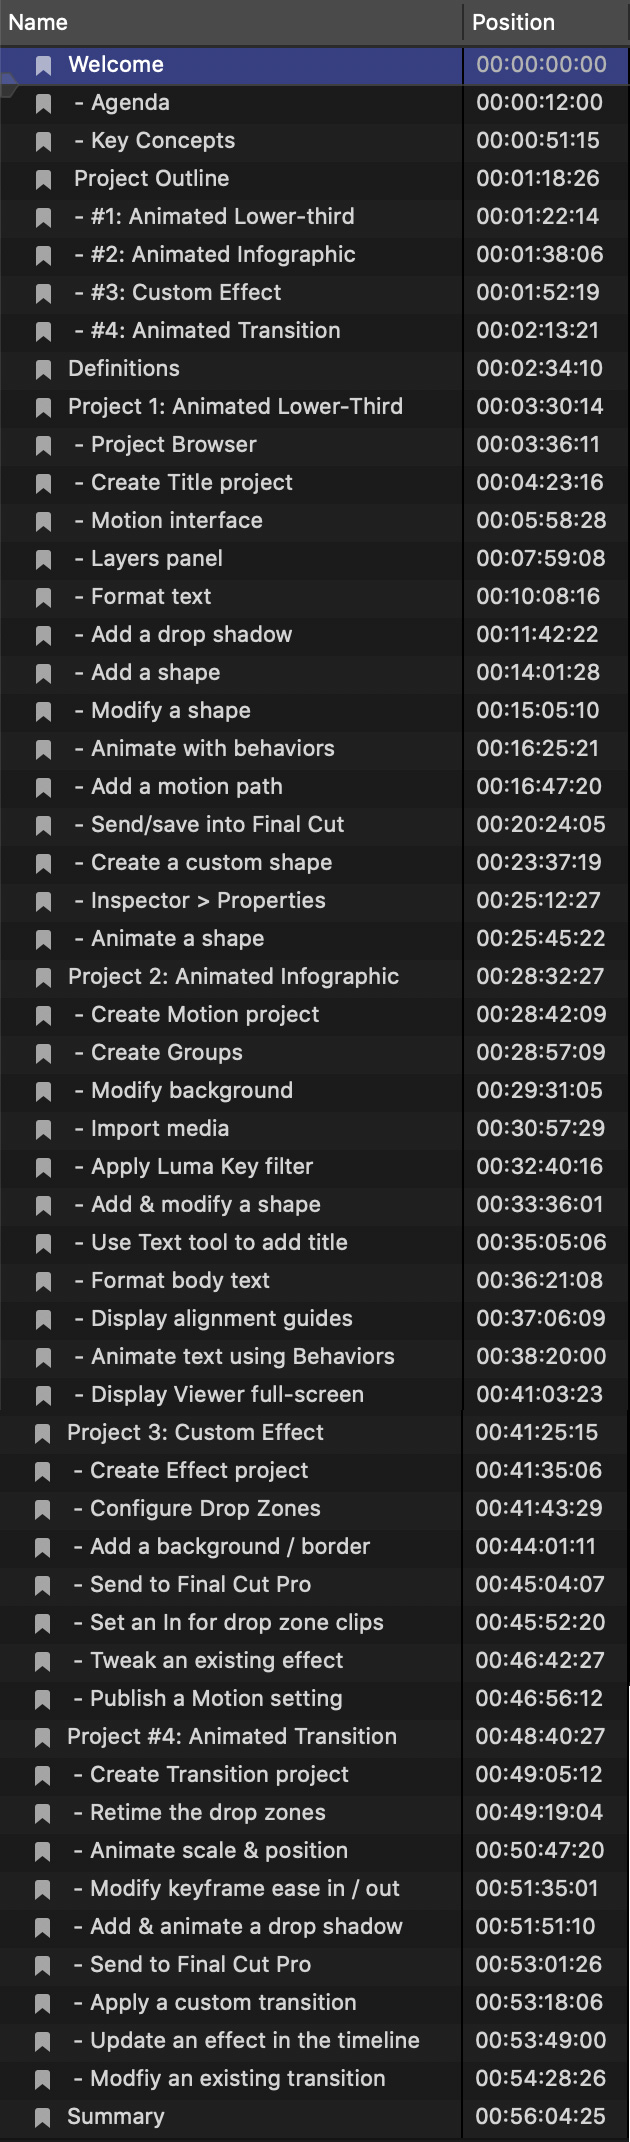
- Welcome
- – Agenda
- – Key Concepts
- Project Summary
- – #1: Animated Lower-third
- – #2: Animated Infographic
- – #3: Custom Effect
- – #4: Animated Transition
- Definitions
- Project 1: Animated Lower-Third
- – Project Browser
- – Create Title project
- – Motion interface
- – Layers panel
- – Format text
- – Add a drop shadow
- – Add a shape
- – Modify a shape
- – Animate with behaviors
- – Add a motion path
- – Send/save into Final Cut
- – Create a custom shape
- – Inspector > Properties
- – Animate a shape
- Project 2: Animated Infographic
- – Create Motion project
- – Create Groups
- – Modify background
- – Import media
- – Apply Luma Key filter
- – Add & modify a shape
- – Use Text tool to add title
- – Format body text
- – Display alignment guides
- – Animate text using Behaviors
- – Display Viewer full-screen
- Project 3: Custom Effect
- – Create Effect project
- – Configure Drop Zones
- – Add a background / border
- – Send to Final Cut Pro
- – Set an In for drop zone clips
- – Tweak an existing effect
- – Publish a Motion setting
- Project #4: Animated Transition
- – Create Transition project
- – Retime the drop zones
- – Animate scale & position
- – Modify keyframe ease in / out
- – Add & animate a drop shadow
- – Send to Final Cut Pro
- – Apply a custom transition
- – Update an effect in the timeline
- – Modfiy an existing transition
- Summary