
![]() New with the 4.5.3 update to Compressor are compression settings which simplify cropping and compressing square of vertical media. These new settings simplify the conversion of, say, horizontal media to vertical, making it easier to repurpose existing assets for new uses.
New with the 4.5.3 update to Compressor are compression settings which simplify cropping and compressing square of vertical media. These new settings simplify the conversion of, say, horizontal media to vertical, making it easier to repurpose existing assets for new uses.
Two examples of where you might use this include: converting a short movie to the square format of Instagram, or converting a movie trailer to display on vertical shopping mall monitors.
NOTE: If you know, from the start, that a project will be vertical, you’ll have more control by creating that as a vertical project in Final Cut. Compressor is best used for converting existing media.
WORKFLOW
Here are the essential steps:
CONFIGURE A SETTING
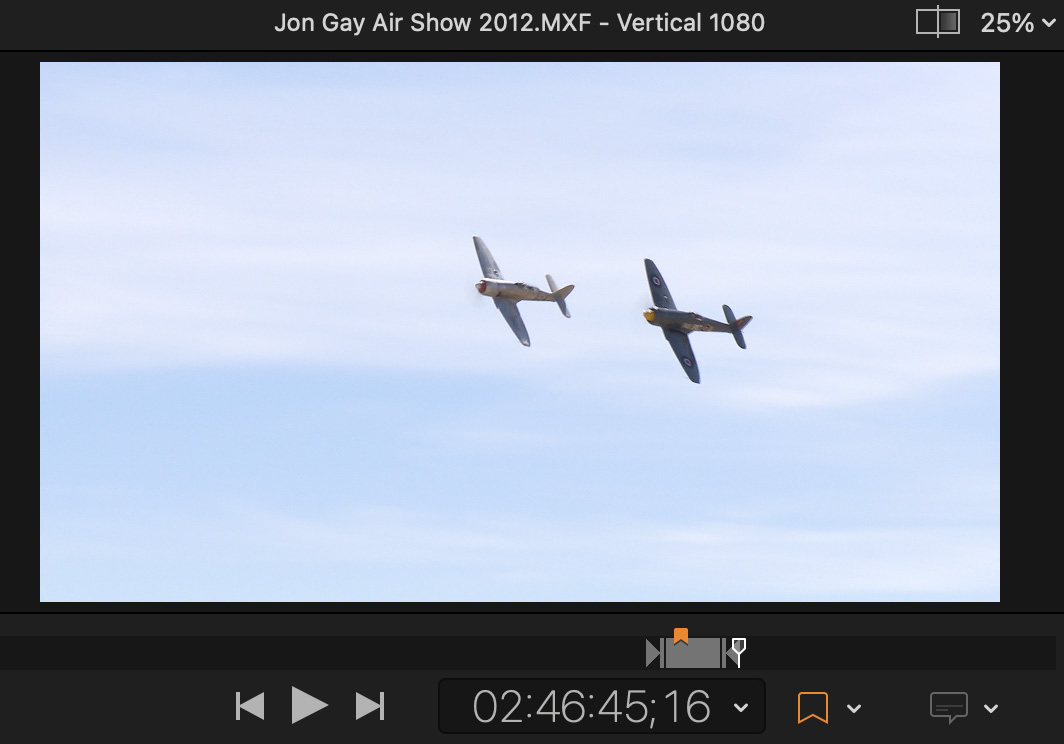
(Air show footage courtesy of Jon Gay.)
In this example, I created a short film about an air show race. I want to convert an existing 30-second trailer to vertical so I can run it as an ad in a local mall.
While this technique works with any compression setting, in most cases I would either use a compression setting from the ProRes group or Video Sharing Services group. For this example, I’ll use a Video Sharing Services setting.
NOTE: All videos created by Video Sharing Services are QuickTime movies using H.264 for video and AAC for audio. If you need MP4 video, use a setting from Apple Devices.
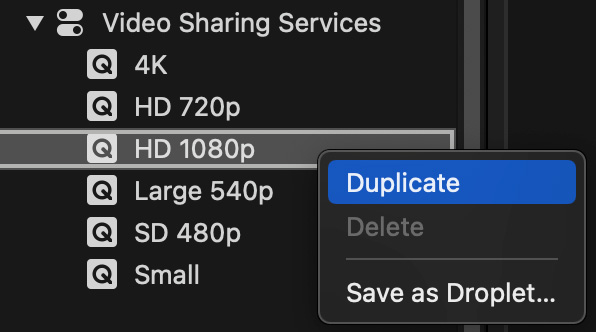
You can either create a custom setting or simply change an existing setting to create a “one-off” modification. If you only need to create a one-off, skip the next two steps.
To create a one-off setting, apply an existing compression setting to a clip first, then select the setting you just applied.
To create a custom setting, select it in the Settings list before applying it to a clip.
NOTE: When you change a compression setting, if it is applied to a clip, only that setting is changed. If the setting is in the Settings list, you are changing the setting for all future uses.
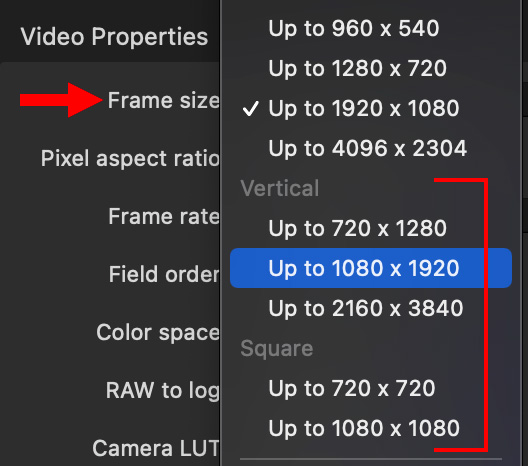
NOTE: The phrase “Up to” is important. When using 1920 x 1080 source media, the tallest our vertical media can be is 1080, which is the height of a 1920 x 1080 clip.
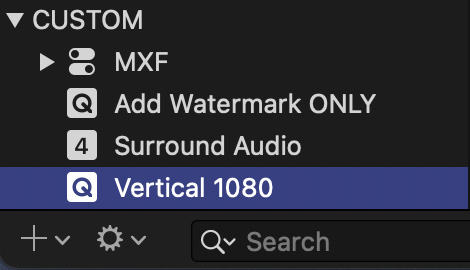
If you are creating a custom setting, you are done, once you set the frame size, plus any other compression parameters. However, in most cases, you’ll need to tweak the framing.
ADJUST THE FRAMING
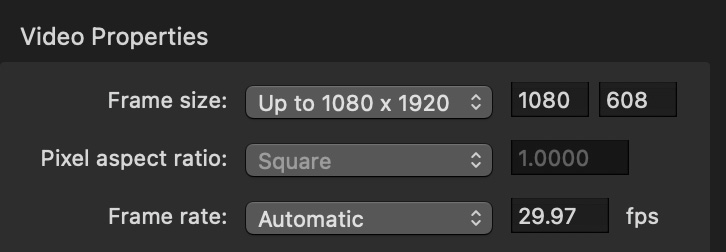
For example, dragging the setting we just created on top of a 1080p clip creates a new image that’s 1080 x 608. Um, not vertical at all.
Why? Because, by default, Compressor preserves the entire image. We need to crop the image to the size we need.
BIG NOTE: Compressor does not rotate the image.
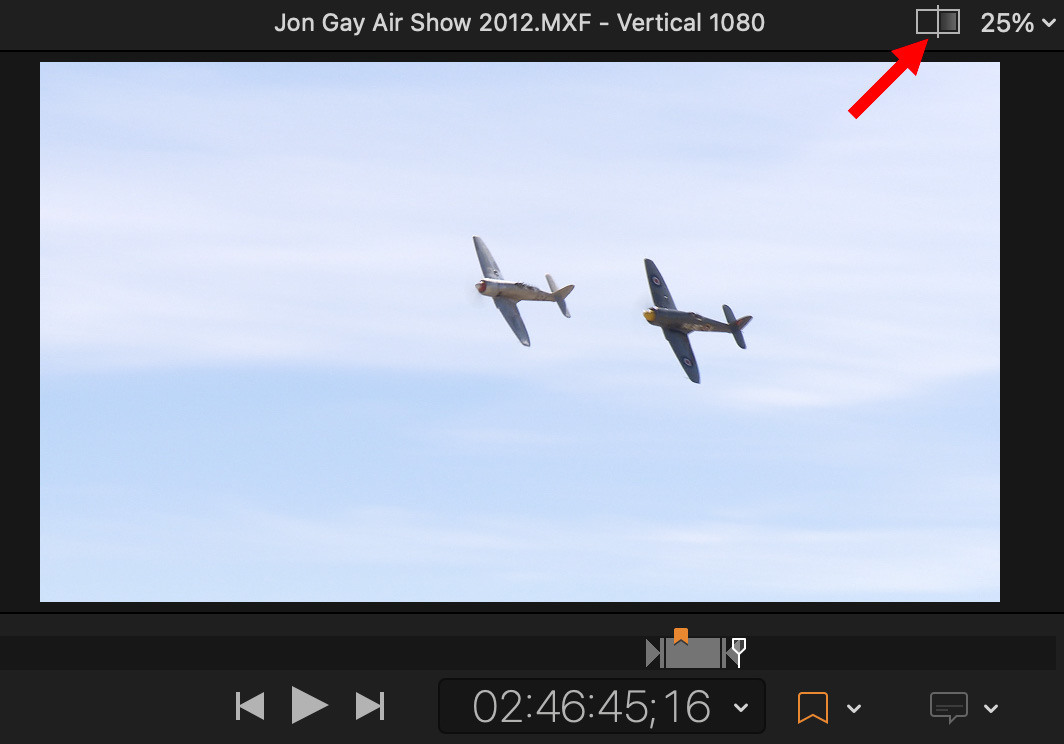
NOTE: A blue icon means the cropping box is active, gray indicates it is disabled.
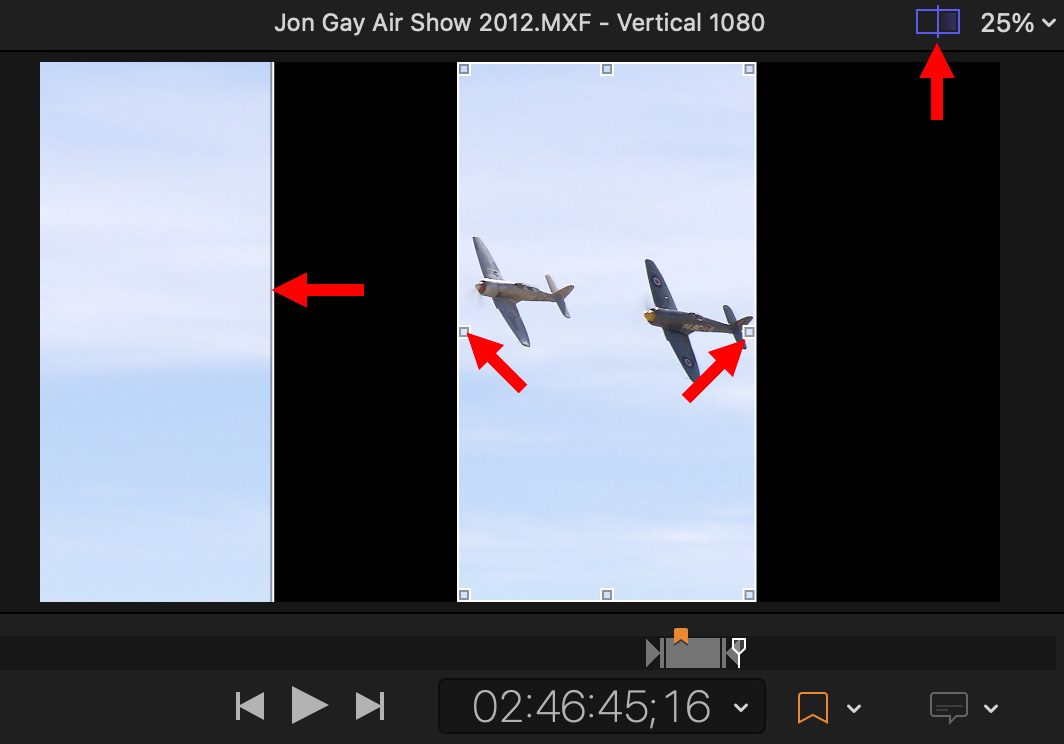
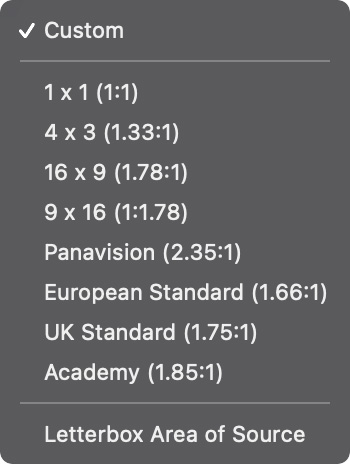
Drag the left and right cropping squares (center red arrows) until you get the frame size you need. In our example of creating a video for in-store monitors, most video monitors are 9 x 16. To keep image quality without enlarging video more than 100%:
NOTE: Again, remember, you use these settings when you didn’t shoot or initially create a vertical movie. We can make video larger than these dimensions, but image will get blurry.
When you have the frame size and position you need, you can start compression.
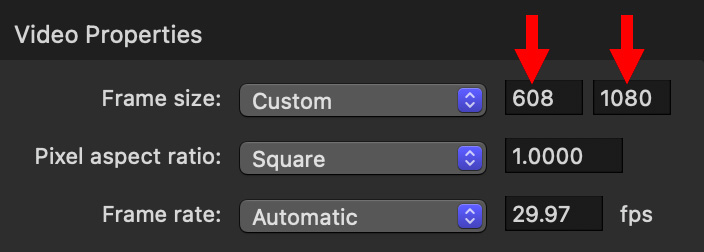
CROPPING AND PADDING DIALOG

Apple also provides the Cropping & Padding section of the Video tab to type in specific cropping numbers (see screen shot above). However, I find dragging the crop bars faster and require less math because Cropping & Padding shows the number of pixels you need to remove, while Frame Size shows the number of pixels you have left.
Also, while Apple added vertical and square video settings to the Frame Size menu above, they did not yet do so for Cropping & Padding.
ADDITIONAL NOTES
Compressor does not allow tracking or reframing during compression, If you need that level of control, reedit your project in Final Cut, then output as a vertical video.
NOTE: Here’s a tutorial on creating vertical video in Final Cut.
The key benefit to this technique is that you can reformat existing media without needing to access the original edit.
You can use this technique with other codecs, for example, ProRes 422. Compression options will vary by codec and source clip.
NOTE: Here’s a link to an Apple Knowledgbase Article that explains this process in more detail.