Premiere Pro: A Fast Way to Move the Anchor Point
 The anchor point is that spot around which an image rotates or scales. Its default position is in the center of the frame. However, moving it to a corner or an edge often makes a zoom or rotation more interesting.
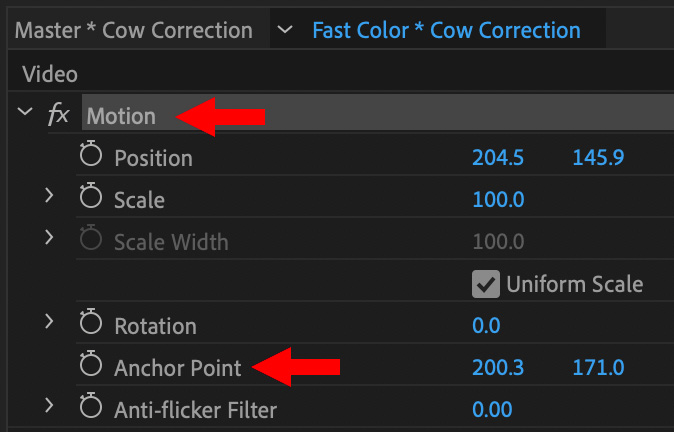
Complicating changing the location of the anchor point in Premiere is that Premiere uses the top left corner of an image as the 0,0 point. (Unlike Final Cut, which uses the center of the image.) This means we can quickly get lost calculating where the point needs to move using the X, Y coordinates.
Relax. There’s a much easier way.
- Select the clip you want to move.
- Open the Effect Controls panel.
- Select either the word “Motion” or the words “Anchor Point”
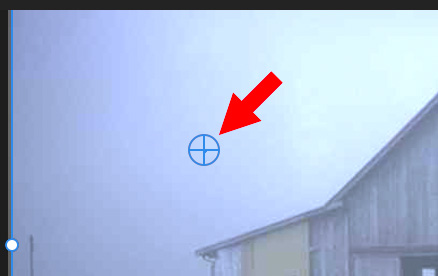
- The anchor point is highlighted in the Program panel as a plus sign with a circle around it.
- Drag this wherever you need it to go.
Done.
Bookmark the
permalink.
Larry Recommends:

NEW & Updated!
Edit smarter with Larry’s latest training, all available in our store.
Access over 1,900 on-demand video editing courses. Become a member of our Video Training Library today!
JOIN NOW
Subscribe to Larry's FREE weekly newsletter and save 10%
on your first purchase.
